Importing a Floor Plan
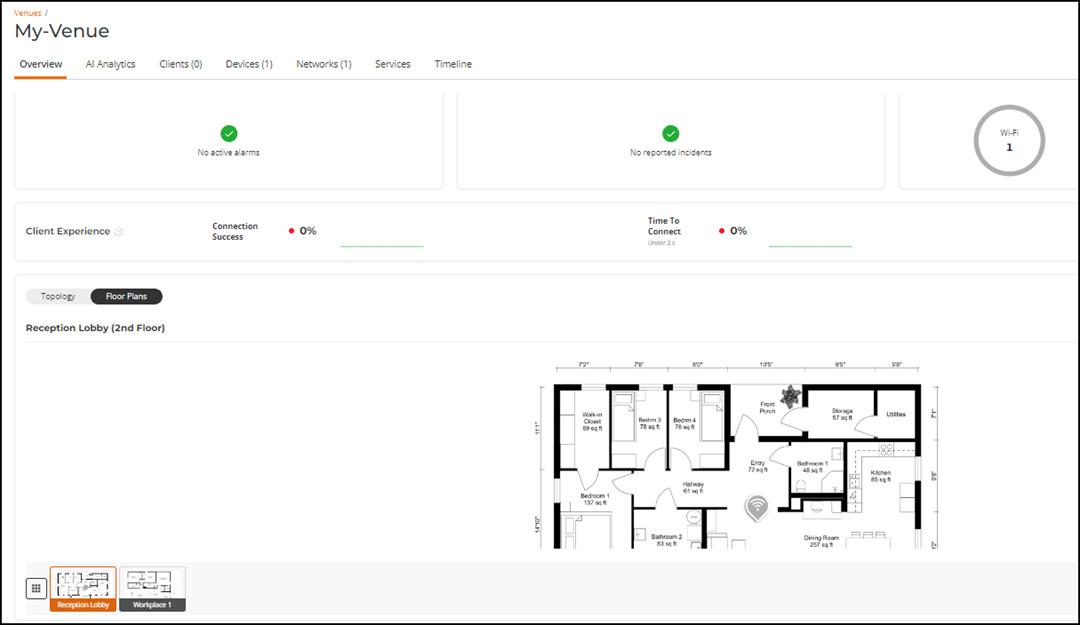
You can import a floor plan to a venue
to help you visualize the actual physical locations of your managed networking devices.
- On the navigation bar, click
Venues.The Venues page is displayed.
- Click .
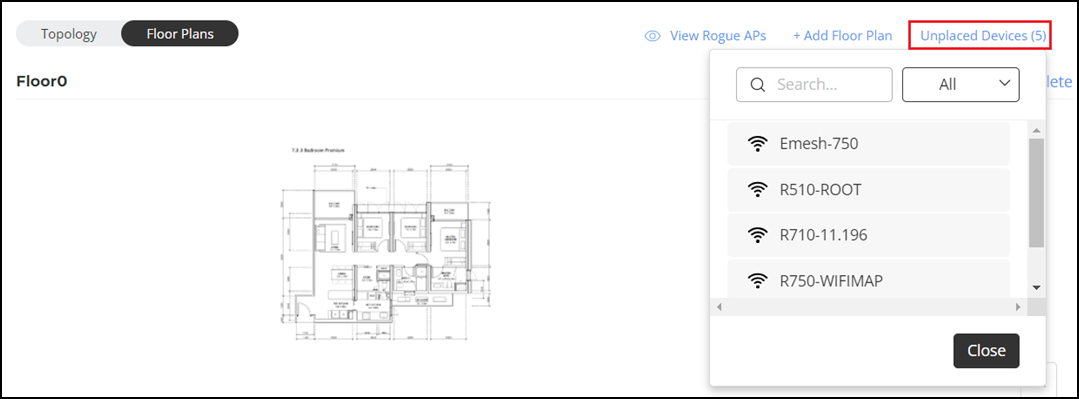
- Click Add Floor Plan.
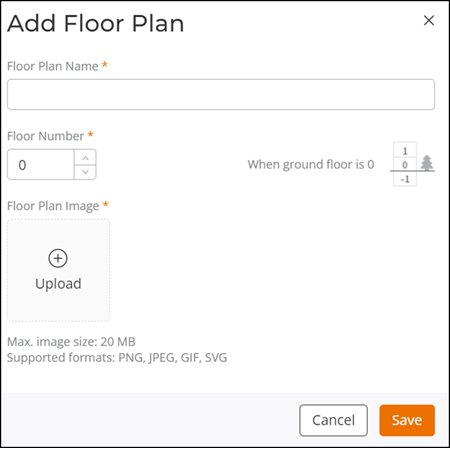
- Complete the following fields to add a new floor in this venue:
- Floor Plan Name: Enter a name that you want to assign to the floor. For example, you can enter "First Floor" or "Sales".
- Floor Number: Enter or select the floor or level number. "0" is the ground floor, "1" is the first floor, "2" is the second floor, and so on.
- Floor Plan Image: To upload a floor plan image for this floor, click Upload. When the Open dialog box displays, browse to the location where you saved the floor plan image, select the image, and click Open.
- Click Save.