Placing a Networking Device on a Floor Plan
You use the floor plan placement map to
visualize device locations within a venue and control how networking devices are
positioned
for accurate spatial reference.
- On the navigation bar, select
Venues.The Venues page is displayed.
- Click the venue name.The selected venue page is displayed, defaulting to the Overview tab.
- Click the Floor Plans
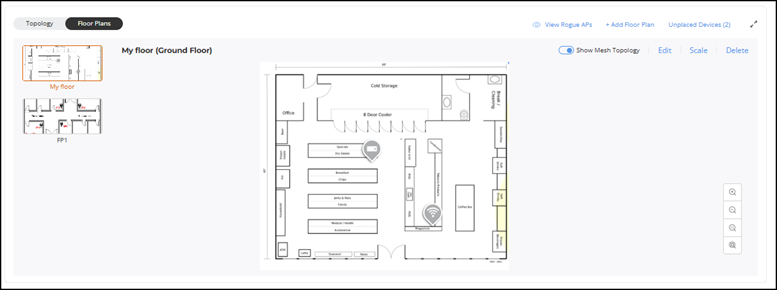
tab.The Floor Plan is displayed. If the floor plan is not available, add one. Refer to Importing a Floor Plan for more details.
- Click Unplaced
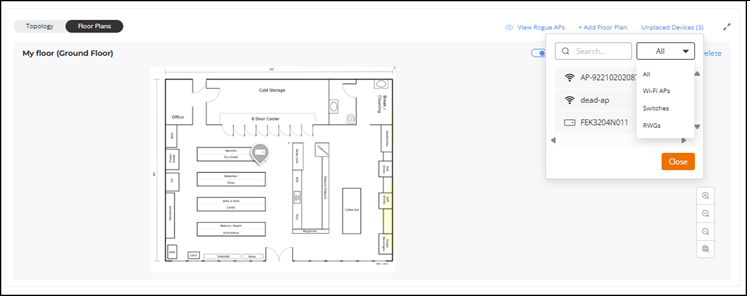
Devices.A list of available networking devices is displayed.
You can use the Search option to display only the table entries matching the specified networking device; enter a minimum of two characters. Additionally, you can filter the list of devices by selecting one of the options from the drop-down menu. The options are All, Wi-Fi APs, Switches, Cloudpath Servers, and RWGs.
- Drag the required device from the Unplaced Devices list
and drop it onto the desired location on the floor plan.A success message is displayed, and the device icon is added to the floor plan.
- Repeat this action for each additional device that you want to place on the floor plan.
- (Optional) Reposition an already placed device by dragging and dropping it to a
new location.Note: The floor plan updates the device position immediately after the move.
- (Optional) Remove a device from the floor plan by dragging the device icon away from the floor plan image and dropping it anywhere in the Floor Plans tile.
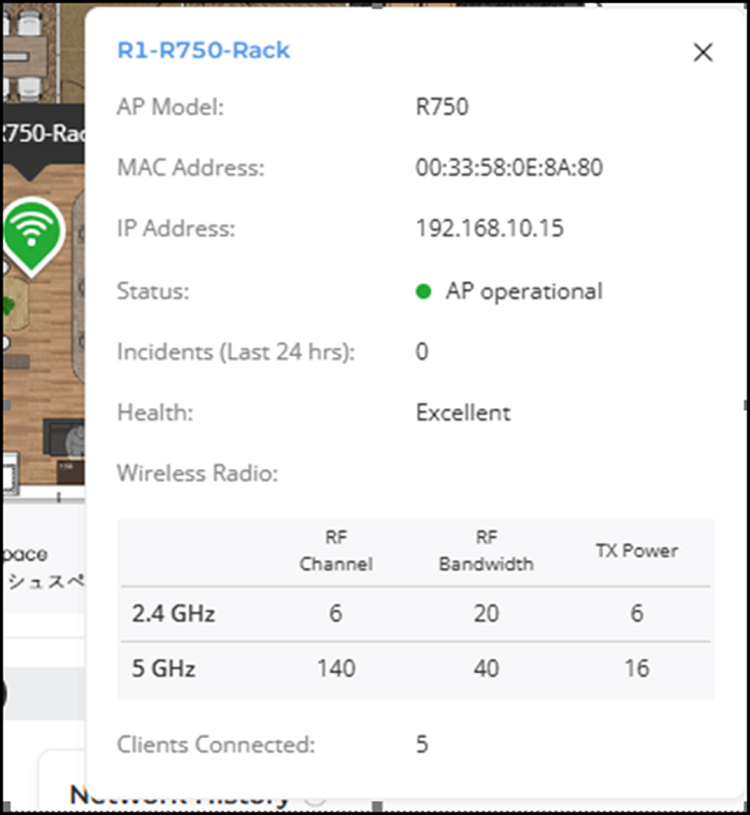
- (Optional) Hover over the device icon and click it to view device details.