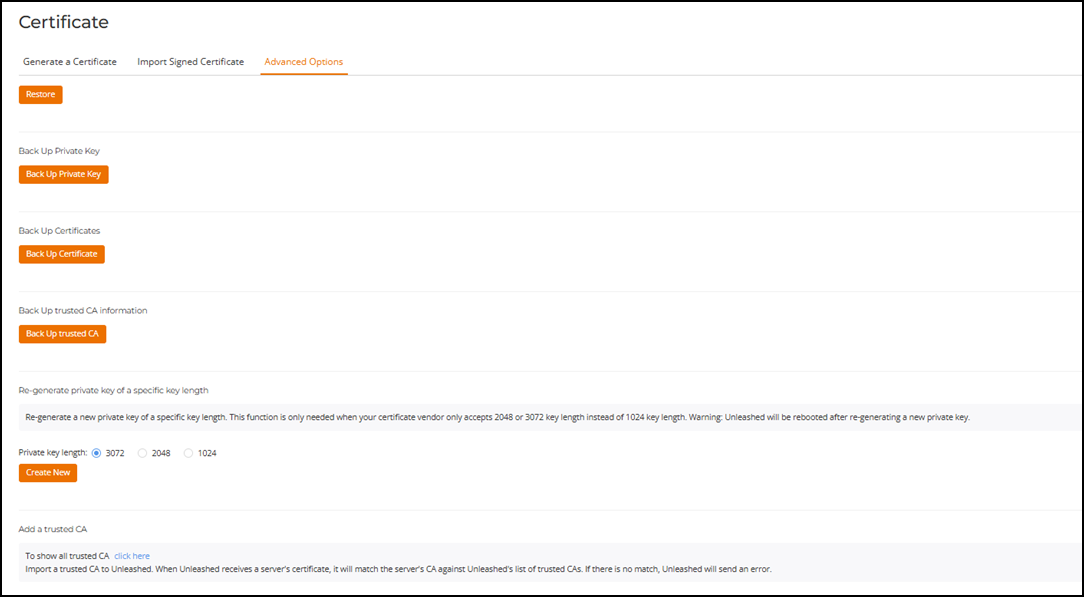
SSL Certificate Advanced Options
The Advanced
Options tab allows you to perform additional certificate management
functions.
- Restore to Default Certificate/Private Key: Click the Restore button to delete any certificate and private key that has been imported, and restore the factory default certificate and private key after restore and reboot.
- Back Up Private Key: Click the Back Up Private Key button to back up the current private key by downloading it for disaster recovery or for use on another RUCKUS Unleashed AP. If your RUCKUS Unleashed AP is replaced due to an RMA, you will need to restore the private key if you have installed a public certificate. Ensure that the private key is kept secure because the security of your SSL communications depends on it.
- Back Up Certificates for Smart Redundancy: If you have more than one AP , you can install the same SSL certificate/private key pair on both devices. In this way, you can access the shared virtual management interface advertised in DNS for the same FQDN without seeing the security warning.
- Back Up Trusted CA Information: Click the Back Up trusted CA button to apply the same trusted CA from this RUCKUS Unleashed AP to peer RUCKUS Unleashed APs. The file is output as a .tar.gz file containing all trusted Certificate Authoritiy information currently installed on this RUCKUS Unleashed AP. This compressed file must be decompressed and the files imported into the peer RUCKUS Unleashed AP using the Add a Trusted CA.
- Re-generate Private Key of a Specific Key Length: Use this option if your previous private key has been compromised or you need to use a stronger key (either 1024 or 2048 bits). Note that a new certificate must be generated and installed afterwards.
- Add a Trusted CA: Use this option to import CA information. Click the Click Here link to display all of the current trusted CA information, with each trusted CA separated by a string of number symbols (“#######”). Importing the CA information includes the following options: