Configuring Advanced Wi-Fi Options
While creating a new network or modifying
an existing network, you can configure a range of advanced Wi-Fi options that give
you a
high degree of control over the way the network functions.
Complete one of the following steps to configure the advanced settings for a Wi-Fi network.
- Configure additional options while adding a new wireless network.
- Edit an existing network.
- Use the following tabs to
configure the advanced options according to your preferences:
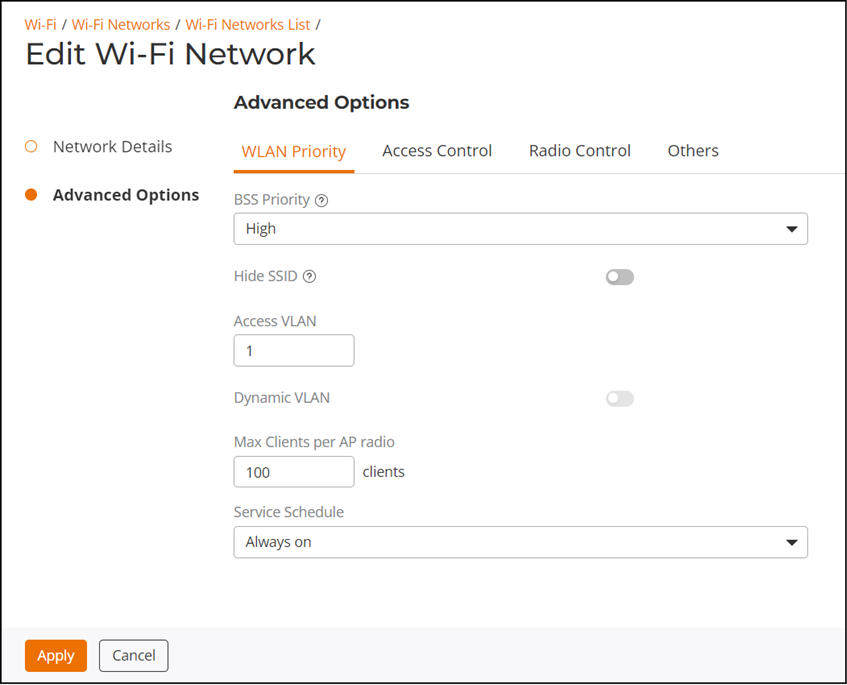
- WLAN Priority: Contains options for setting the WLAN's priority level, WLAN visibility, VLAN, maximum number of clients and service schedule. Refer to WLAN Priority Settings.
- Access Control: Contains options for configuring Call Admission Control, rate limiting, access controls, application visibility policies, and URL filtering. Refer to Access Control Settings.
- Radio Control: Contains options for configuring radio settings including 802.11k radio resource management, background scanning, load balancing, and band balancing. Refer to Radio Control Settings.
- Others: Contains options for configuring force DHCP, inactivity timeout, wireless client isolation, and enabling the Bypass Apple CNA. Refer to Other Advanced WLAN Settings.
- Click Apply to save your changes.