Configuring a trap receiver
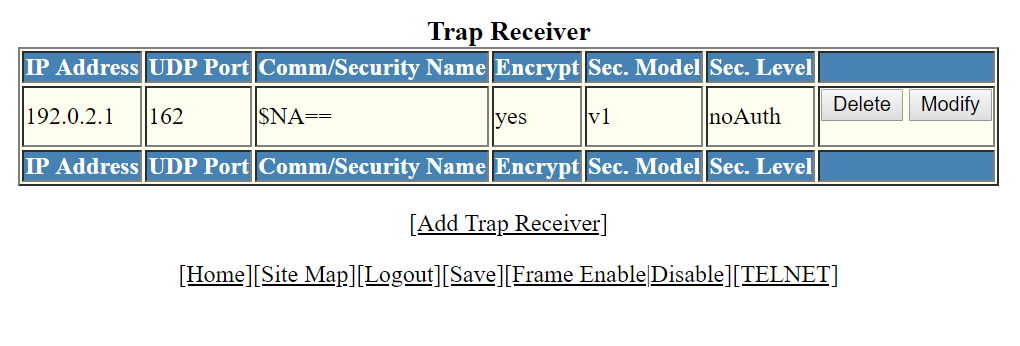
To configure a trap receiver, perform the following steps.
Note: Trap receiver cannot be configured if FIPS mode is enabled.
- Click Configure on the left pane and select System.
- Click Management and select Trap Receiver.
- Click Add Trap Receiver to configure a new trap receiver.
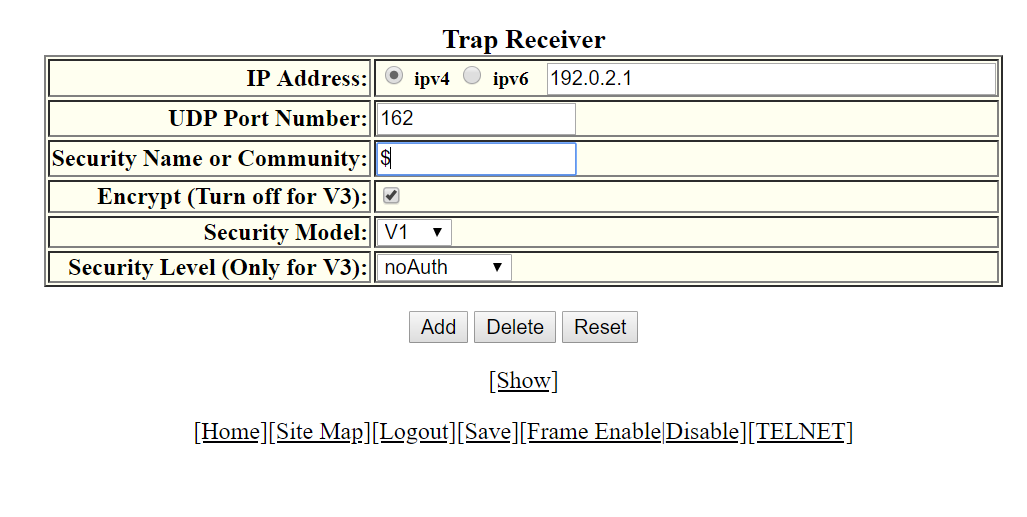
- Click ipv4 or ipv6 and then type the IP address of the destination of the route in the IP Address field.
- Type the UDP port number of the host that will receive the trap in the UDP Port Number field.
- Type an arbitrary value made of two five-digit integers joined by a colon in the Security Name or Community field. Each string in the community name can be a number from 0 through 65535.
- Select the Encrypt (Turn off for V3) check box to enable or disable encryption for a particular string. It is turned off for V3.
- Select one of the following options in the Security Model list:
- For V3 only, select one of the following options in the Security Level (Only for V3) list:
- Click Add.