Configuring an SNMP community string
To configure an SNMP community string, perform the following steps.
Note: SNMP community string is not supported if FIPS mode is enabled.
- Click Configure on the left pane and select System .
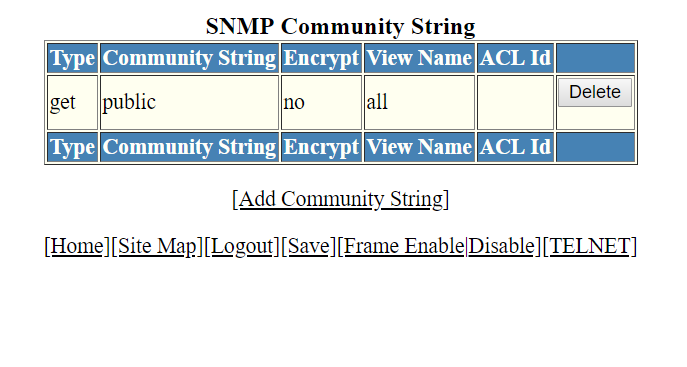
- Click Management and select Community String.
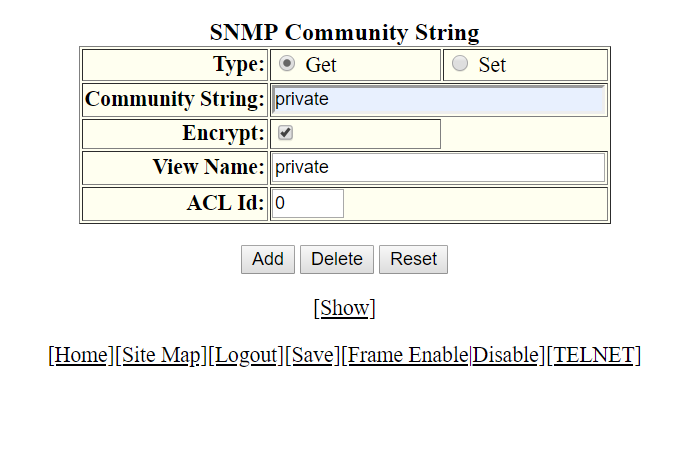
- Click Add Community String .
- Click Get or Set for Type .
- Type the user name to open a web management session in the Community String field.
- Select the Encrypt check box to enable encryption for a particular string.
- Type the name of the community string in the View Name field.
- Type the ACL number in the ACL Id field.
- Click Add .