Configuring a static, dynamic, or keep-alive LAG
You can configure a static, dynamic, or keep-alive link aggregation group (LAG).
Note: sFlow and rate-limiting commands are not supported in the Web Management interface.
To configure a LAG, perform the following steps.
- Click
Configure on the left pane and select
LAG.
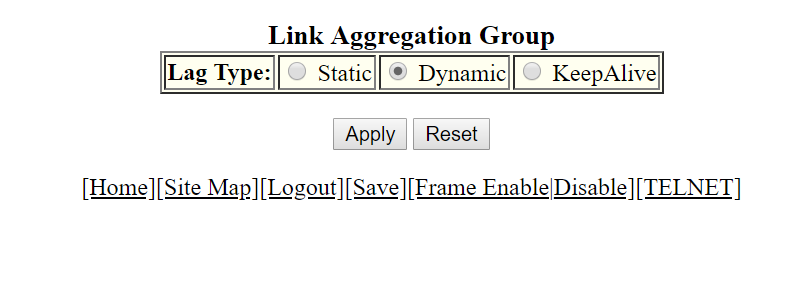
You can select among the LAG types: static, dynamic, or keep-alive.
- Click Apply.
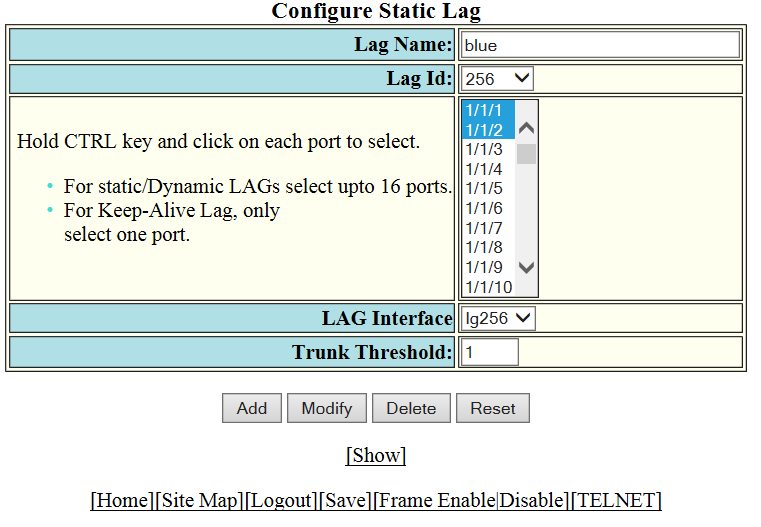
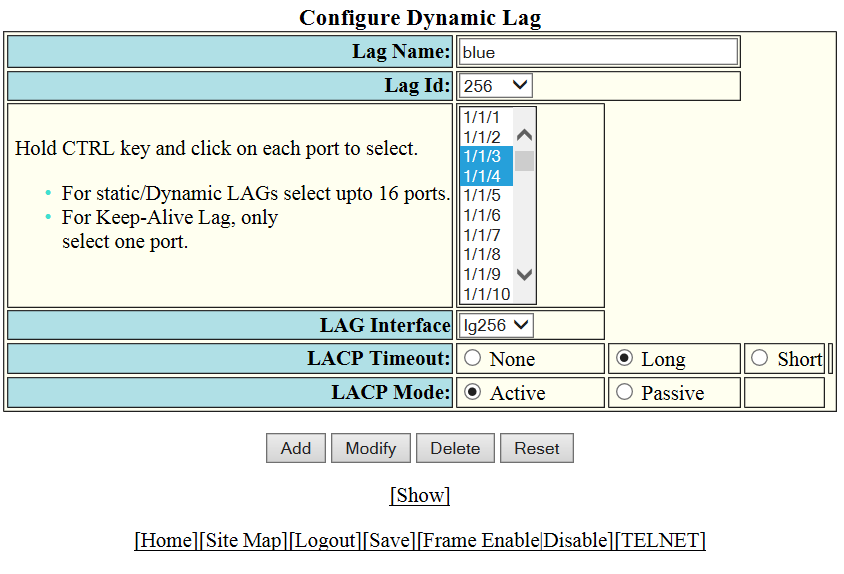
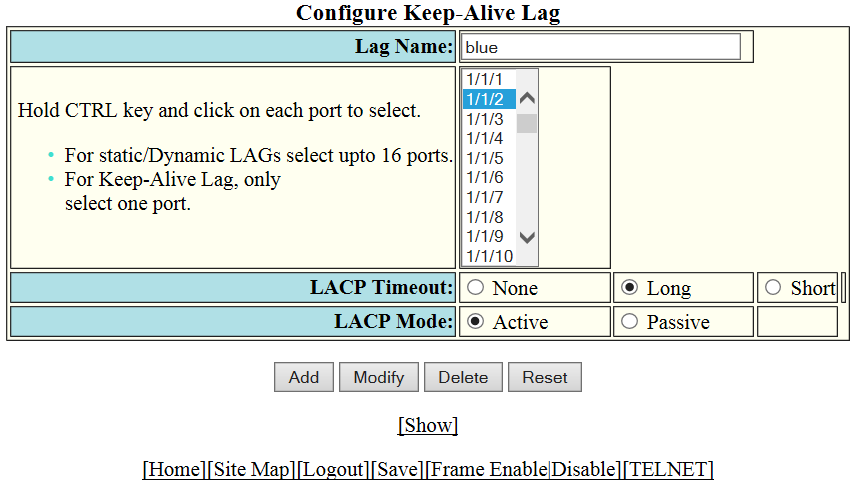
- Enter the LAG name in the
Lag Name field.
You can enter up to 64 alphanumeric characters.
- Enter the LAG ID in the
Lag Id field.
Hold down the CTRL key and, for static and dynamic LAGs only, select ports from the list. The number of ports you can select for static and dynamic LAGs depends on the platform. You can select only one port for keep-alive LAGs.Note: If you do not select a LAG ID, an ID is automatically generated.
-
Note: This step applies only to static and dynamic LAGs.Select the LAG virtual interface.
-
Note: This step applies only to static LAGs.Configure the trunk threshold.
-
Note: This step applies only to dynamic and keep-alive LAGs.Configure the LACP timeout.
-
Note: This step applies only to dynamic and keep-alive LAGs.Configure the LACP mode as Active or Passive. By default, the LACP operation mode is Active.
- Click
Add.
The LAG is added.