Configuring a Cluster for Active-Active High Availability Deployment with a LAG Interface
- Log in to the RUCKUS One web user interface with your credentials.
- On the RUCKUS One navigation bar, click .This displays the RUCKUS Edge page.
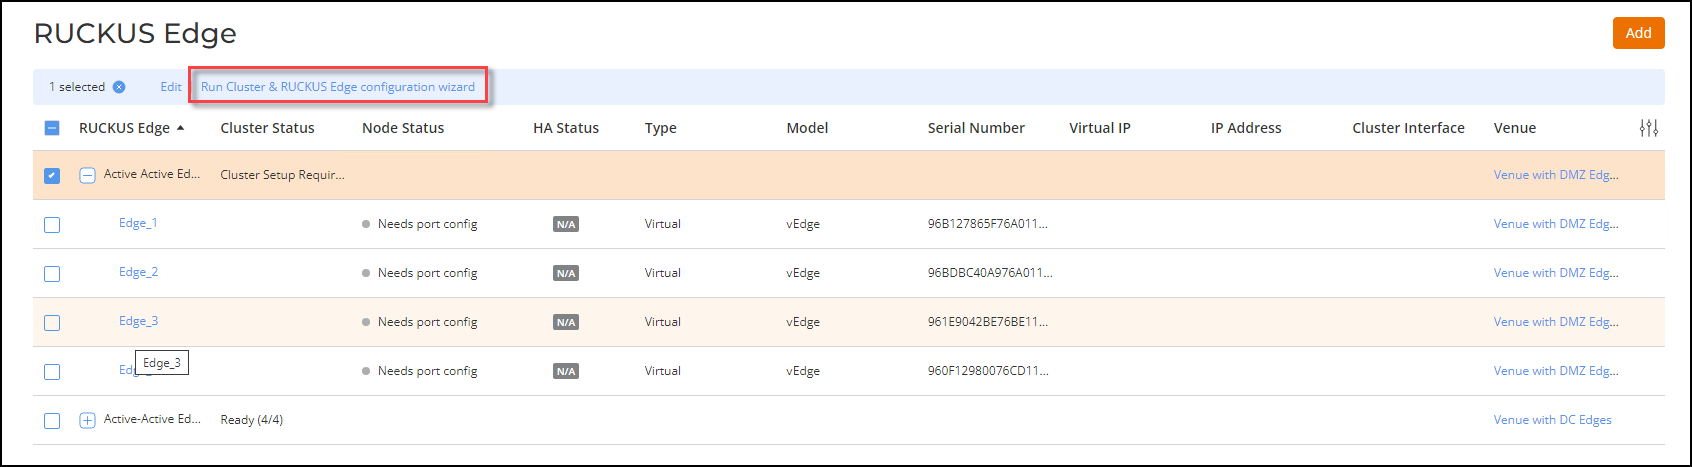
- Select the checkbox adjacent to the RUCKUS Edge cluster. This highlights the Edit and Run Cluster & RUCKUS Edge configuration wizard options.
- Click the Run Cluster & RUCKUS Edge configuration wizard option.
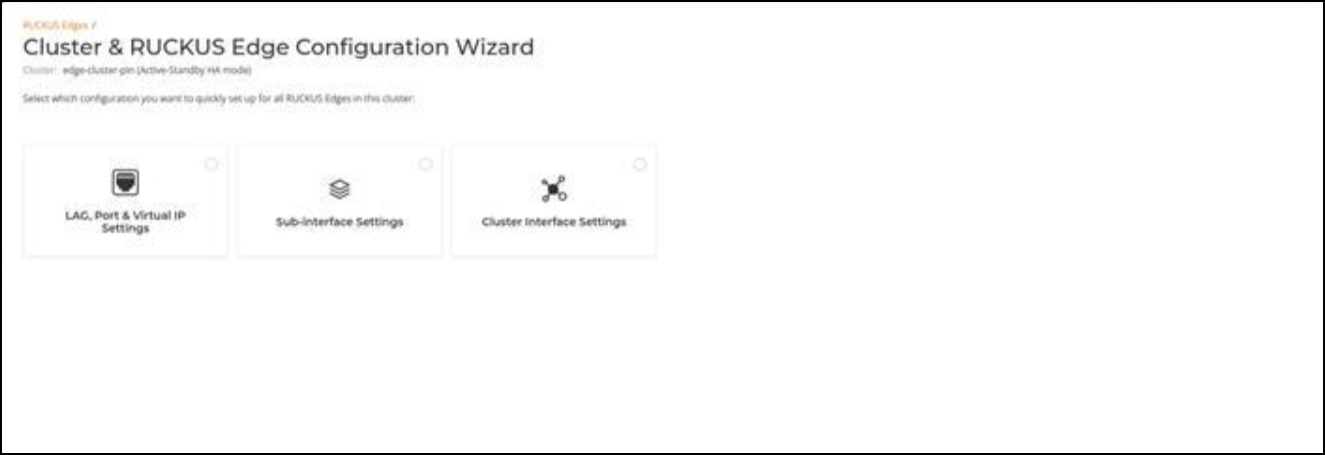
- Select the LAG, Port, & HA Settings checkbox and click Next to start the configuration.
- Proceed to section Configuring Link Aggregation Group (LAG), Port, and HA Settings for configuration details.
Configuring Link Aggregation Group (LAG), Port, and HA Settings
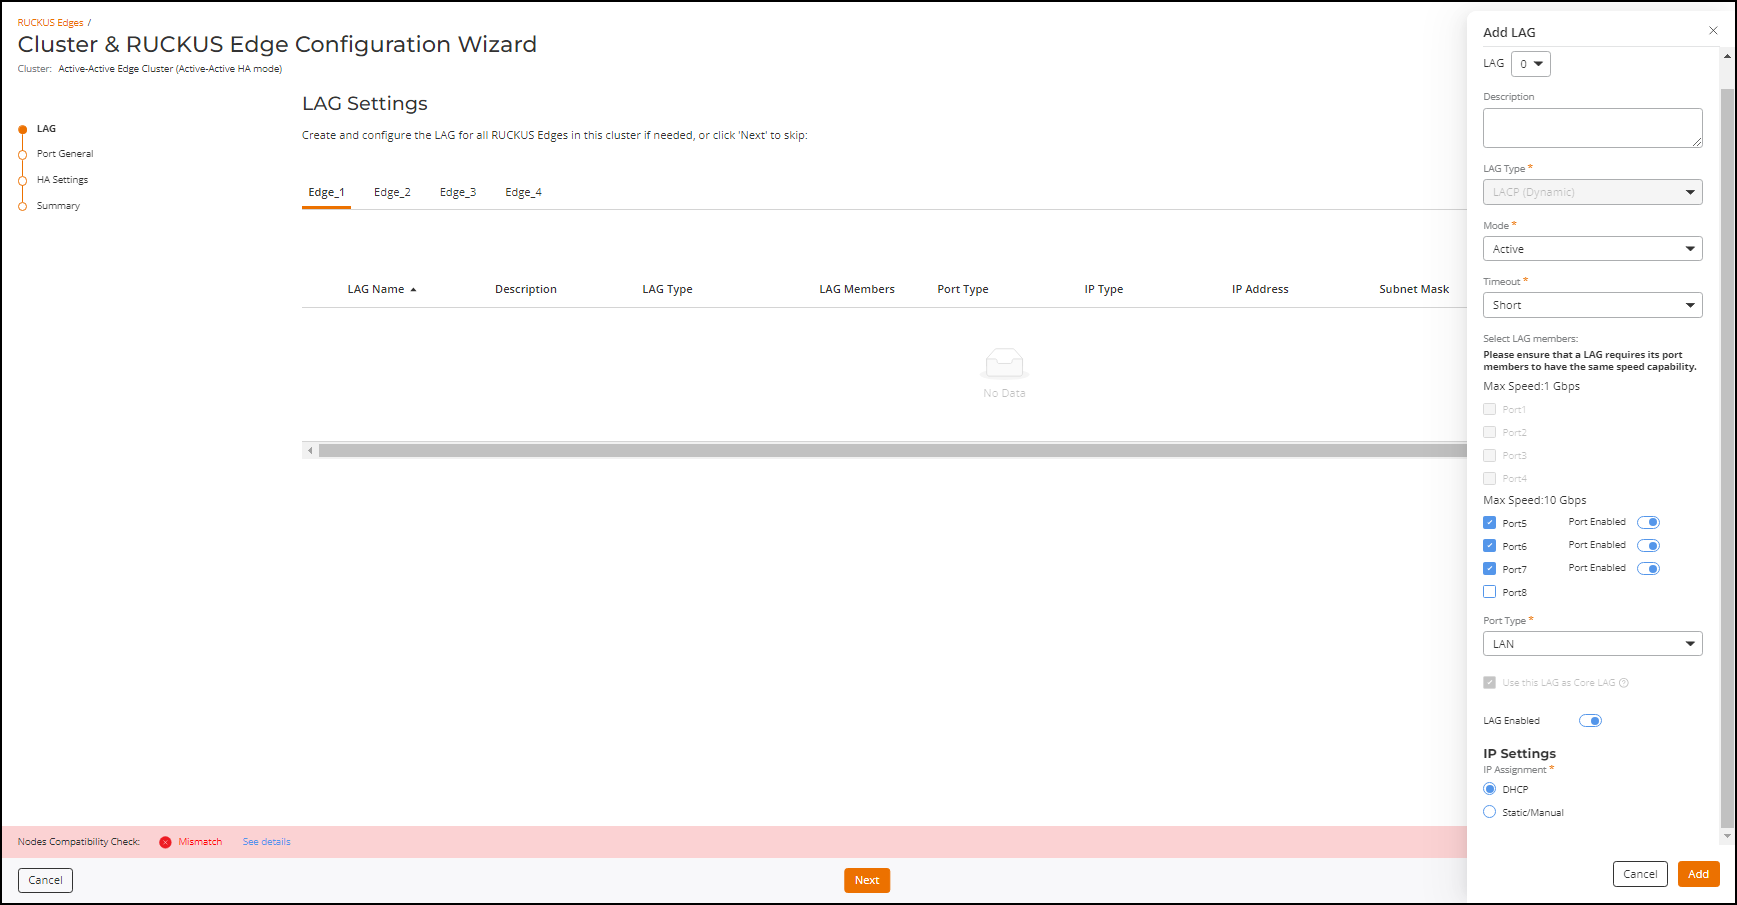
- LAG Settings: Click the Add LAG option.
- On the Add LAG interactive sidebar, complete the fields and click Add.
- Repeat and for all other remaining nodes. When the compatibility check successfully
passes, click Next to proceed to the next page of the
wizard.RUCKUS One performs a compatibility check of the configurations on each node. If a mismatch is detected, it displays a warning message labeled Mismatch. You can click on the See Details option to view the root cause and specifics of the mismatch to quickly identify the discrepancies.
You can Edit or Delete the offending LAG by selecting the checkbox adjacent to the LAG. After the mismatches are resolved, the compatibility check result changes to Pass.
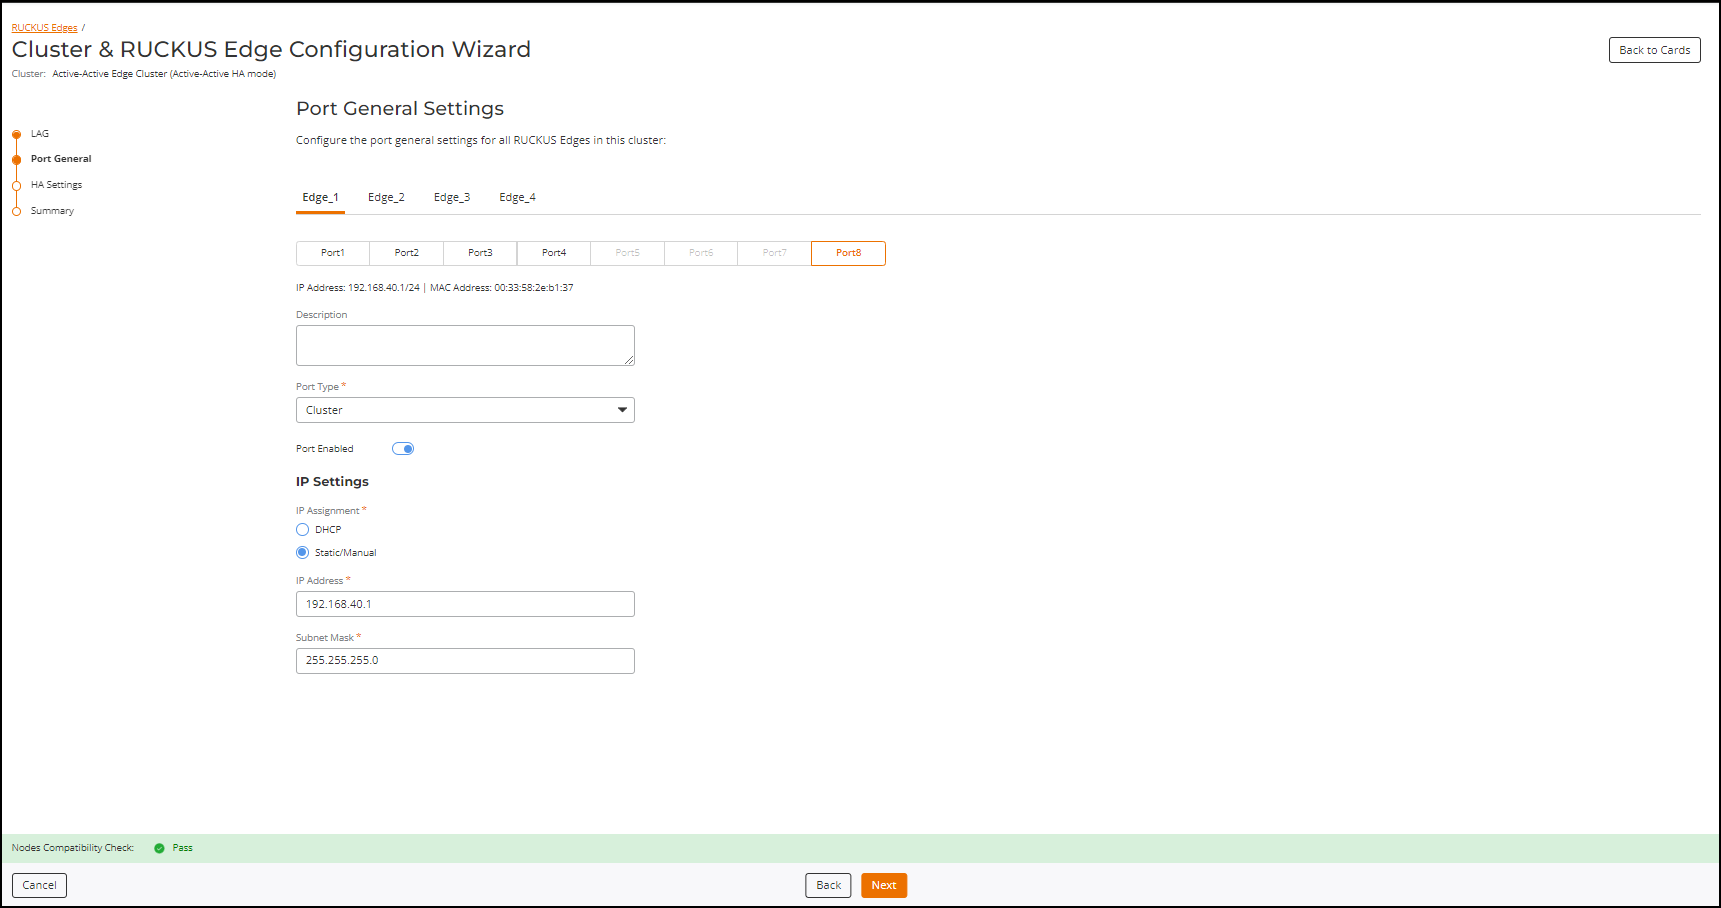
- Port General
Settings: Configure the port general settings for all Edge
devices.
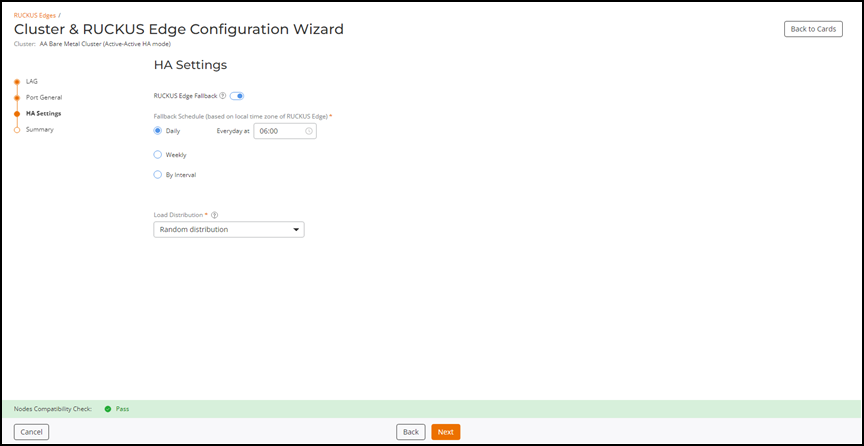
- After port settings have been configured for all nodes in the cluster, click Next. The HA Settings page is displayed.
- (Optional) Toggle the
RUCKUS Edge
Fallback option to enable the feature.Note: For DMZ tunnelling, Fallback schedule configuration for DC cluster need to be configured under DMZ cluster HA setting.
- Choose one the following
Fallback Schedule option.
- Daily: Sets the fallback schedule for the specified time each day.
- Weekly: Sets the fallback schedule for the chosen day at the specified time.
- By Interval: Sets the fallback schedule for the designated interval.
Note: The scheduled fallback time will align with the local time zone of the venue, ensuring the fallback operations occur at the correct local time. - Select the Load Distribution required from the following drop-down options:
- Click Next.The configuration Summary page is displayed, reflecting configuration settings for the cluster.
- View and verify the configuration details and click Apply & Continue proceed to the Cluster Interface Settings configuration, or click Apply & Finish to complete the LAG, Port, and HA Settings configuration without proceeding to the Cluster Interface Settings configuration.
- Proceed to section Configuring Cluster Interface Settings for configuration details.
Configuring Cluster Interface Settings
After configuring the LAG, Port, and HA Settings and clicking Apply & Continue (as described in Configuring Link Aggregation Group (LAG), Port, and HA Settings), select the Cluster Interface checkbox and click Next. This displays Cluster Interface page containing a tab for each Edge device in the cluster.