Activating and Deactivating WLANs in an SD-LAN Service
Editing an SD-LAN Service
- On the RUCKUS One navigation bar, select , then click on the SD-LAN tile.
- Select the checkbox next to the Service Name that you want to edit and click Edit. Alternatively, click on the Service Name and click Configure.
- From the Edit SD-LAN page, click Wi-Fi Network Selection, then click Select Networks for the respective venue.
- Enable or disable networks individually or use the Enable All or Disable All options to apply the action to all active networks in the venue. When Enable All is selected, Core Port is automatically set as the default forward destination. You can also add a new Wi-Fi Network for this SD-LAN service.
- Click OK.
- Click Apply to save the changes.

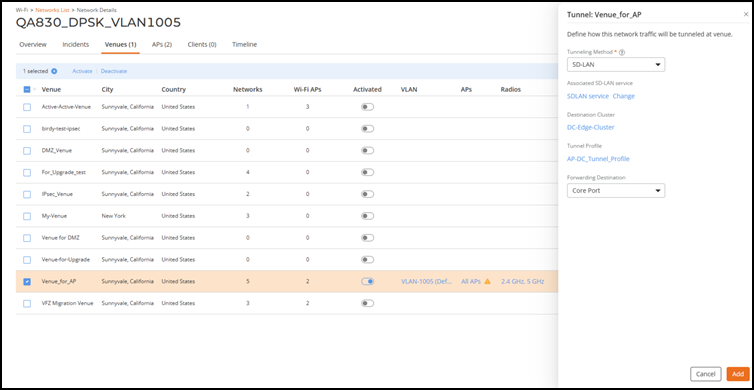
Activating and Deactivating WLAN Tunneling From the Wi‑Fi Networks View
- On the RUCKUS One navigation bar, select .
- Click on the name of the
desired network from the list.
The Network Details page is displayed, defaulting to the Overview tab.
- Select the Venues tab.
- (Optional) Activate tunneling.
- (Optional) Toggle Network Tunneling off to disable tunneling in the respective venue.
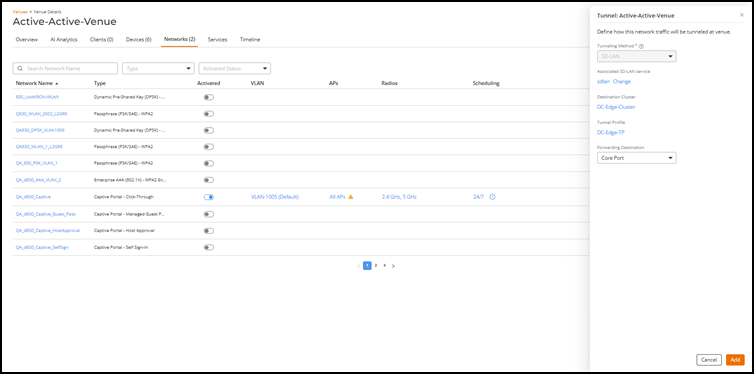
Activating and Deactivating WLANs on Networks at the Venue Level
- On the RUCKUS One navigation bar, select Venues and click on the name of the venue from the list.
- Select the Networks tab.
- Filter the list of networks by clicking the Activated Status filter drop-down and selecting Activated.
- (Optional) Activate tunneling.
- (Optional) Toggle Network Tunneling off to disable tunneling in the respective venue.