Personal Identity Network Configuration
- Add the PIN service to your
tenant account. From the navigation bar, select . This displays the Service Catalog page.
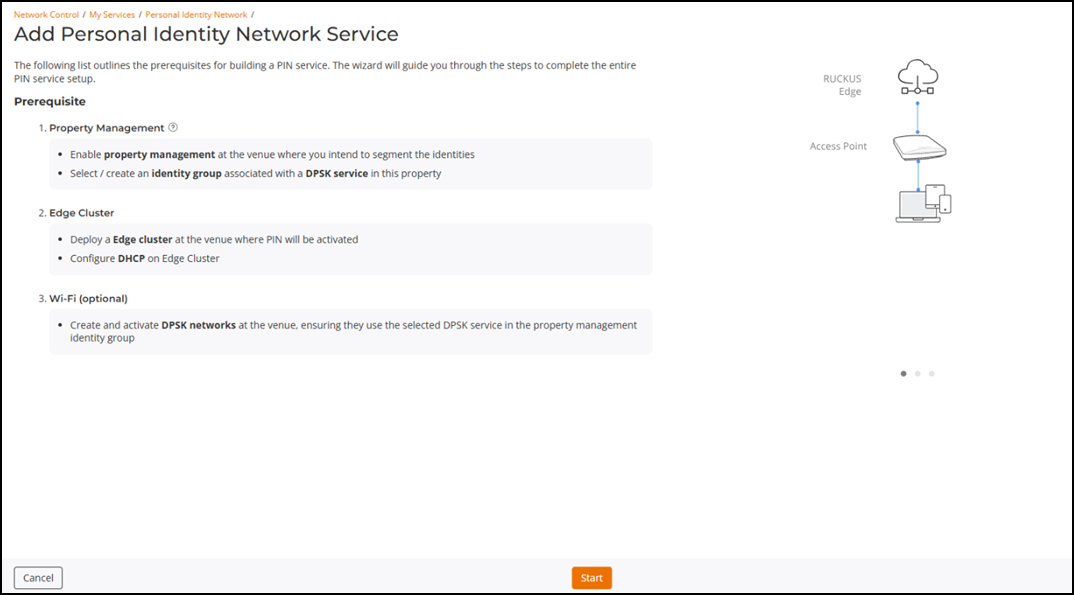
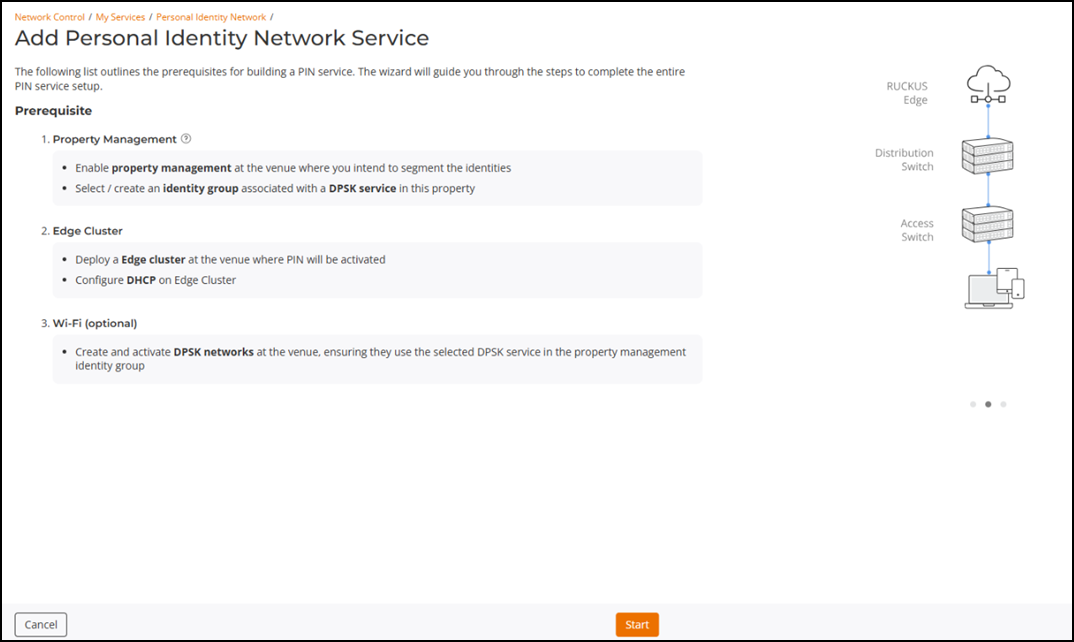
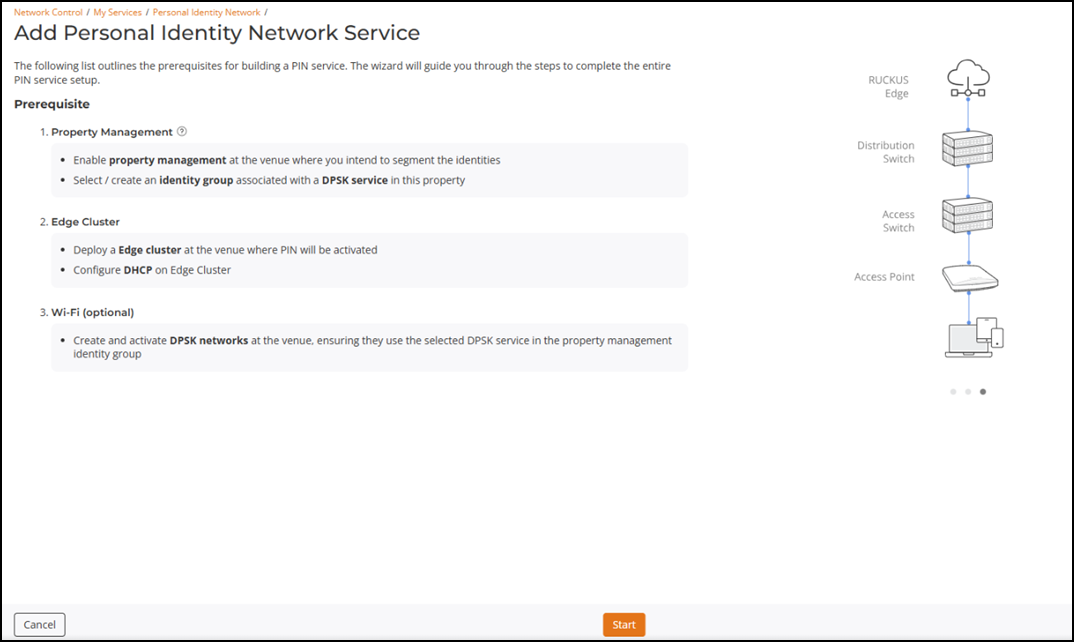
- Click Add in the Add Personal Identity Network tile. This displays the Personal Identity Network Service page.
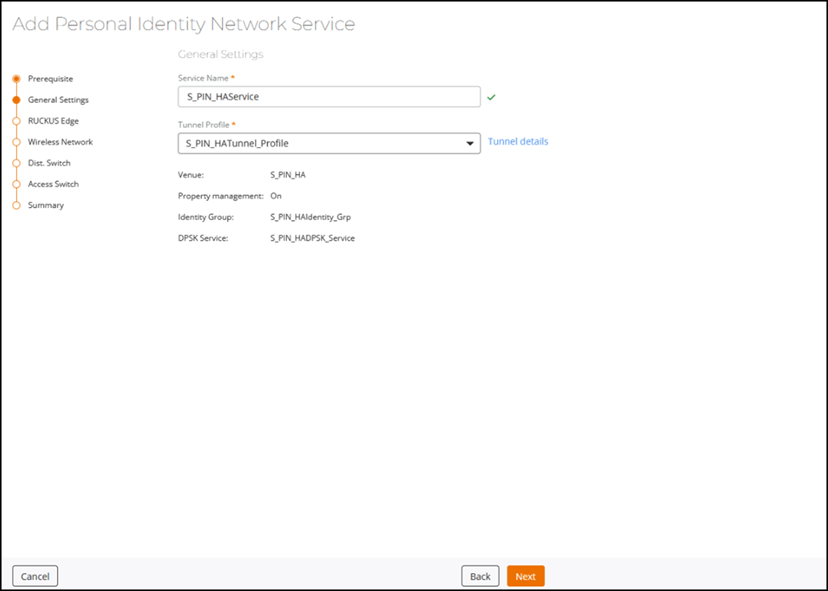
- Click Start. The General Settings page is displayed.
- In the General Settings page, complete the following and click Next.
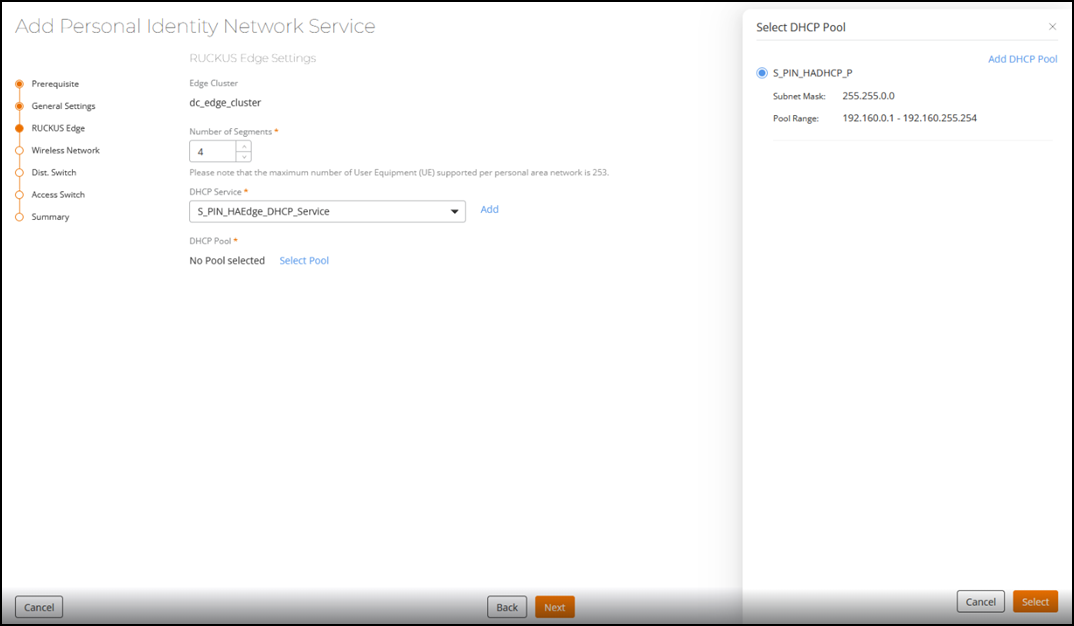
- In the RUCKUS Edge
Settings page, enter the following details and click Next.
- Edge Cluster - Select the cluster from the drop-down.
- Number of Segments - Enter the number of segments required in the platform.
- DHCP Service - Select the DHCP service associated with the selected cluster from the drop-down. Once DHCP Service is selected, the DHCP Pool section will appear.
- Click Select Pool. The Select DHCP Pool sidebar is displayed.
- Select a DHCP Pool and click Select.
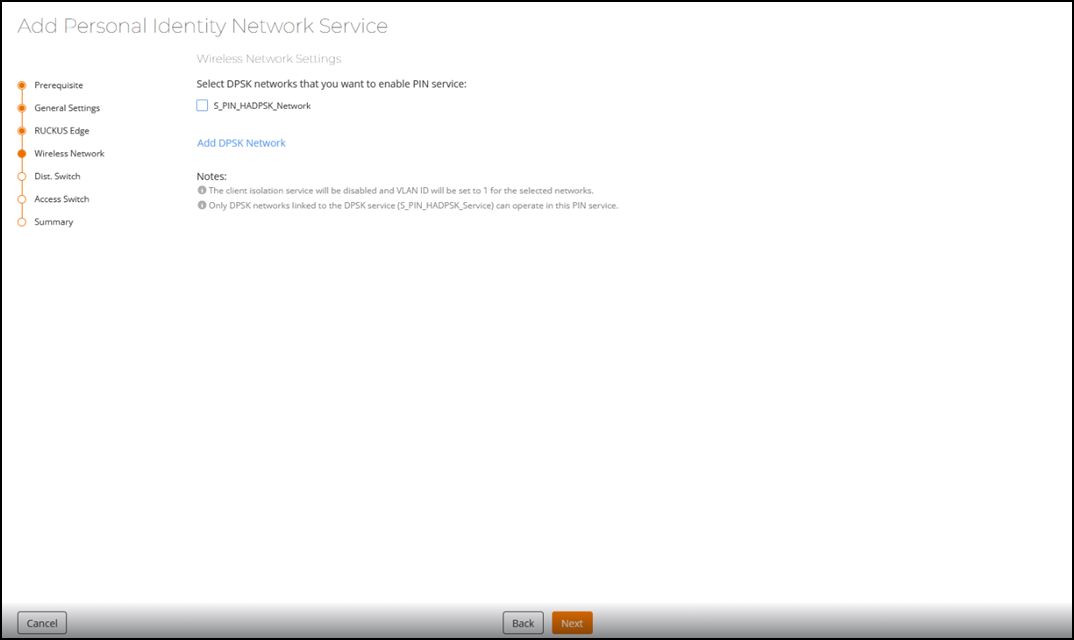
- Click Next to go to the Wireless Network Settings page.
- In the Wireless Network Settings page, enter the following details and click Next.
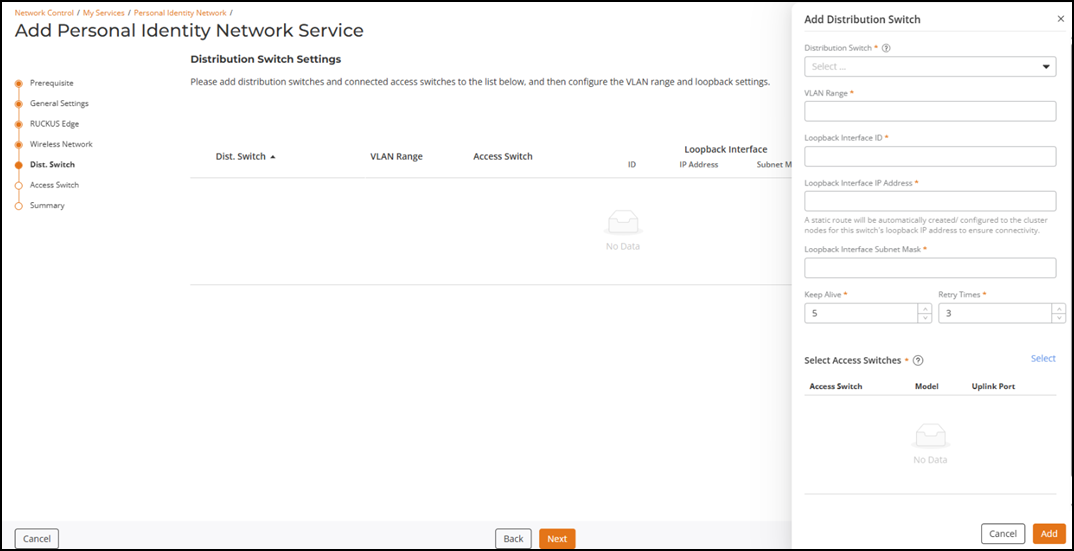
- In the Distribution
Switch Settings page, by default, the distribution switch
associated with the selected RUCKUS Edge device is displayed. However, to add a
new distribution switch, click Add Distribution
Switch and enter the following details in the Add
Distribution Switch sidebar.
- Distribution Switch: Select the distribution switch from the drop-down.
- VLAN Range: Enter the VLAN range.
- Loopback Interface ID: Enter the interface ID.
- Loopback Interface IP Address: Enter the loopback interface IP address.
- Loopback Interface Subnet Mask: Enter the subnet mask.
- Keep Alive: Enter the keep-alive duration.
- Retry Times: Enter the number of times to check if the connection is active.
- Select Access Switches: Click Select to associate an access switch with the distribution switch.
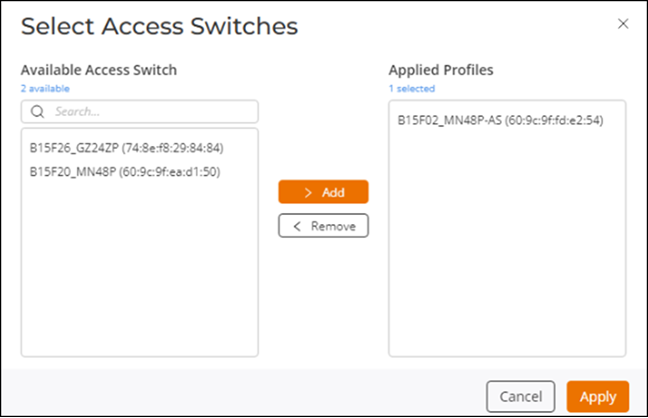
- Add the associated access switch with the distribution switch. Select the switch from the Select Access Switches list and click Add to move it to the Applied Profiles list.
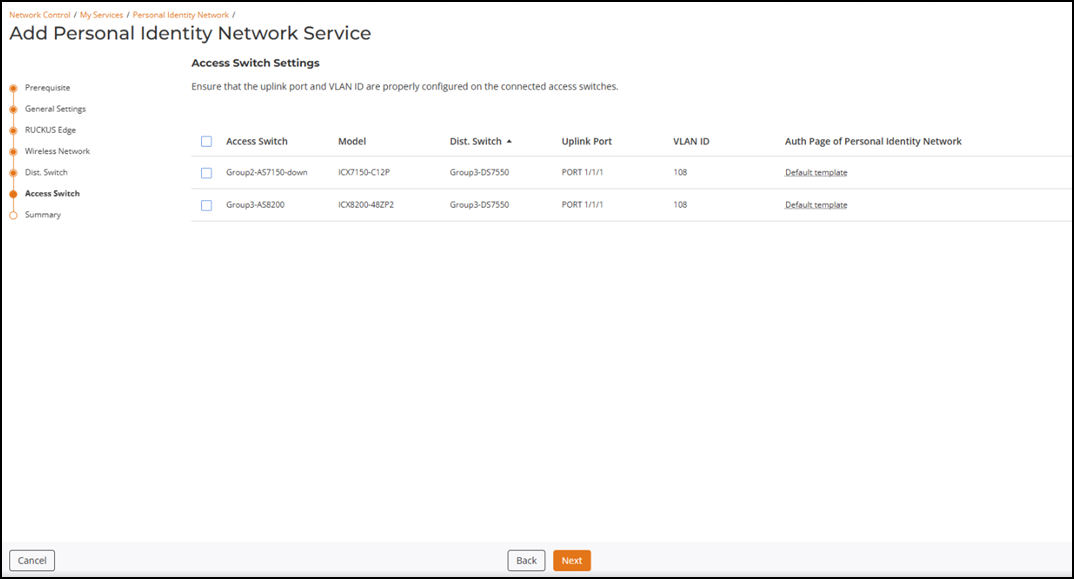
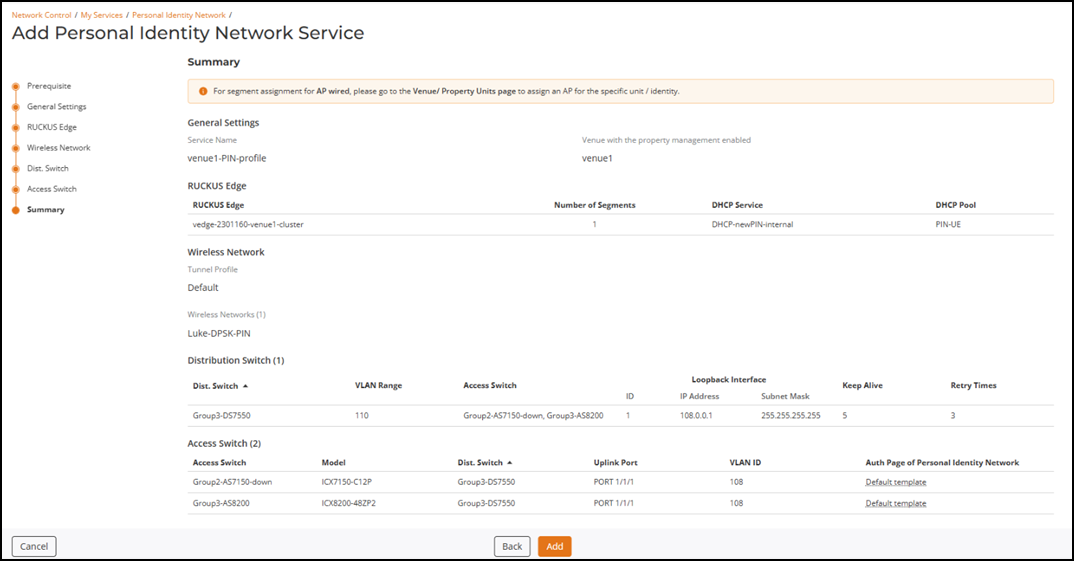
- Select the required switches and click Next to apply the changes. This displays the Summary page.
- View all the selected entries, verify, and click Add. To edit any entry, click Back until you reach the required page.