Configuring a RUCKUS Edge Link Aggregation Group through Command Line Interface
This procedure describes configuring a LAG
using the command line interface (CLI). Using CLI enables quick execution of commands
and
allows more precise control over the system.
Note: Before onboarding the RUCKUS Edge
to RUCKUS One, you can use CLI commands to create a LAG port.
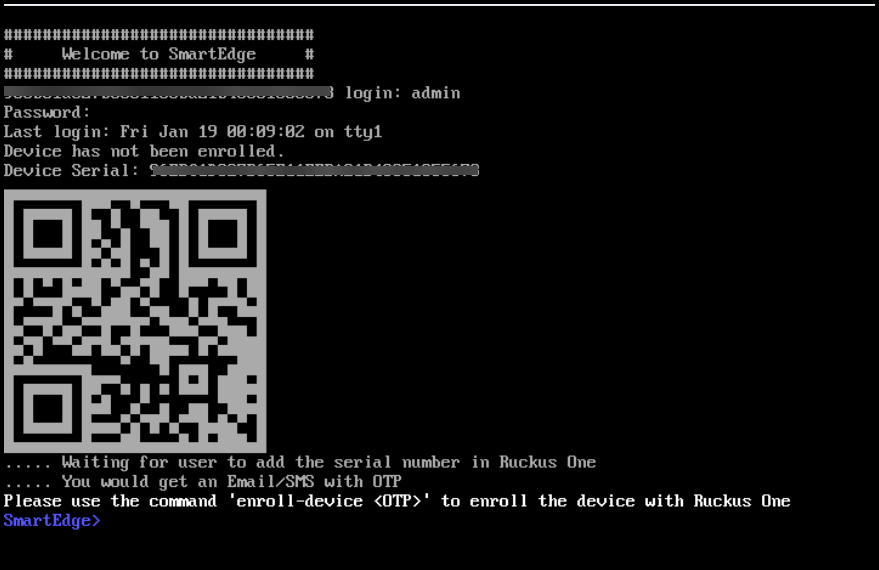
- Log in with your administrator credentials to establish an SSH connection to the Edge device.
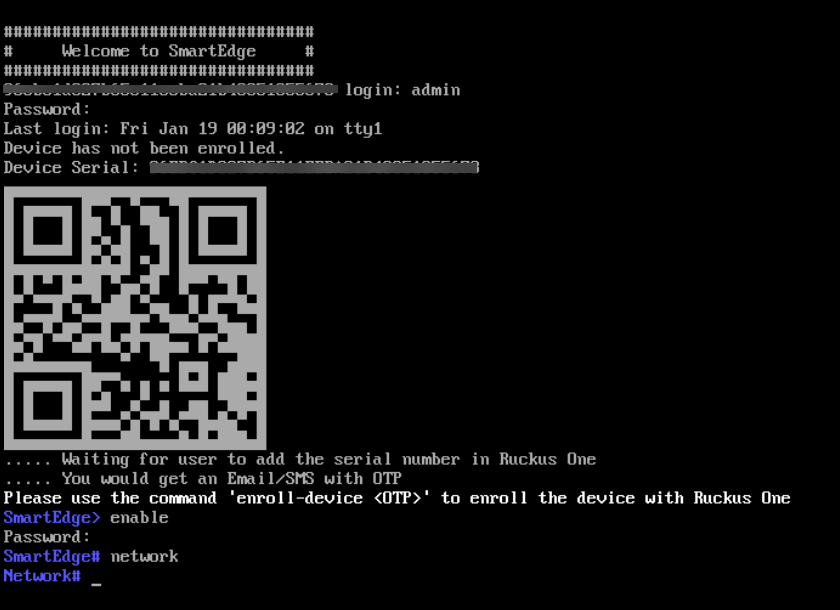
- Enter the
enablecommand to enter advanced CLI mode. Enter your password again when prompted. - Enter the network command to access the network configuration mode.
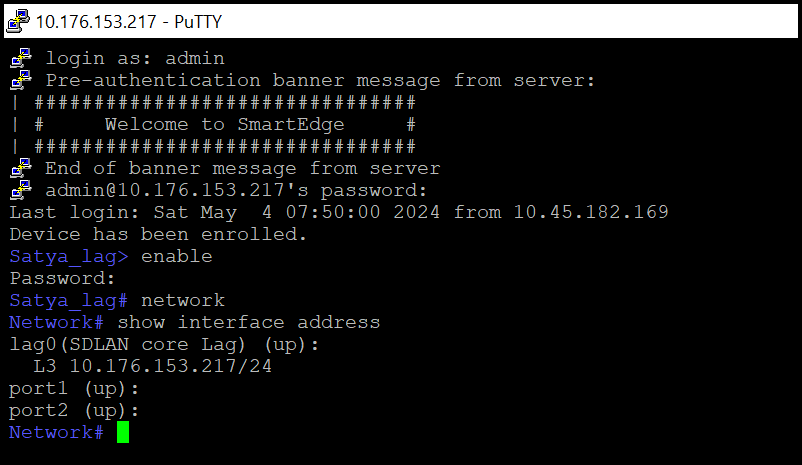
- To view the IP addresses and
operational status of all interfaces, enter the
show interface
                     address
command. - To create a Dynamic LAG using
LACP with a specific identifier, enter the
create lagcommand. The lag_id must be specified as a number and serves as the LAG interface name. RUCKUS Edge supports LAG IDs in the range of 0 through 3. - After creating a LAG, add a port
to the LAG. To add a port, enter the
lag addcommand and specify the LAG ID (created during the previous step) and the port number.Note: TheThe LACP LAG configuration is now complete. Subsequent steps describe viewing LACP LAG information using the command line interface.lag addcommand is used to add one port at a time. To add multiple ports, run this command for each member of the port. To remove a LAG port, enter thelag removecommand. - (OPTIONAL) To view the LAG
configuration, enter the
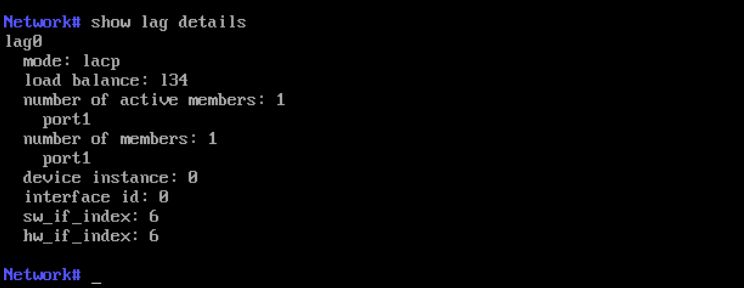
show lagcommand. - (OPTIONAL) To view the LAG
details, enter the
show
                     lag details
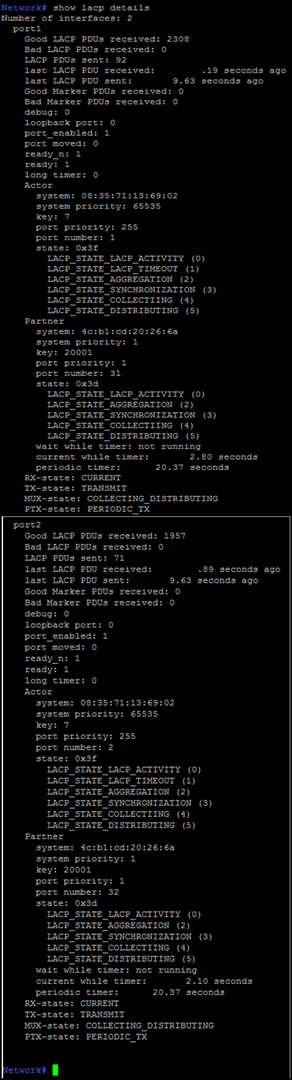
command. - (OPTIONAL) To view the LACP
details, enter the
show
                     lacp details
command. - (OPTIONAL) To view the interface
details, enter the
show
                     interface address
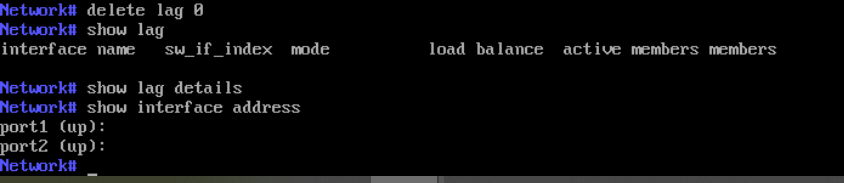
command. - (OPTIONAL) To delete a LAG,
enter the
delete
                     lag
command, including the LAG ID.