Configuring Static Routes
When a user creates a PIN profile, the
system does not automatically generate a static route. Instead, the static route must
be
manually configured. Once added, the static routes remain in the IP routing table
only as
long as the port or virtual interface used by the route is available and the next-hop
IP
address is valid.
- On the RUCKUS One navigation bar, click . This displays the list of RUCKUS Edge devices.
- Click on the name of the RUCKUS Edge device. If the device is part of a cluster, then you have to expand the cluster to click on the specific device. This displays RUCKUS Edge details page.
- In the RUCKUS Edge details page, select Configure. This displays the RUCKUS Edge configuration details.
- Select the Static Routes tab.
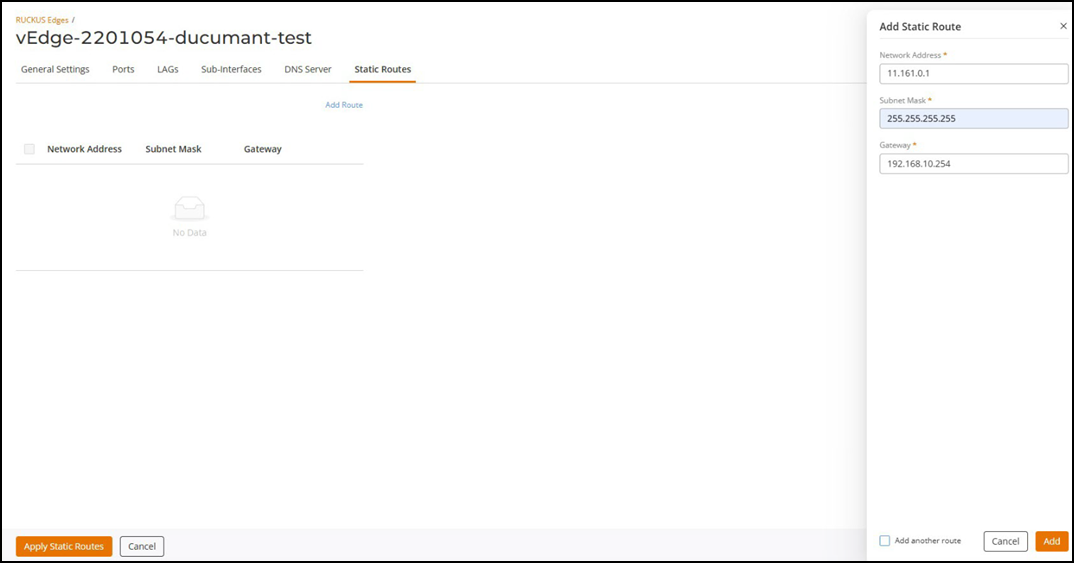
- Click Add Route to add a new static route. This displays the Add Static Route sidebar.
- Click Add. This displays the new static route in the list. You can edit or delete a static route.