Onboarding an Access and a Distribution Switch
Make sure both the switches are able to
reach RUCKUS One in order to connect to the cloud. Both ICX switches should have DNS
server
configured (via DHCP or statically). Use the command-line interface (CLI) to connect
both
the switches. Use the
show manager status command to check connection
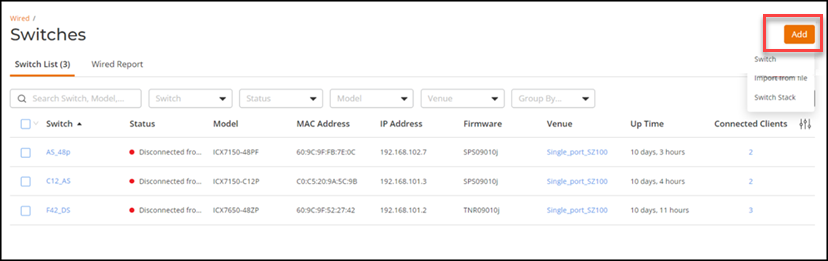
status.- On the RUCKUS One navigation bar, select . This displays the Switches page.
- Click Add and select Switch. This displays the Add Switch page.
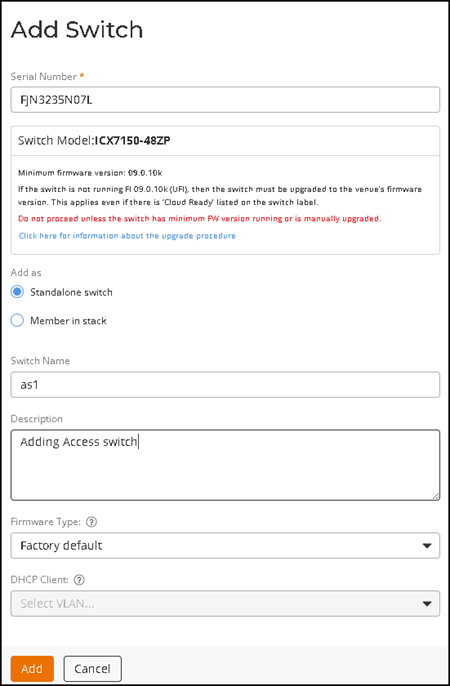
- In the Add Switch page, enter the following details:
- Venue - Select the venue name from the drop-down.
- Serial Number - Enter the serial number of the device.
- Add as - Select either Standalone Switch (standalone switches are managed and configured as a single entity) or Member in Stack (a group of switches work together as a single entity).
- Switch Name - Enter the name of the switch.
- Description - Enter a short description for the switch.
- Firmware Type - Select only if the device is a factory default switch.
- DHCP Client - Select a VLAN only if the device is a factory default switch.
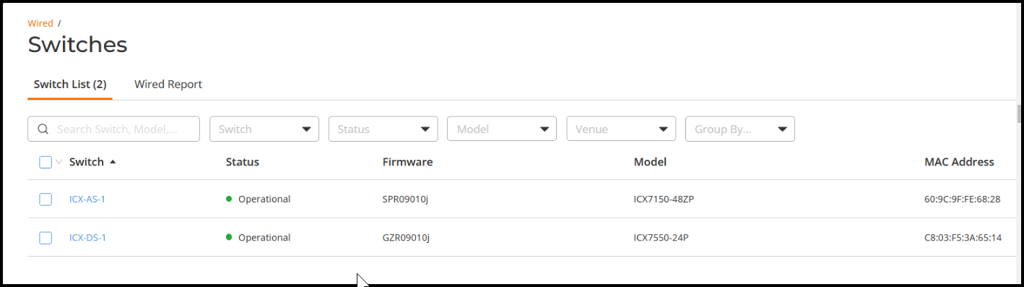
- Click Add. The newly added switch is displayed in the switch list.
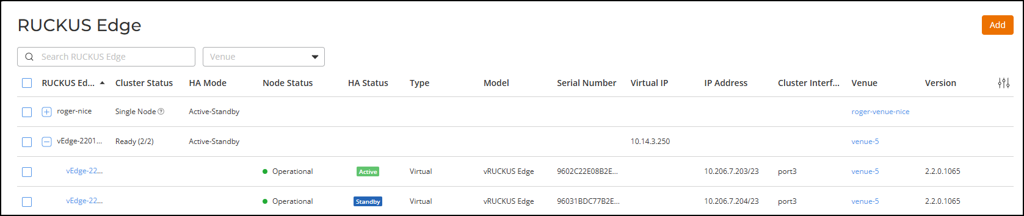
- After the switches are onboarded, tag downlink/uplink ports through RUCKUS One to appropriate values. The ICX switches and RUCKUS Edge are onboarded and the status is displayed as operational.