Using FIPS-Related CLI Commands
Provides CLI instructions to enable,
configure, and verify FIPS mode on the system.
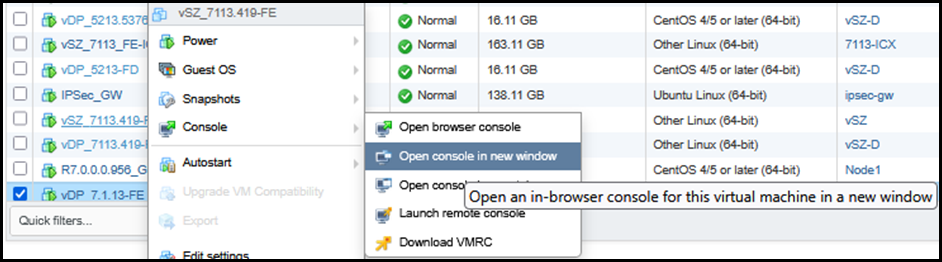
- After the virtual machine is deployed, click Power On to start the vSZ.
- Open a console window to log in to the vSZ CLI.
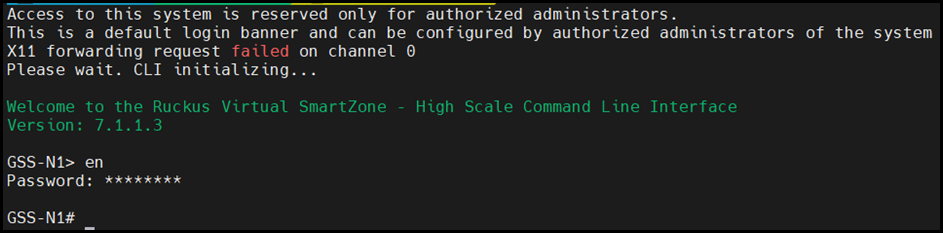
- At the login prompt, log in
using "admin" as both the username and password. At the
>prompt, enter theenable(oren) command and provide the admin password to switch to Privileged EXEC mode.From this point forward, the installation process is the same for both virtual platforms and hardware. - At the command prompt, enter
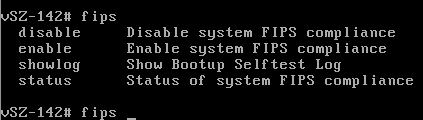
the command
fips
                     						?
to display the list of available FIPS commands. - Enter
fips status to verify whether FIPS mode is enabled or disabled.
Note: When FIPS mode is enabled or disabled after successful installation, vSZ is initiated with set-factory to clean up the configuration.
- Enter fips disable to disable FIPS mode, and enter yes to confirm.
- Enter fips enable to enable FIPS mode, and enter yes to confirm.
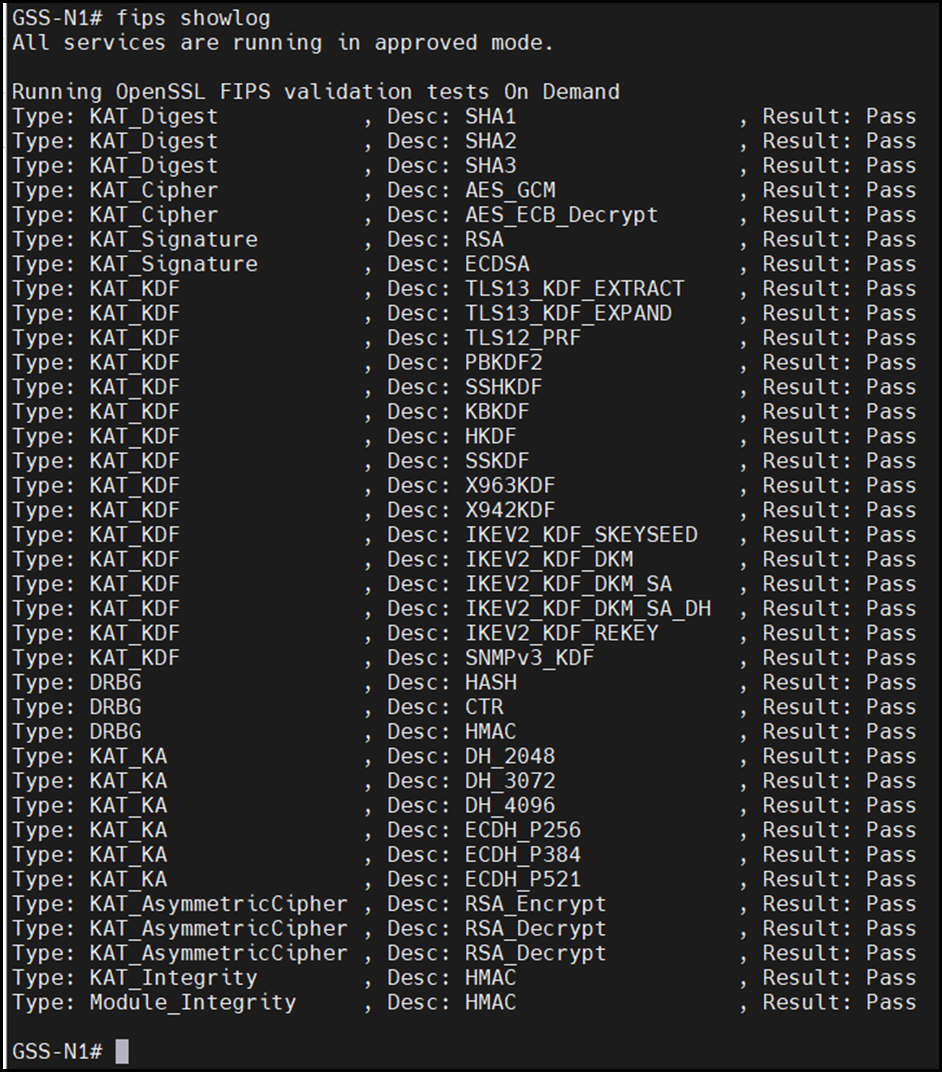
- Enter the command
fips
                     						showlog
to display the results of an on-demand test of FIPS crypto modules.