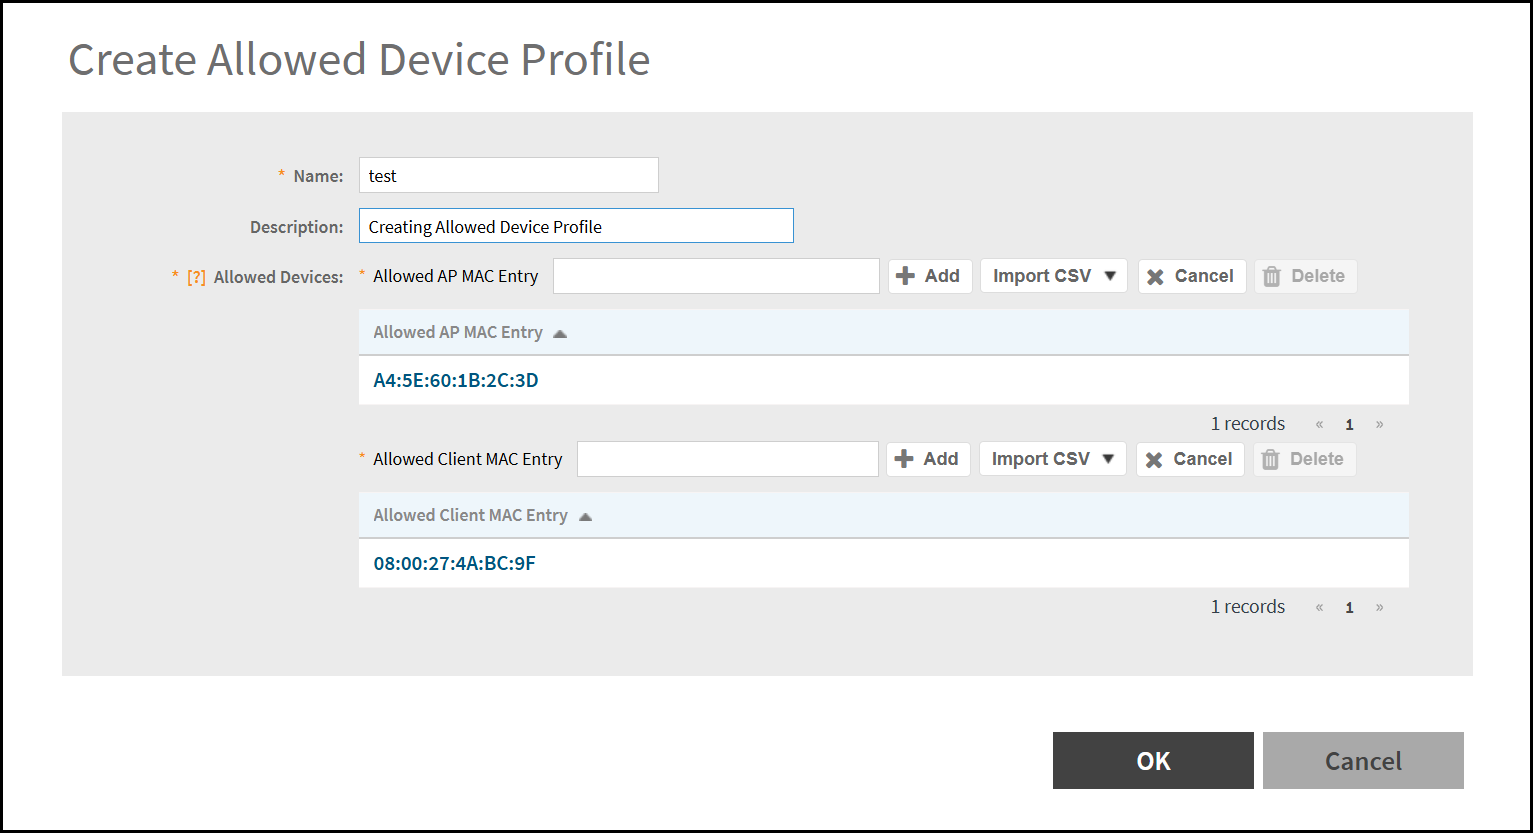
Creating Allowed Device Profile
Creates a profile that defines a list of
authorized AP and EUD MAC addresses permitted to connect to the network.
- From the main menu, navigate to .This displays the Allowed Device Profile screen.
- In the Allowed Device Profile screen, click
Create.This displays the Create Allowed Device Profile window.
- In the Create Allowed Device Profile window, enter the
following -
- Name - Enter a unique name to identify the allowed device profile.
- Description - Enter a brief description to provide additional context for the allowed device profile.
- Allowed Devices - Specifies the MAC addresses of APs and EUDs permitted
to connect to the network under this profile. Entries can be added
manually or imported in bulk using a CSV file.
- Allowed AP MAC Entry - Specifies the MAC address of an access
point (AP) that is authorized as part of the Allowed Device
Profile. To add the AP entry manually, enter the AP MAC address,
for example,
A4:5E:60:1B:2C:3Dand click Add. To bulk import the AP MAC address, click Import CSV.Note: The maximum number of Allowed AP MAC Entry is 500. - Allowed Client MAC Entry - Specifies the MAC address of an End
User Device (EUD) that is authorized under the Allowed Device
Profile. To add the AP entry manually, enter the Client MAC
address, for example,
08:00:27:4A:BC:9Fand click Add. To bulk import the Client MAC address, click Import CSV.Note: The maximum number of Allowed Client MAC Entry is 2000.
- Allowed AP MAC Entry - Specifies the MAC address of an access
point (AP) that is authorized as part of the Allowed Device
Profile. To add the AP entry manually, enter the AP MAC address,
for example,
- After entering all the details, click OK.