Creating and Registering the Virtual Machine (vSZ-D)
This section introduces the process of setting up and registering a virtual instance
of the vSZ‑D platform.
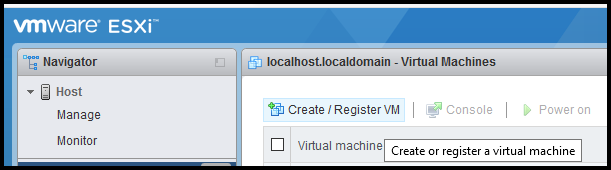
- Install and deploy the
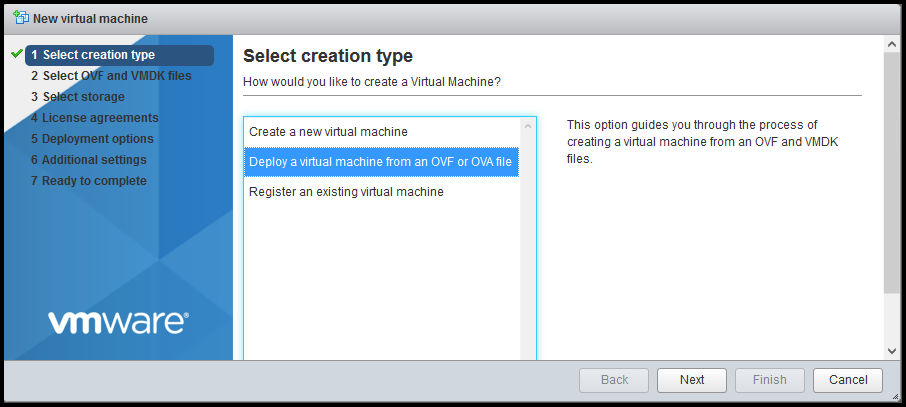
.ovafile on VMware ESXi using the Create/Register VM option. - Select Deploy a virtual machine from an OVF or OVA file and click Next.
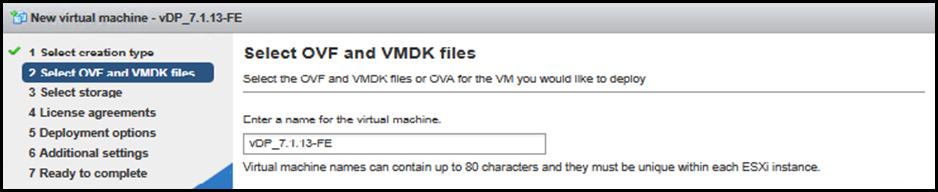
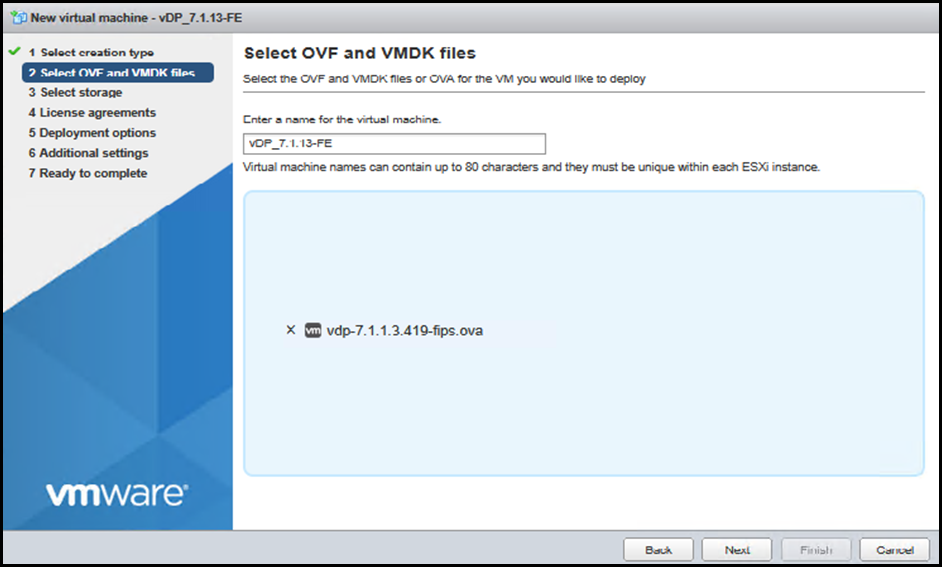
- Enter the VM Name in the Enter a name for the virtual machine field. Click Next.
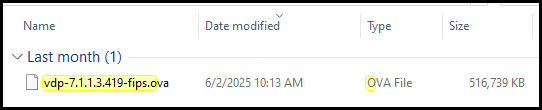
- Browse and select the
.ovafile from the local storage. - The selected file name is displayed in the Select OVF and VMDK files window. Click Next.
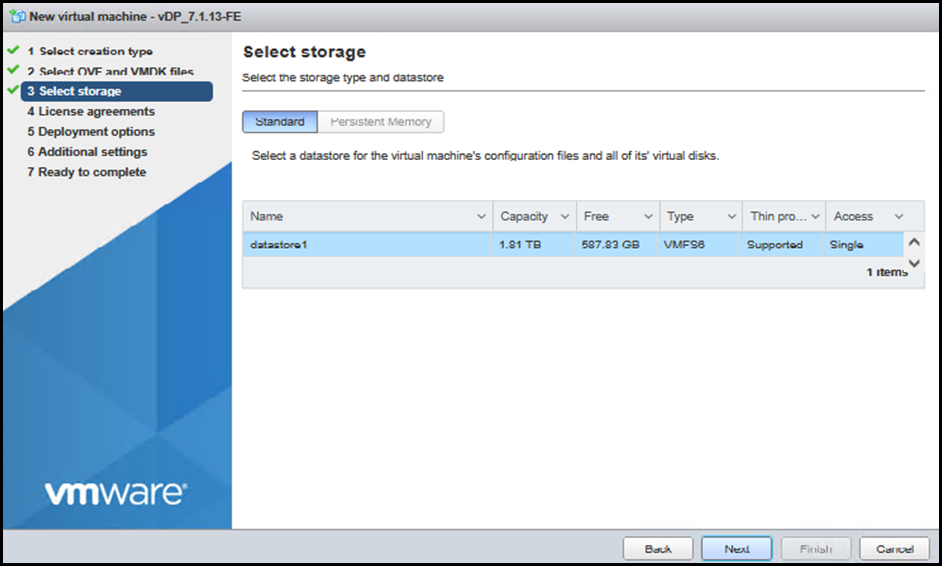
- Select the storage to proceed, and choose the required datastore. Click Next.
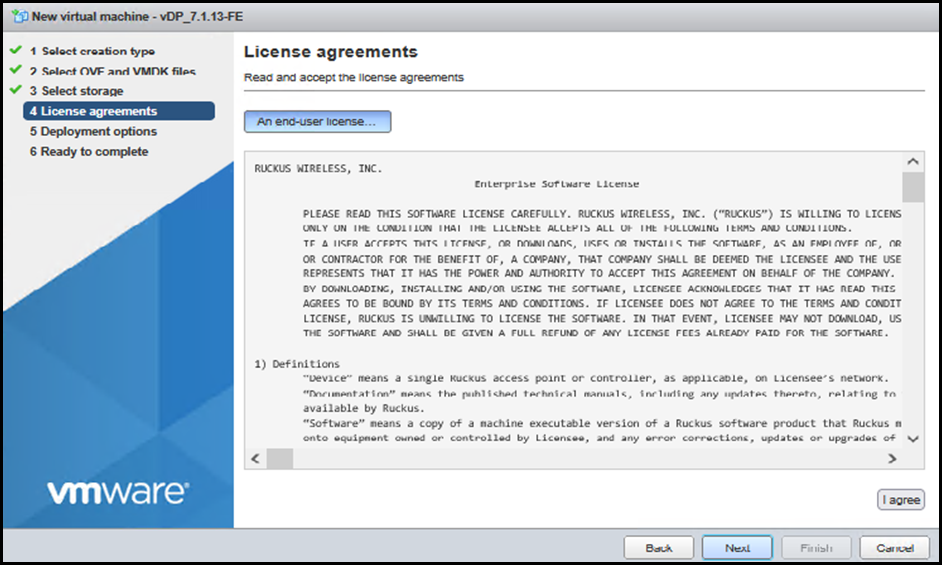
- Read and agree to the License Agreement. Click Next.
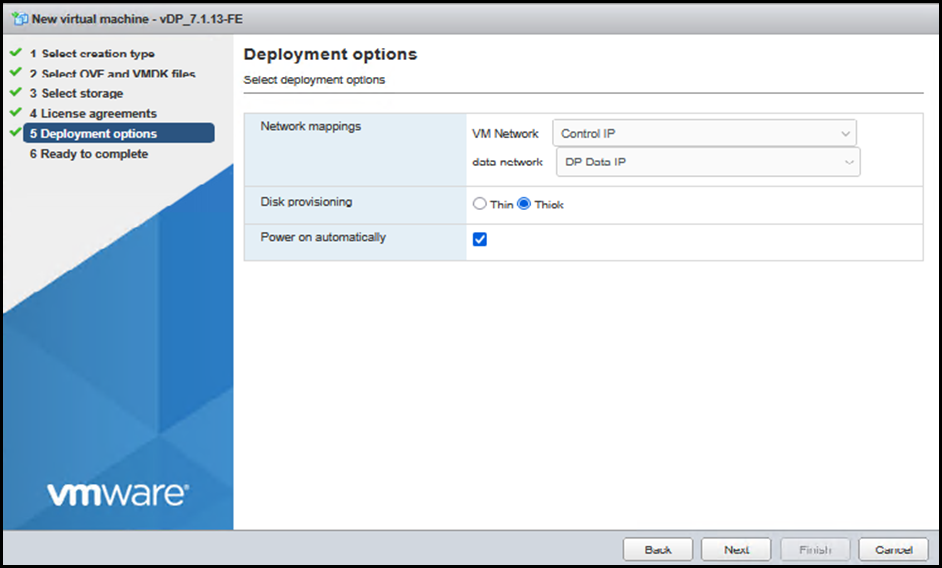
- Select deployment options and choose Disk provisioning as Thick. Click Next.
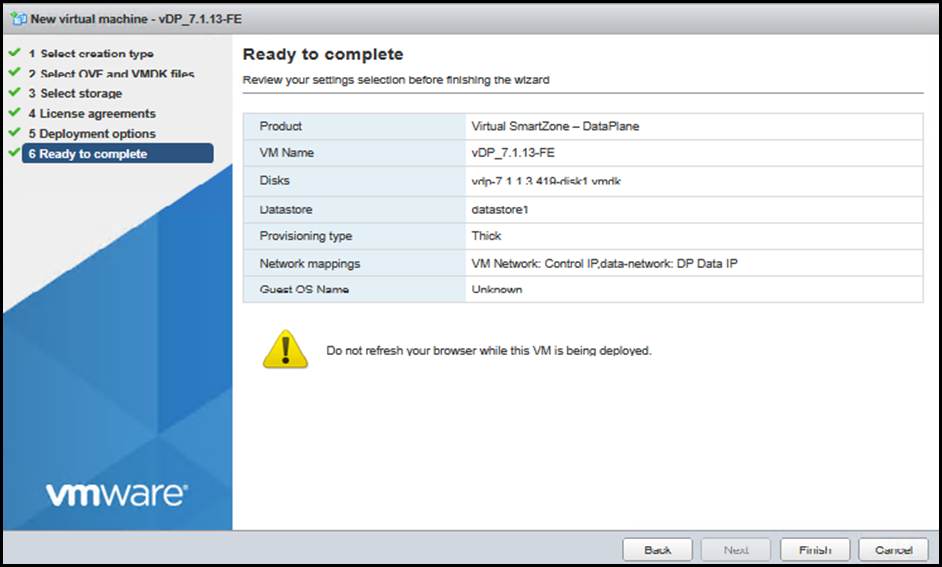
- Review the settings, and click Finish to complete the virtual machine creation and registration.
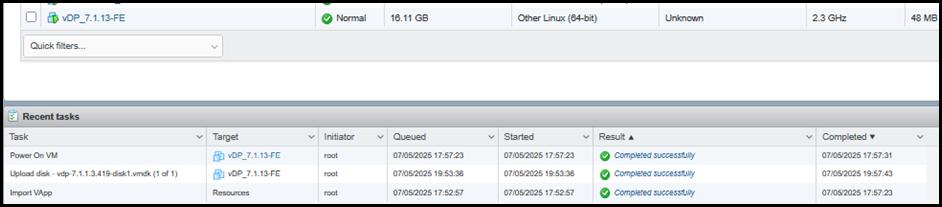
- The installation process shows the progress and displays the successfully completed tasks.