Step 2b: Setup Using a Web Browser
To perform setup using a web browser,
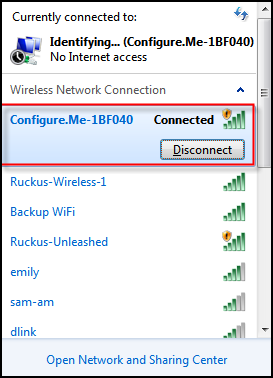
connect to the RUCKUS Unleashed setup network using any Wi-Fi capable client device.
- Using your the Wi-Fi configuration settings on your client device (such as a laptop
or mobile device), select and associate to the
Configure.Me-[xxxxxx] WLAN, and launch a web browser.
Note: Only R750 AP, R770 AP, or R850 AP support Dedicated Master mode.
- In your browser's URL bar, enter
the following address and press Enter: https://10.154.231.125:9090/.
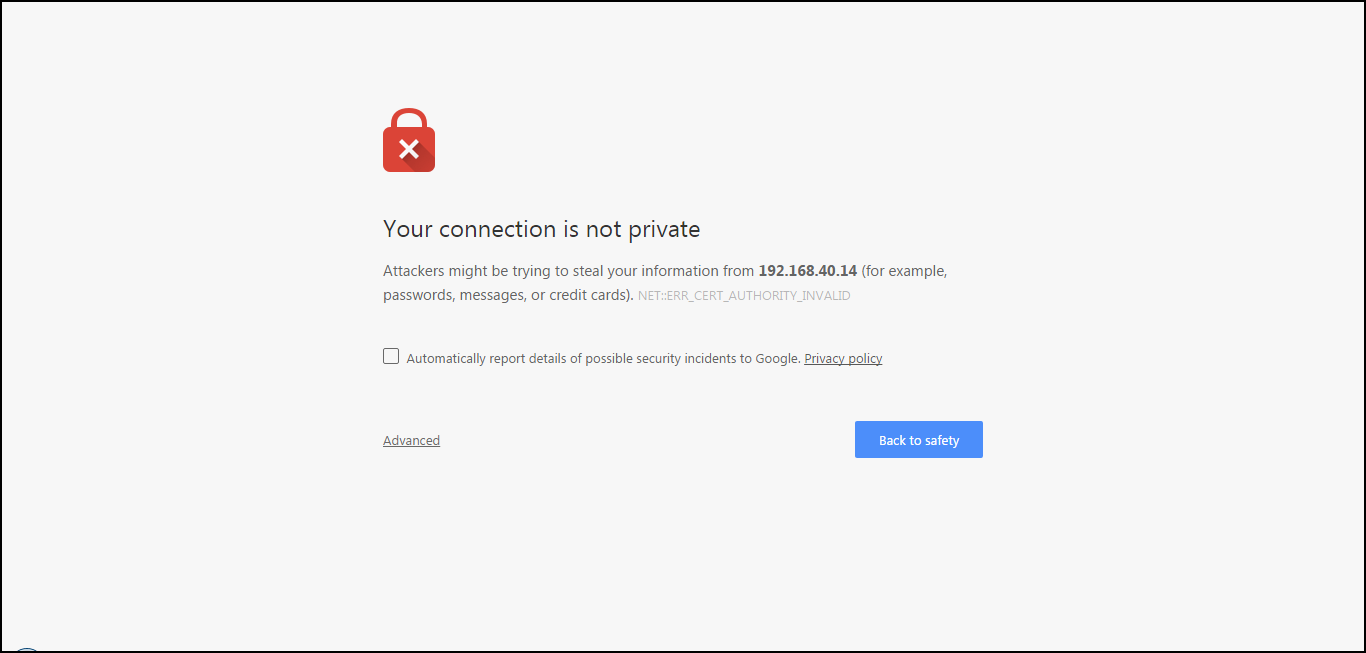
Depending on your browser, you may be presented with one of the following security warnings:
- This connection is not trusted (Firefox)
- Your connection is not private (Chrome)
- There is a problem with this website's security certificate (Internet Explorer)
This is normal, as the RUCKUS Unleashed AP does not have an SSL certificate that is recognized by your browser.
- In response to the security warning, complete one of the following
processes:
- Click I Understand the Risks > Add Exception... > Confirm Security Exception (Firefox)
- Click Advanced > Proceed to [IP address] (unsafe) (Chrome)
- Click Continue to this website (not recommended) (Internet Explorer)
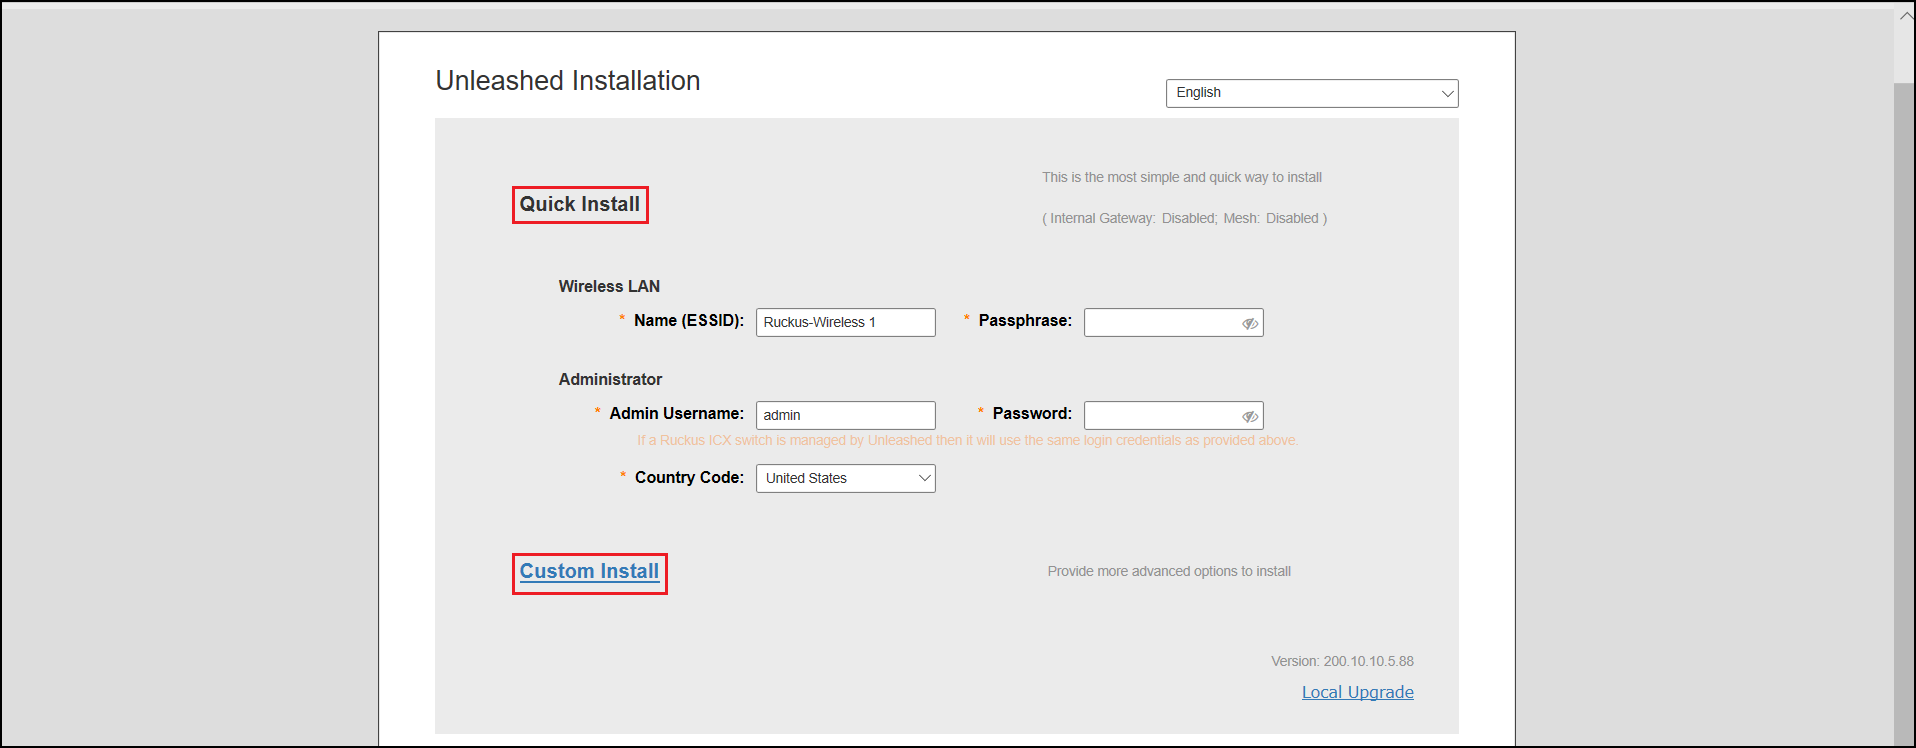
You will be redirected to the Setup Wizard, which guides you through the process of setting up the Master AP.
- Work through the Setup Wizard
and check your configuration choices on the final page, before clicking
Finish
to complete the setup.
- On the first page of the wizard, select your language from the menu.
- Under Quick
Install, fill in the following options:
- Under Wireless LAN, enter the name (ESSID) and password.
- Under Administrator, enter the admin username and password.
- Under Country Code, select a country.
Note: Click Custom Install for other installation options. For more information, refer to Advanced Install and UMM Install. For information on Local Upgrade options, refer to Installation with Local Upgrade.