Local Upgrade
Use the Local Upgrade method to upgrade the network using firmware files that you have downloaded from the RUCKUS Support site.
To upgrade the Master AP and all connected member APs using the Local Upgrade method, use the following procedure:
-
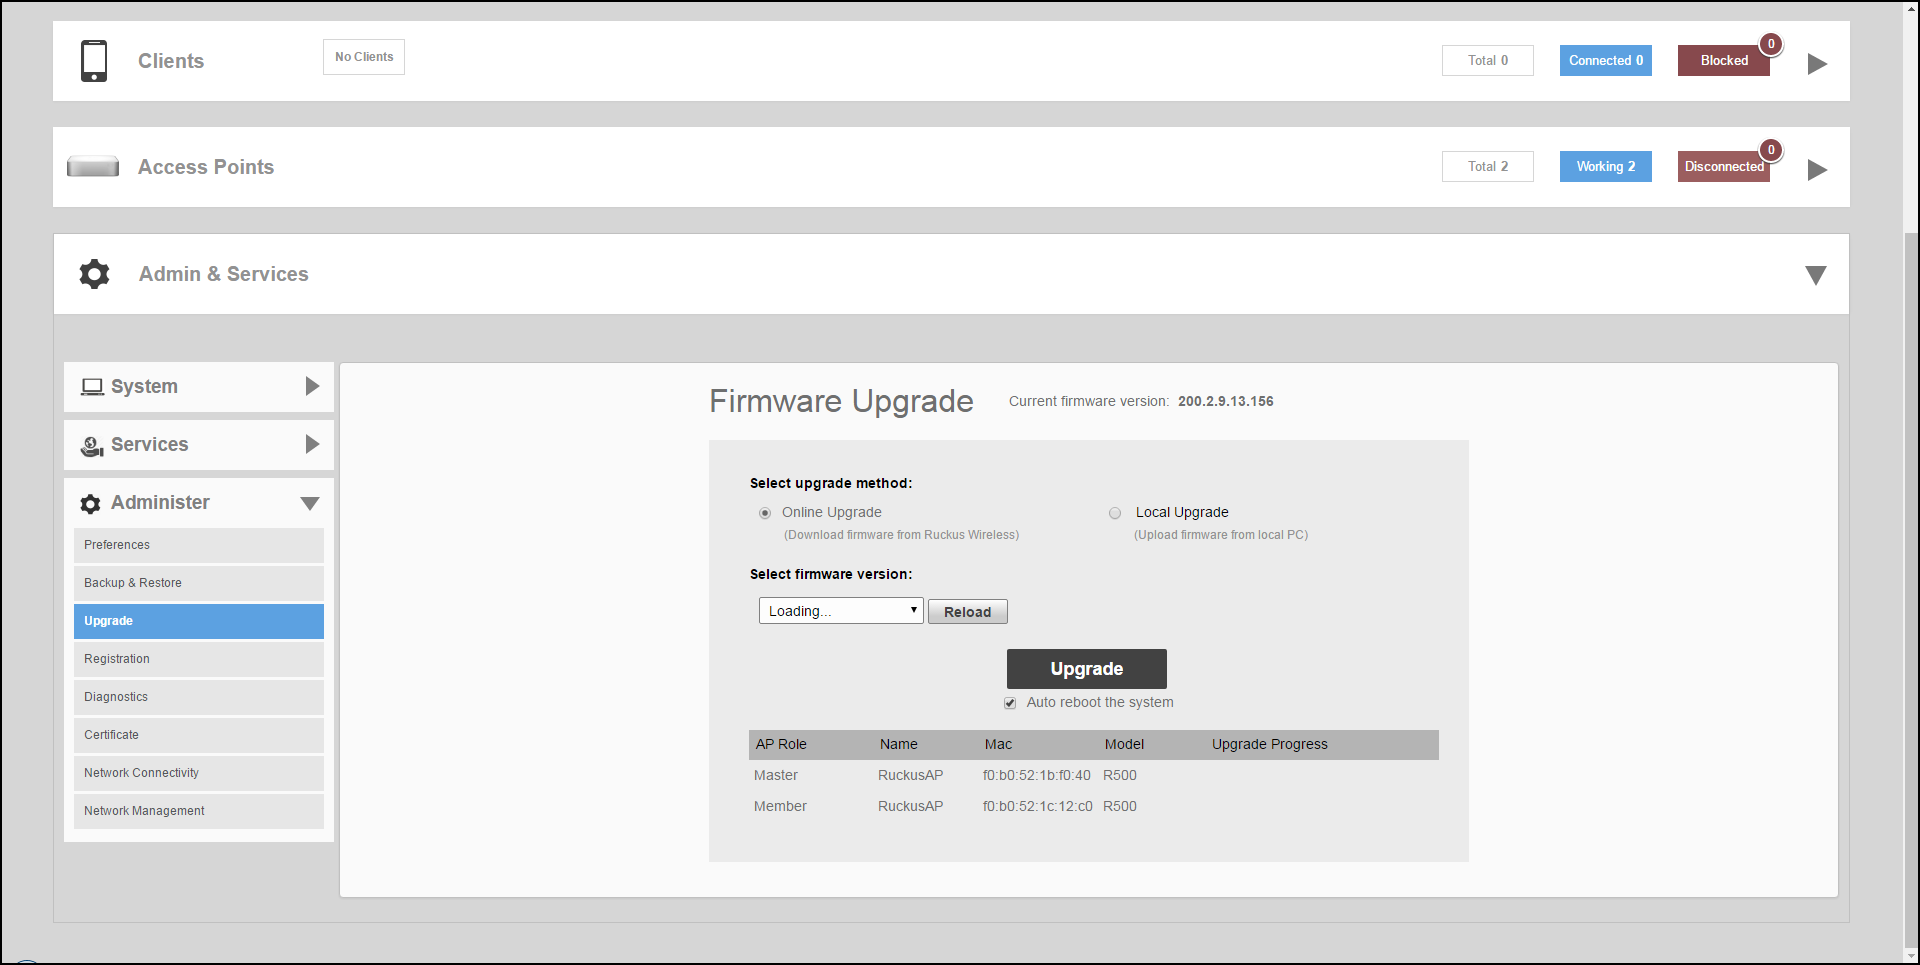
UI path for UnleashedSelect .
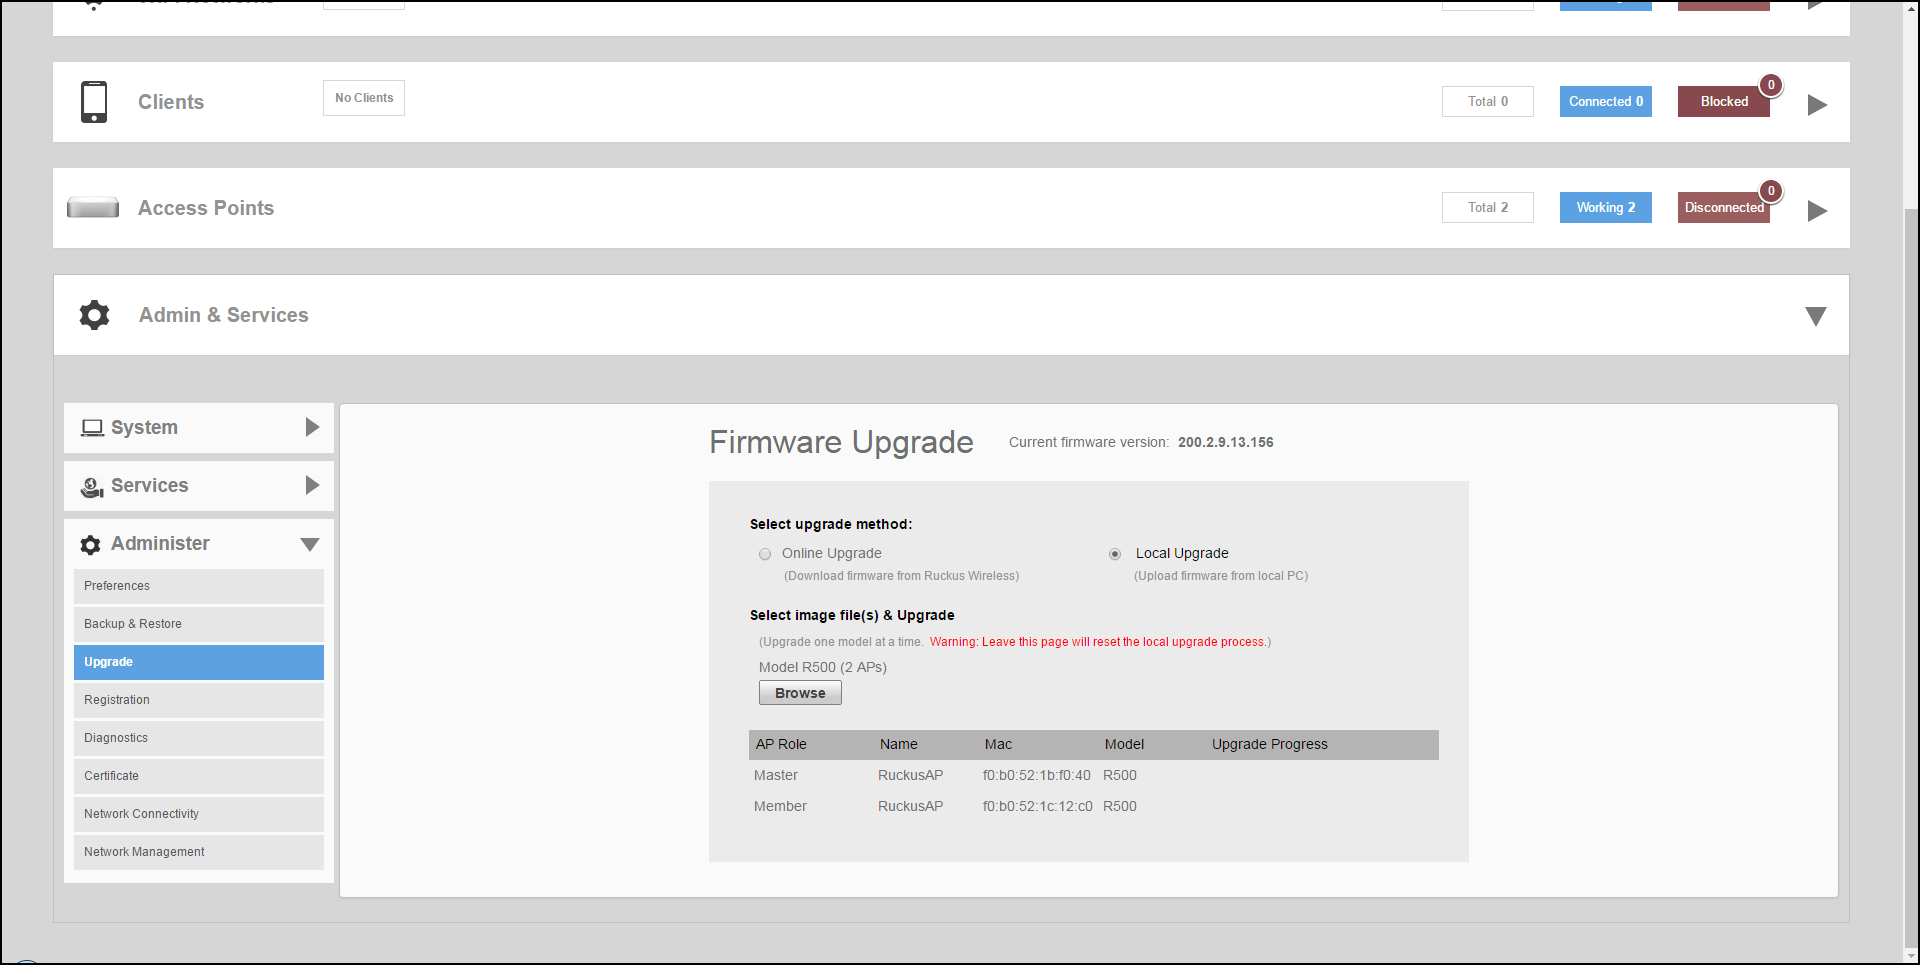
- Select Local Upgrade as the upgrade method.
- Click Browse to locate the firmware image file on your
local computer.
RUCKUS Unleashed will perform a check to make sure it is the proper image for the AP model before proceeding.
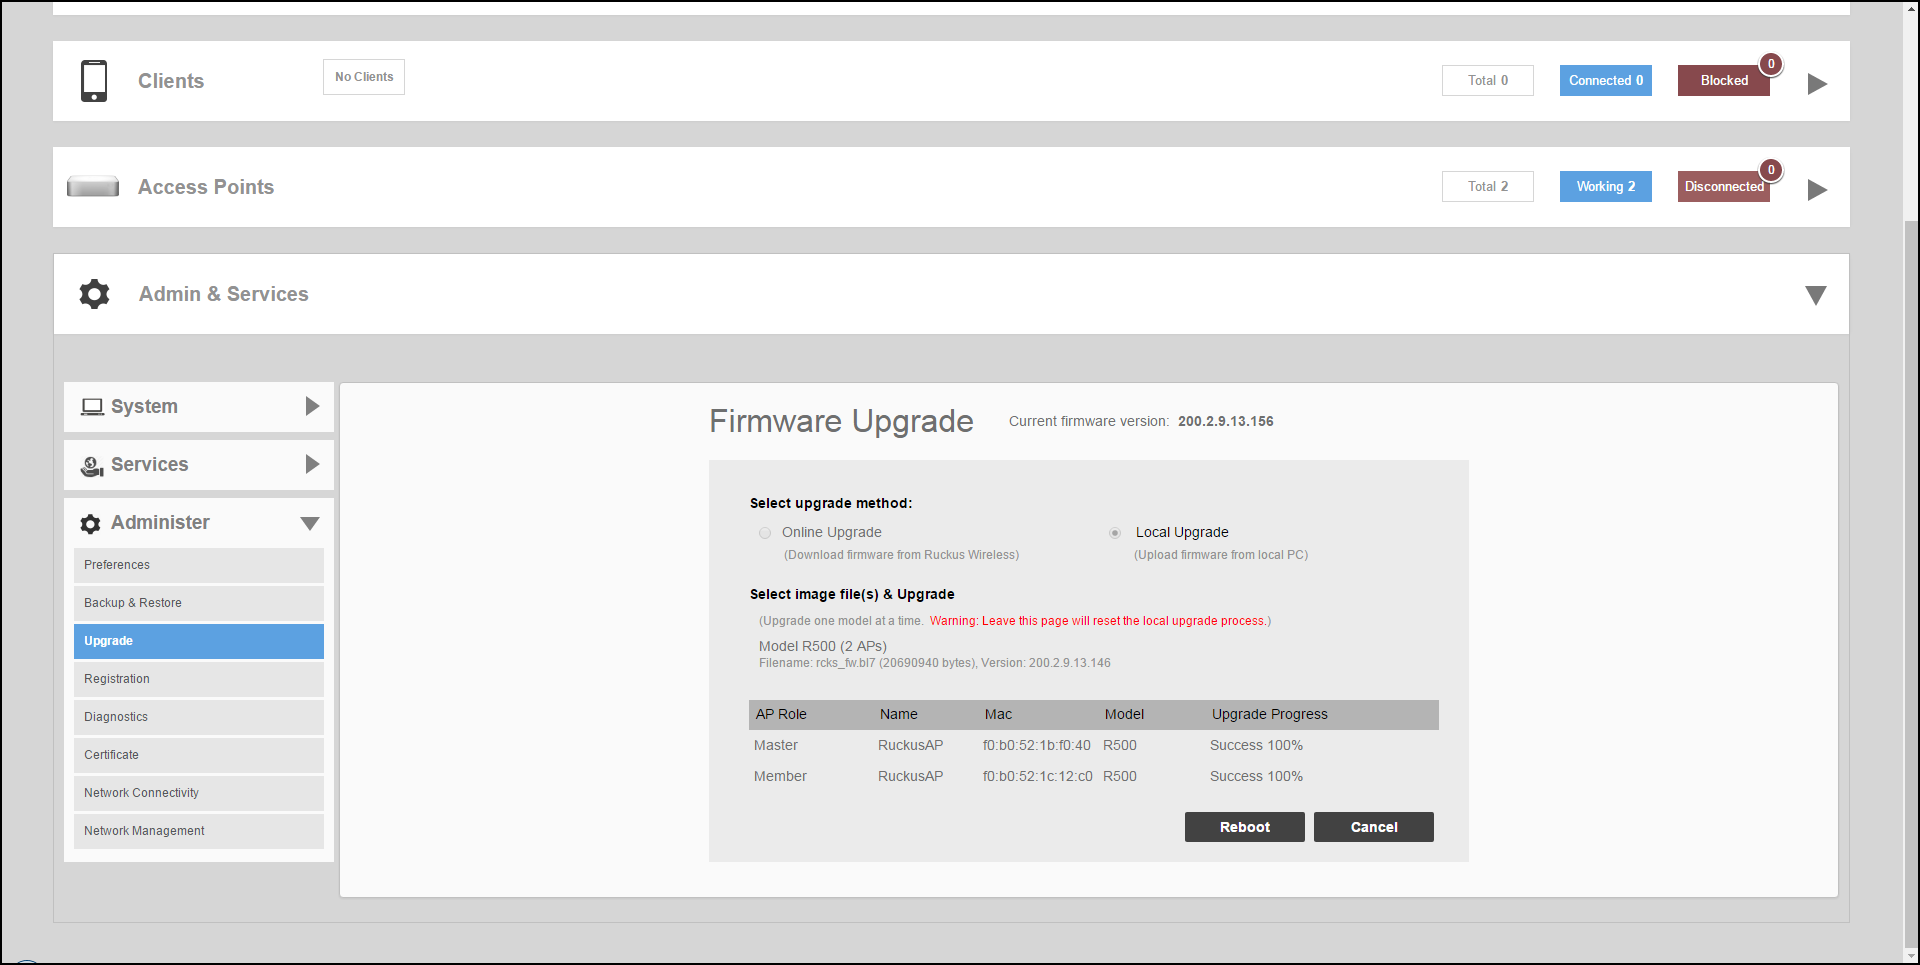
Note: Each AP model has a different firmware image file that must be loaded onto the Master and then distributed to all member APs of that model. So, for example, if you have a mix of two different RUCKUS Unleashed APs, you could upgrade all the APs of one model first and then proceed to upgrade the APs of the other model, or the other way around, but you cannot upgrade both models at the same time.Note: While the upgrade process will check to make sure you do not try to upgrade an RUCKUS Unleashed AP with the incorrect model firmware, there is no check to ensure that you do not upgrade/downgrade an RUCKUS Unleashed AP to a RUCKUS Solo AP (standalone) firmware image. If you do this, the AP will no longer function as an RUCKUS Unleashed AP until RUCKUS Unleashed firmware is re-loaded onto it. - Click Upgrade to begin upgrading the APs shown in the list.
- The Upgrade Progress column displays the progress for each AP. Once completed, the column will display "Success 100%" next to each AP for which the upgrade was successful.
- Repeat steps 3-5 for any additional AP models.
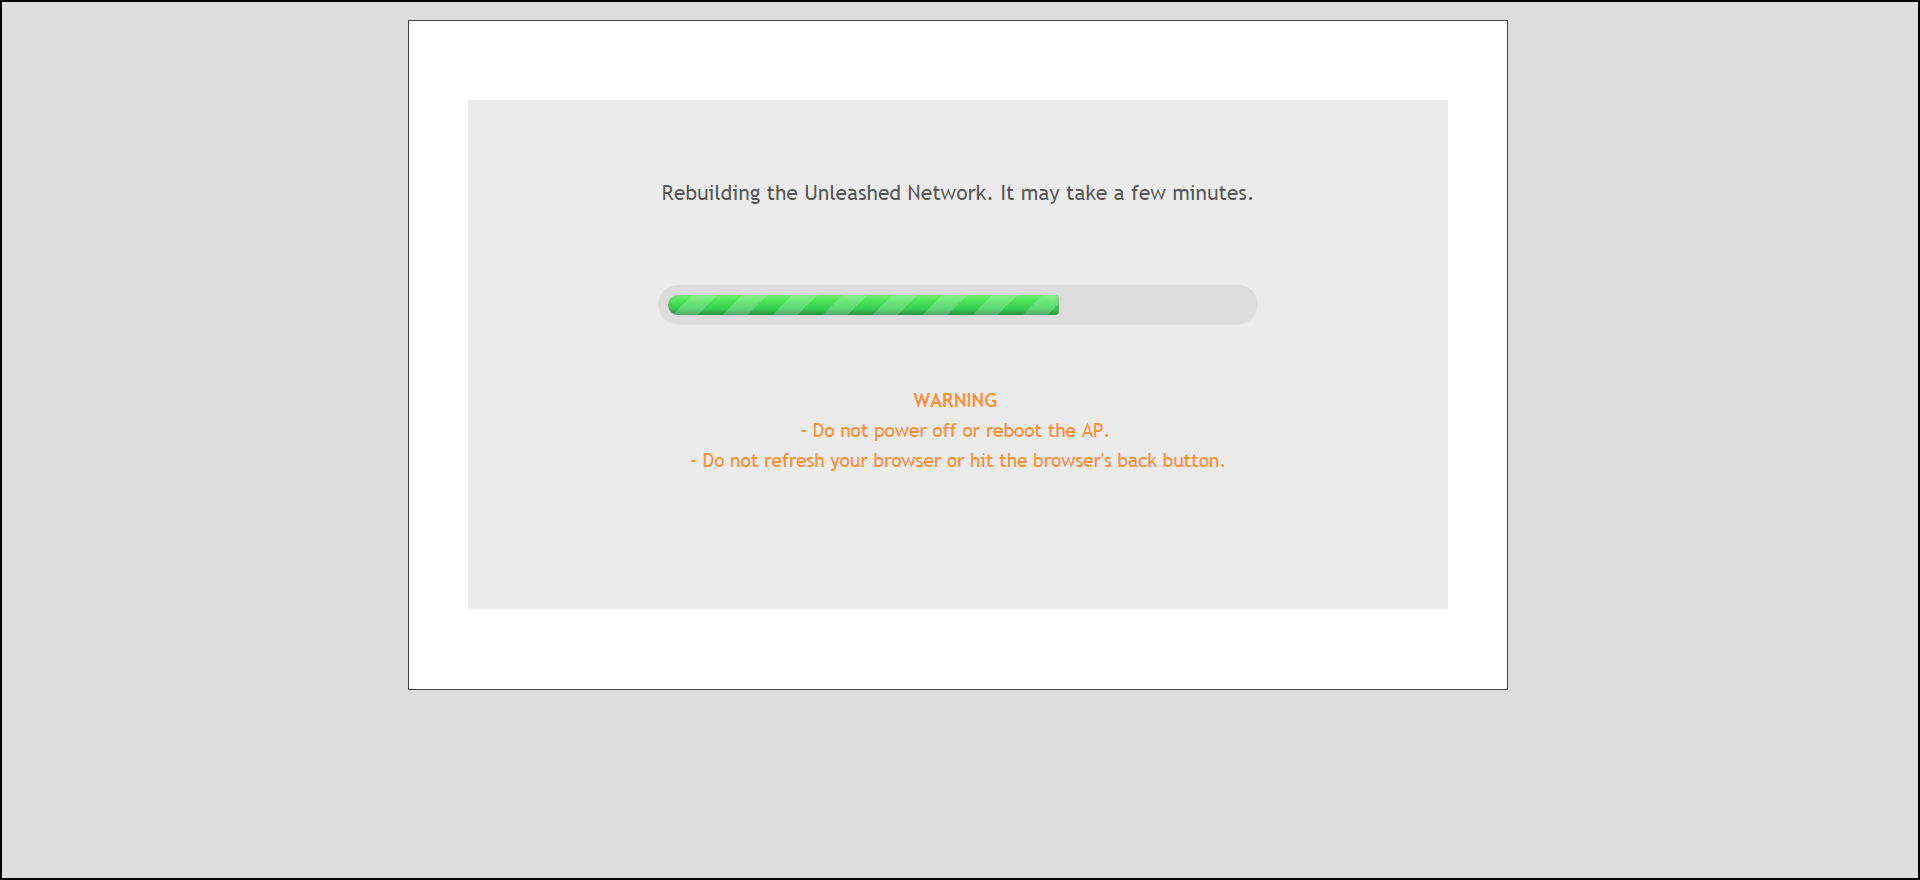
- When all of the APs in the list are displayed as "Success 100%" in the Upgrade Progress column, click Reboot. A "Rebuilding the Network" progress screen is displayed. Wait until the process completes.
- Once complete, you will be redirected to the login page.
- Log in and go to Admin & Services > System > System Info to confirm the new software build number.