RUCKUS Cloud Services
Complete the following steps to enable
cloud analytics on SmartZone.
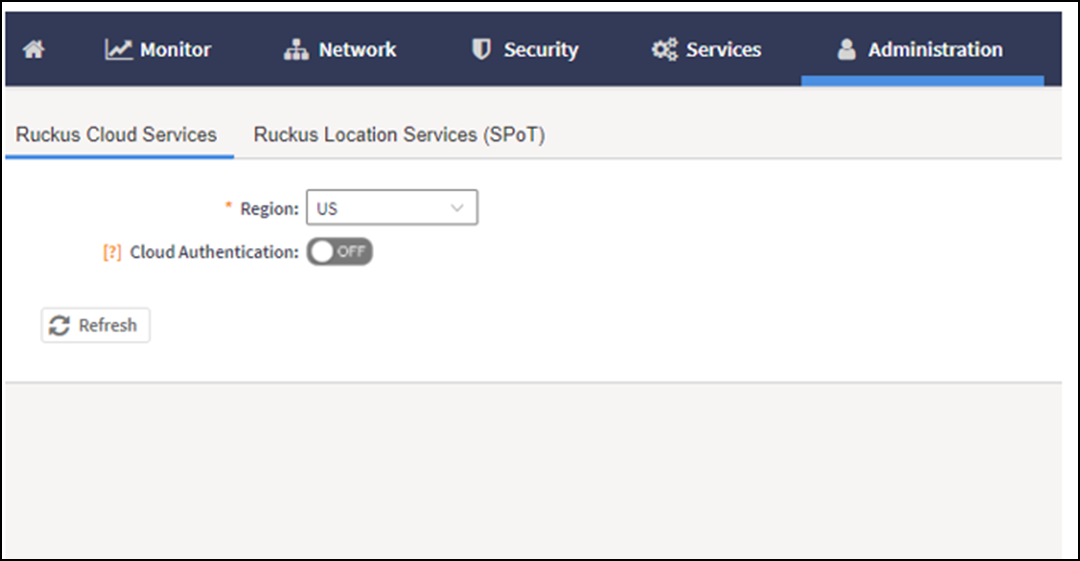
- From the main menu, go to , and select Ruckus Cloud Services.
-
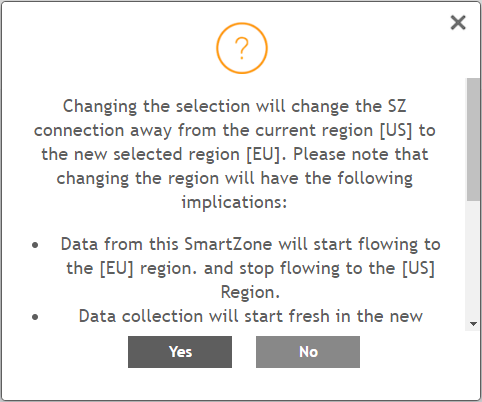
5.2.1 UpdateFor Region, select a specific cluster region to control. Options include US, EU, and Asia.
- Click Yes to confirm. An error message is displayed if the cluster receives an unexpected response.
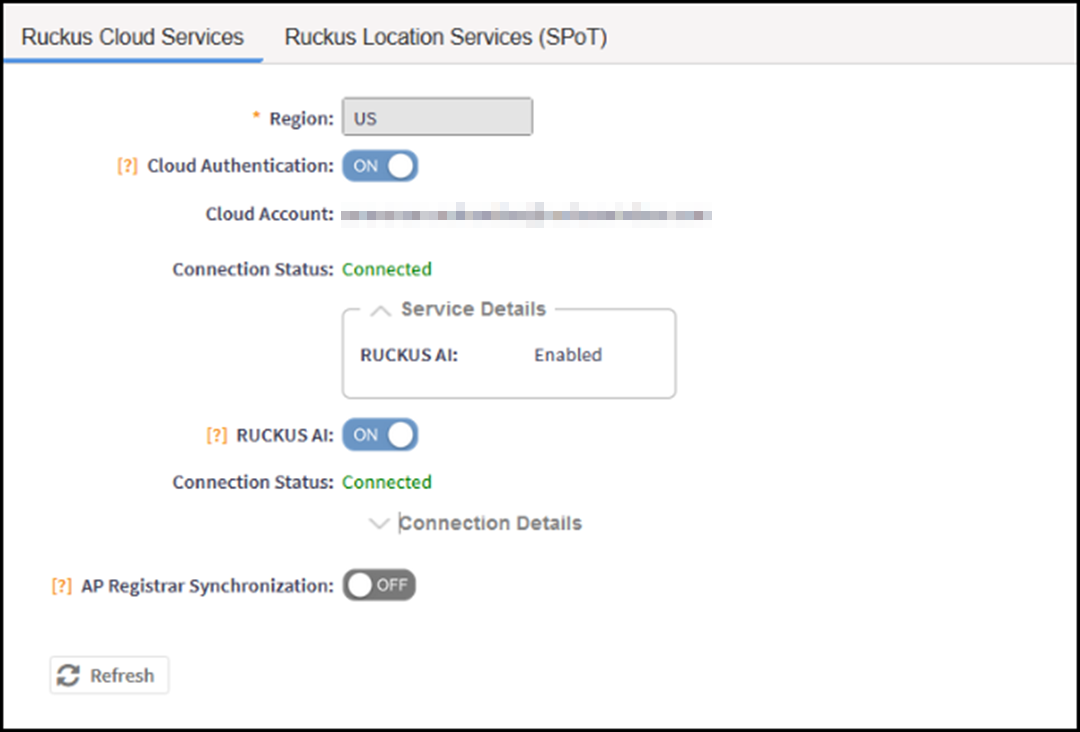
- Select Cloud SZ Services.
- Select RUCKUS AI. The connection status for RUCKUS Cloud AI is displayed.Note: Configure your firewall to permit outbound traffic to specified domains, IP addresses, and ports required for RUCKUS AI communication. Make sure the SmartZone controller has outbound connectivity over port 443 for network traffic and this port is open in the network firewall settings. For more information, refer to the Firewall Ports to Open for RUCKUS AI section in the RUCKUS AI User Guide.
- Select AP Registrar Synchronization.
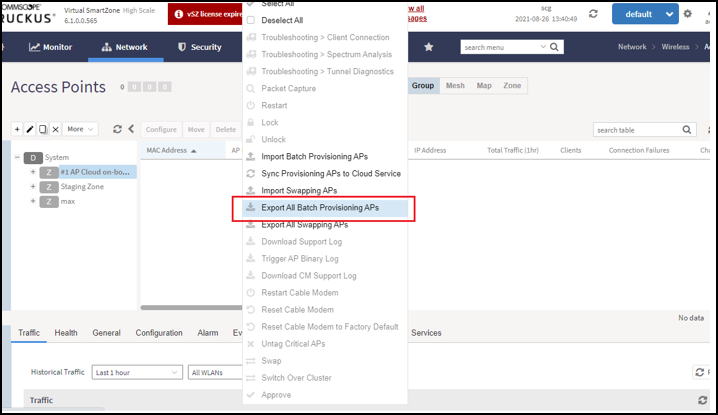
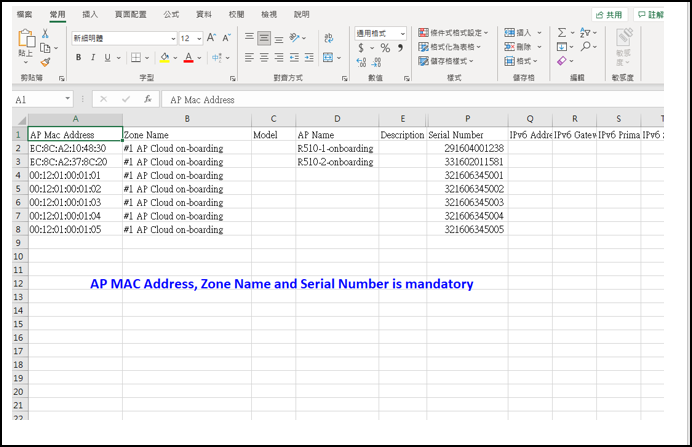
- Go to . Select an AP and click More.. From the list, select Export All Batch Provisioning APs. A blank provisioning AP template is exported from SZ. Ensure that the AP MAC address, the zone name, and the serial number are entered in the CSV file.
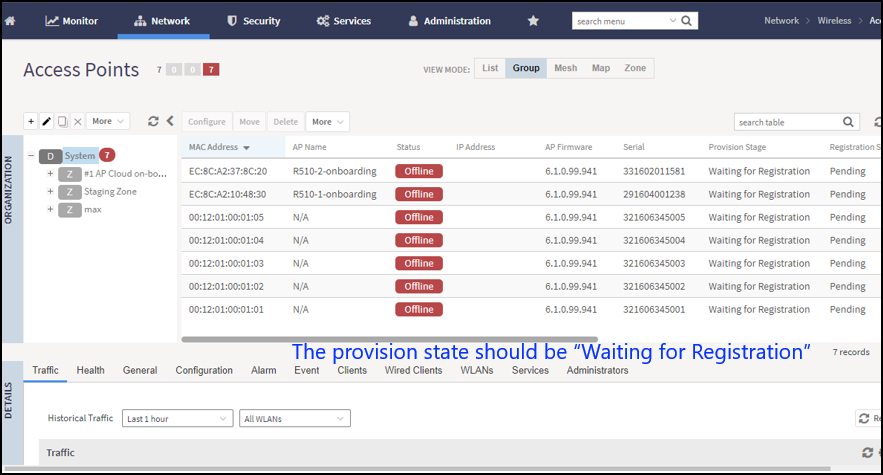
- Import the provisioning AP list to an AP Zone.
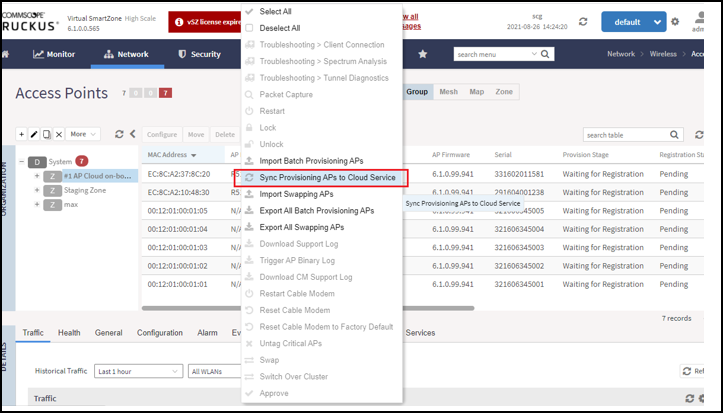
- Click More, and select Sync Provisioning APs to Cloud Service from the list.
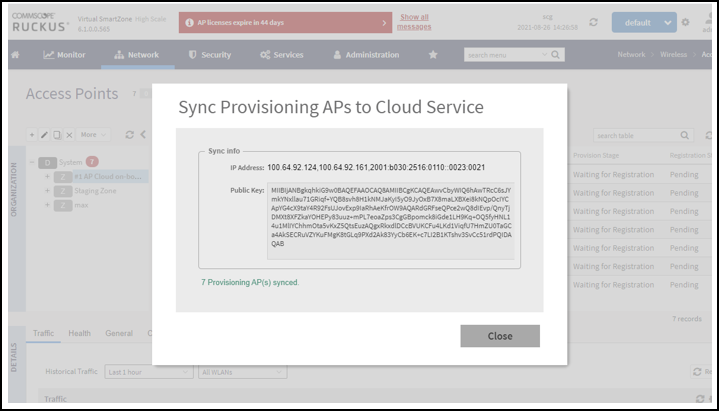
- Ensure synchronization is successful.