Deploying a Guest WLAN
You can customize the guest wireless
networks in terms of how users connect and what access privileges are given once
connected.
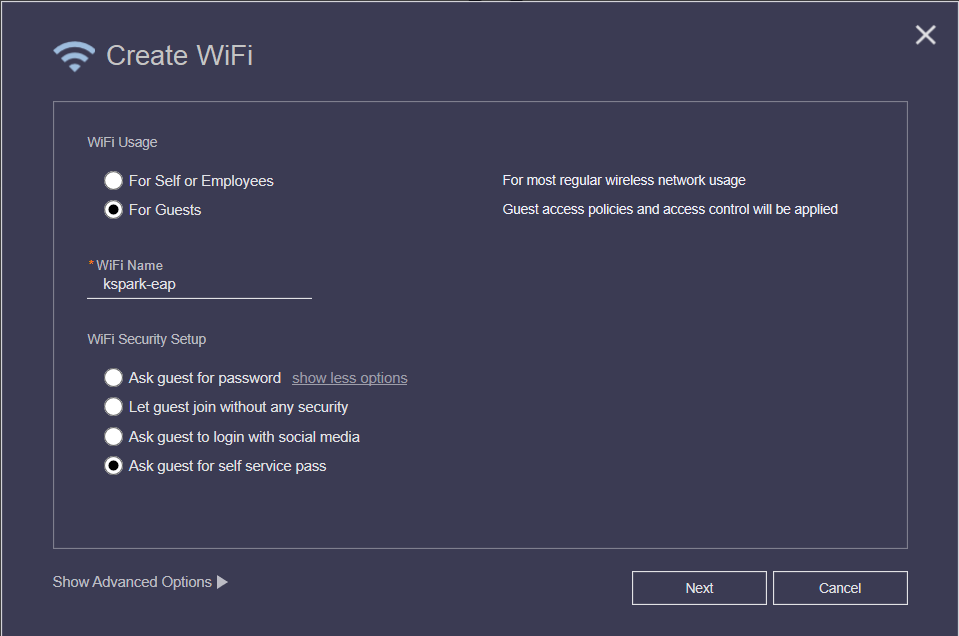
- Select .
- For Wi-Fi Usage, select For Guests.
- Under Wi-Fi Name, enter a name for the guest WLAN.
- In Wi-Fi Security
Setup, select one from the following authentication
methods:
- Ask guest for fixed password: This option allows you to skip the Guest Pass requirement, and simply provide a single password for all visitors.
- Ask guest for unique password: Guest Passes must first be generated, in batch or individually, for each visitor before they will be able to log in using a Guest Pass.
- Let guest join without any security: No authentication method is used.
- Ask guest to login with social media: Allow users to log in using their social media accounts. Refer to Social Media WLANs.
- Ask guest for self service pass: Allow users to self-authenticate their clients to your guest WLAN using a Guest Pass generated automatically for each guest user. For more information, refer to Guest Pass Self-Service.
- For Guest Password, enter the guest password.
- For Guest Friendly Key, select Enable and click Next.
- (Optional) Click Show Advanced Options, and configure any advanced options, such as Restricted Subnet Access, WLAN Priority, Access Control, Radio Control, Walled Garden, and so on. Refer to Advanced WLAN Configuration for more information.
- Click Next.
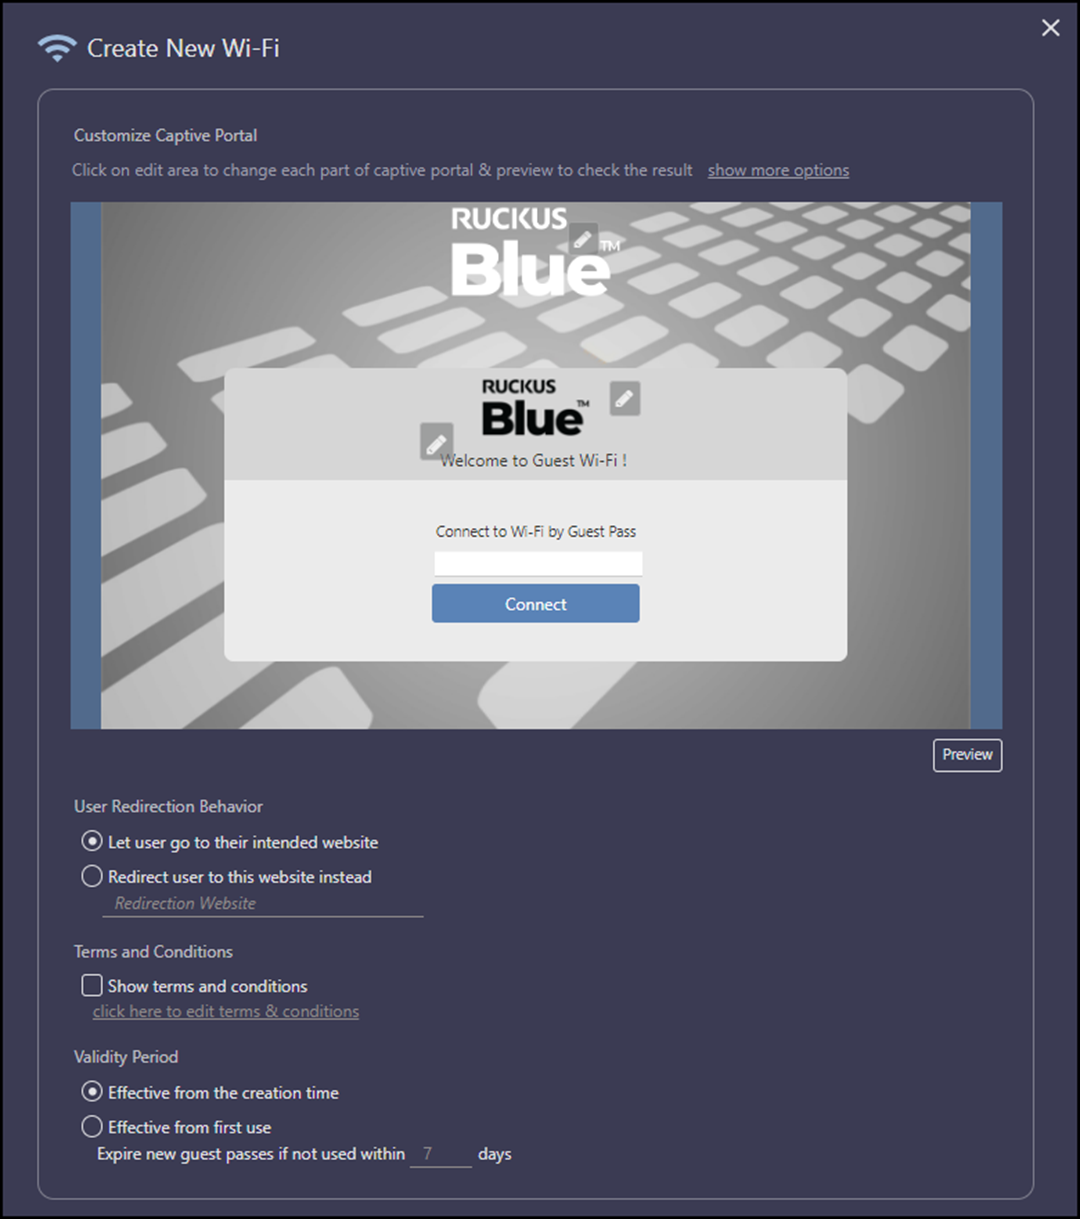
- Customize the guest WLAN by configuring the following options:
- Customize Captive Portal: Customize the banner, background image, background color, logo, welcome message, and opacity level. Click Preview to preview your changes.
- User Redirection Behavior: Click Let user go to their intended website to visit to redirect to the website the user intended to visit after successful login or click Redirect user to this website instead to redirect the user to a specified URL. If you select Redirect user to this website, enter the URL of the website in the field.
- Terms and Conditions: Choose whether to display the terms and conditions before guests can access your network. You can also edit the default terms and conditions by clicking click here to edit terms & conditions and replacing the default text with any text you choose.
- Validity Period: Click Effective from the creation time to make the Guest Passes valid from the time they are created or click Effective from first use to make the Guest Passes valid on first use. If you select Effective from first use, enter a value for the number of days after which the Guest Passes will expire if not used.
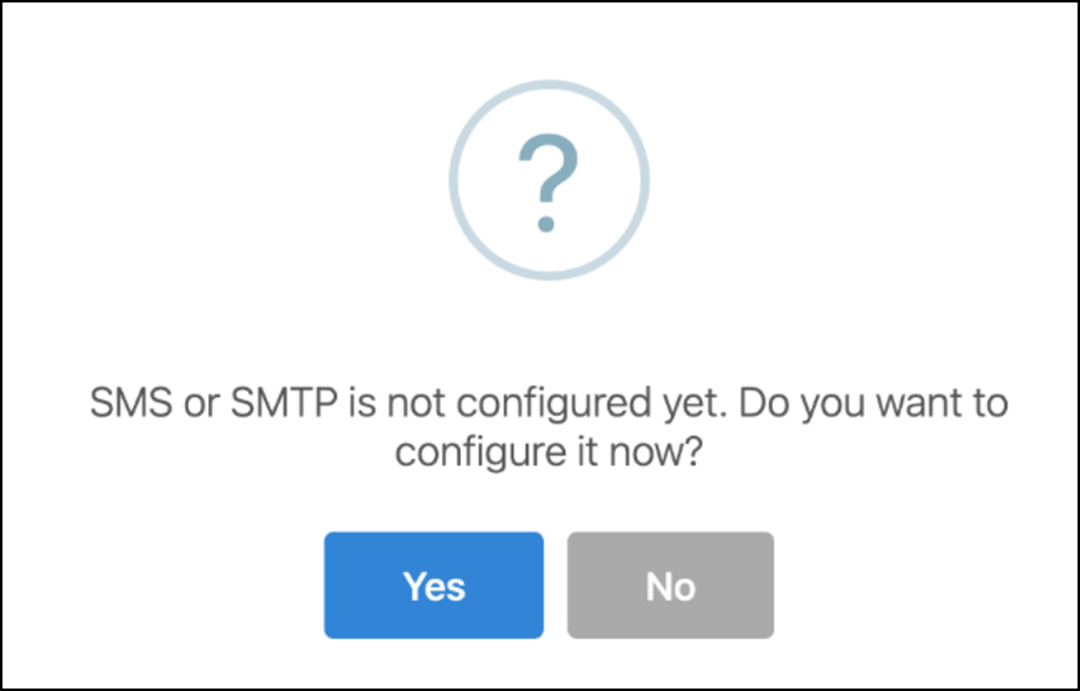
- Click OK to save the
changes.You are prompted to configure the email and SMS delivery of Guest Passes. Click Yes to configure email and SMS settings, or click No to skip this step.
You can configure these settings later if you prefer from the page. Refer to Configuring Email Server Settings and Configuring SMS Server Settings for more information.
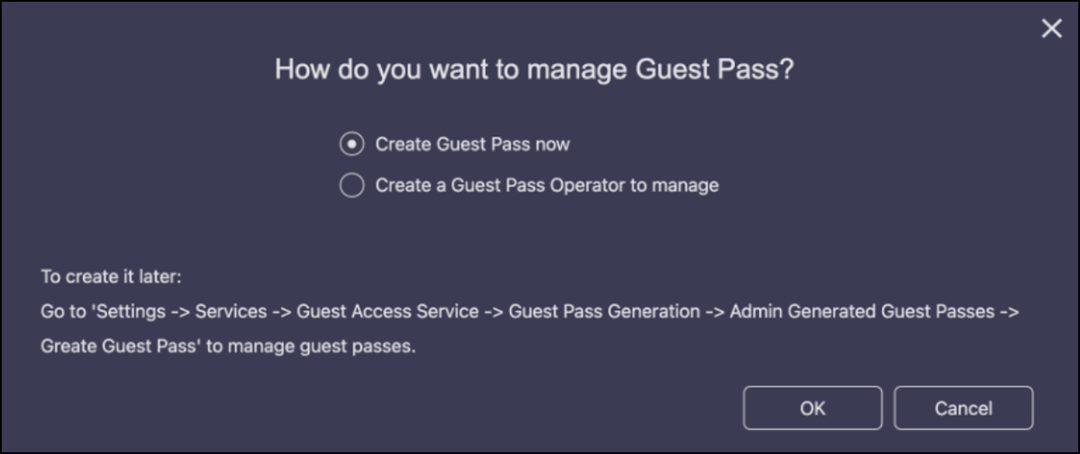
After completing the email and SMS server settings, the Guest Pass Management page is displayed as shown.
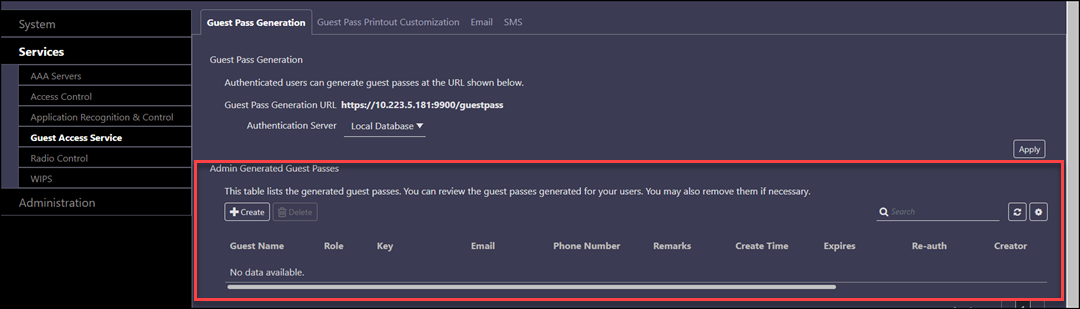
- If you select Create Guest Pass now and click OK, you are redirected to the Guest Pass Generation page. You can create Guest Passes by clicking Create in the Admin Generated Guest Passes section. Refer to Generating a Guest Pass for more information.
- If you select Create a Guest Pass Operator to manage and click OK, you must configure the Guest Pass operator role settings. Refer to Creating a Guest Pass Manager for more information.