Creating and Managing Groups
The remote management services for
Unleashed allows you to create and edit network groups, and to assign network to existing
network groups. You can also create an empty group. Each device can be assigned to
a single
network group at a time and can be moved to a different network group at any time.
- After you log in to the remote
management services web interface, select Networks from the main menu. The Networks page appears, listing all the networks managed by remote management services for Unleashed
- From the network group
hierarchy, select the network under which you want to create the group and click
the
 icon.
icon.
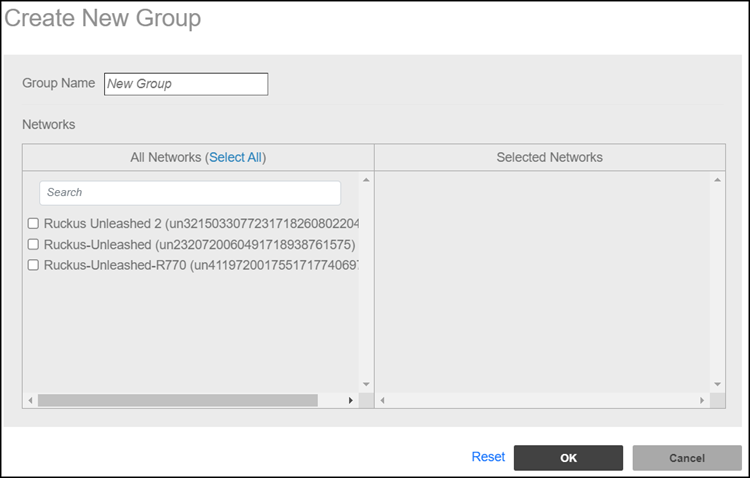
- In Group Name, type the name of the group you want to create.
- In Networks, under
the All Networks section, click the checkbox for each network you want to
include in the group. Those selected are populated under the Selected
Networks section. A success message is displayed after the group is created.
- Click OK. The newly created group is listed under the network hierarchy.
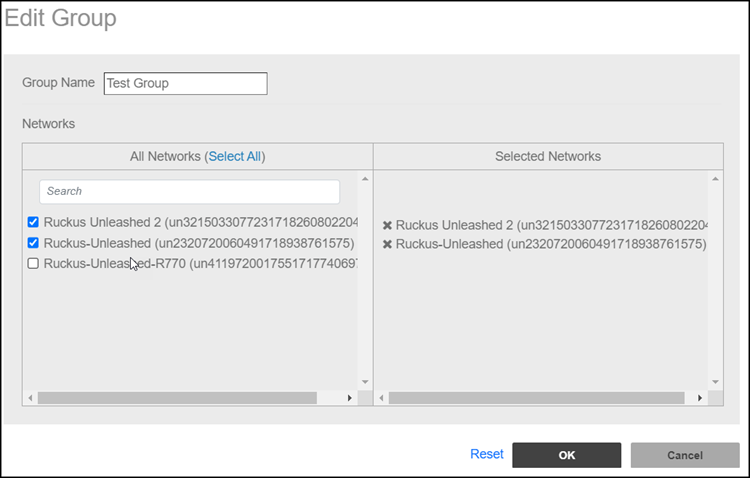
- (Optional) To edit a group,
select the
 icon. The Edit
Group page appears. Make the necessary changes and click
OK.
icon. The Edit
Group page appears. Make the necessary changes and click
OK.
- (Optional) To delete a group,
select the
 icon above the network hierarchy tree.