Creating a Unit for a Property
Once you have created a unit step in your workflow, you can then add a “Display a message” or “Send a notification” step following the unit creation step so that the created unit information can be displayed for the user. “Display a message” now contains “Tenant URL” and “DPSK” HTML message templates specifically designed for unit creation.
The unit creation workflow step results in the following enrollment variables:
- ${UNIT.DPSK}: DPSK passphrase for the unit owner.
- ${UNIT.DPSK_GUEST}: Guest passphrase if guest DPSK is enabled for the property.
- ${UNIT.NUMBER}: Unit Name
- ${UNIT.TENANT_PORTAL_URL}: Unit tenant portal URL if the tenant portal is enabled for the property.
Prerequisites
The unit creation plug-in can only be used after you have been prompted for your credentials and the authentication verified (step 2).
Adding the Corresponding "Unit Creation" Workflow Step in Cloudpath
To add and configure the Unit Creation step in Cloudpath, follow these steps:
- Navigate to Configuration > Workflows, and select the Workflow for which you want to create a unit. Click the wrench icon beside this unit. Click the " Insert Step Here" right-pointing arrow after "Prompt the User for Credentials" step..
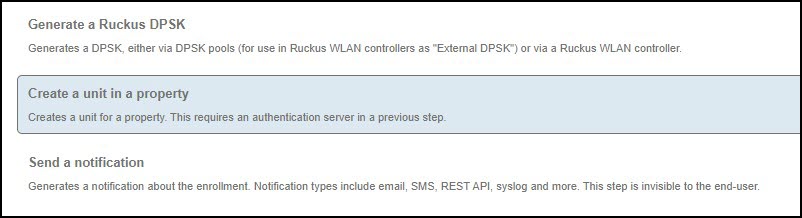
- The "Which Type of Step Should Be Added" screen is envoked (refer to Enrollment Step Selection). Scroll down and click the "Create a Unit in a Property" button:
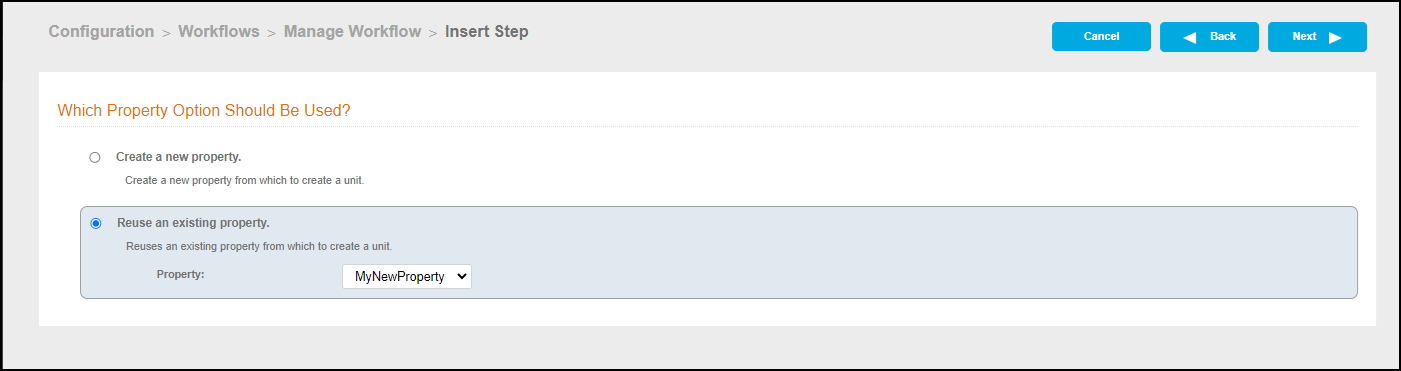
- The "Which Property Should be Used" screen is
envoked.
- To create a new property for which to create a unit select Create a new property.
- To use an existing property for which to create a unit select Reuse an existing property. Select the property from the drop-down list.
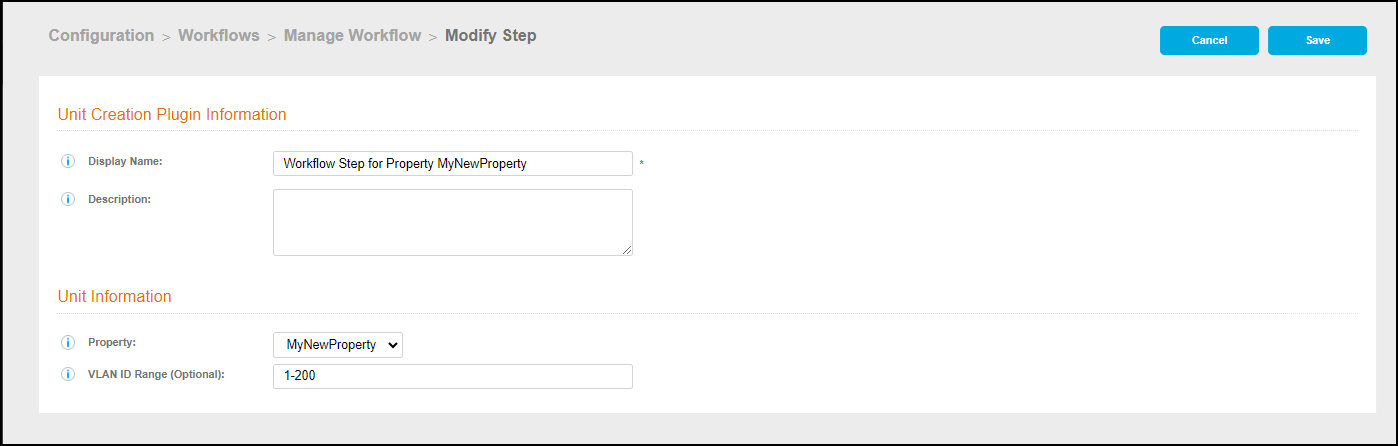
- The "Unit Creation Plugin Information" screen appears.
Enter the following information:
- Display name: Name of the step as you want it to appear in the workflow. This name is visible only to Cloudpath administrators.
- Description: Wording to describe the Workflow step. This description is visible only to Cloudpath administrators.
- Property: The property that you are creating the Unit for.
- VLAN ID Range: (Optional). The assigned VLAN. Valid values range from 1 through 4094. If a range is entered, every unit created in the workflow is assigned a VLAN number (the first unused VLAN number from the range). If all VLAN numbers for the workflow have been consumed, no additional units can be created through this workflow.
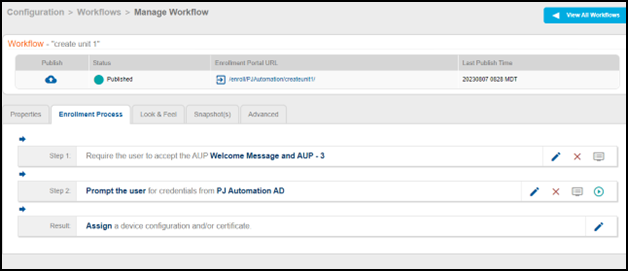
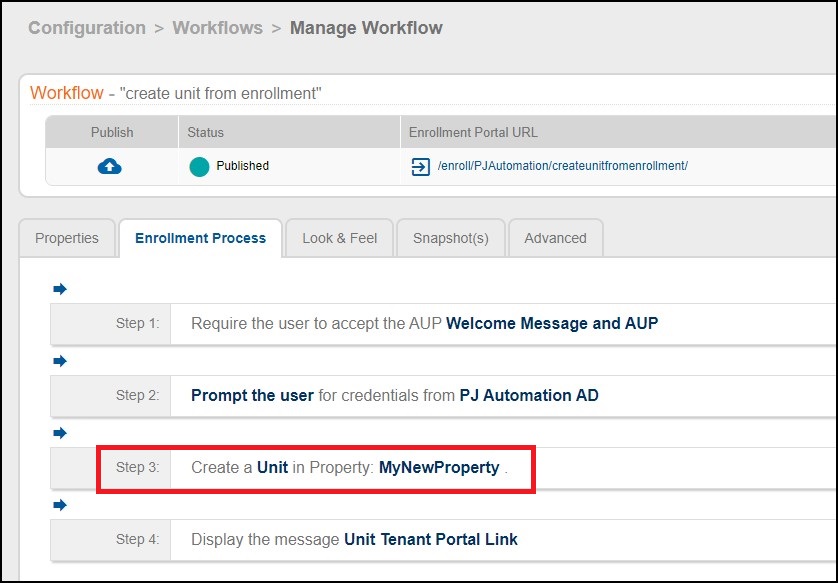
- Click Save. You are returned to your workflow. Check that the "Create a Unit in Property" step has been added, as shown in the following example:
Adding the “Display Message” Plugin after the Unit Creation Step
Once you have created a unit step in your workflow, you can add a “Display a message” or “Send a notification” step that follows the unit creation step so that the created unit information can be displayed for the user. “Display a message” now contains “Tenant URL” and “DPSK” HTML message templates specifically designed for unit creation. The following steps demonstrate an example of presenting the Tenant URL to the end users.
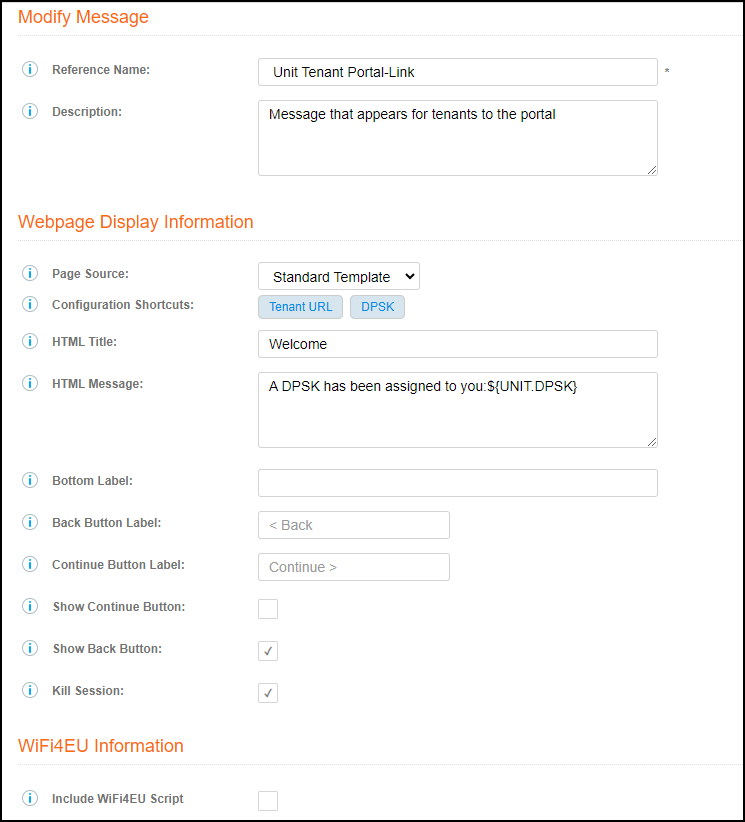
- In your workflow scroll down to Step 4, "Display the message Unit Tenant Portal Link" and click the edit icon.The Modify Message Screen appears.
- Configure the Message page. The following
new fields now appear:
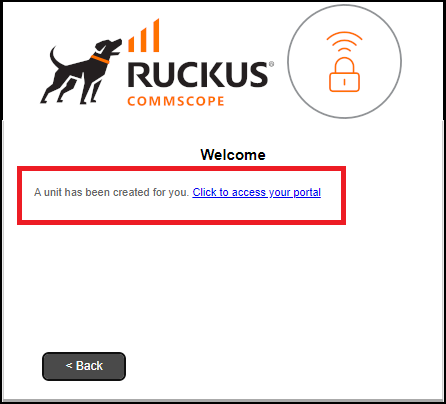
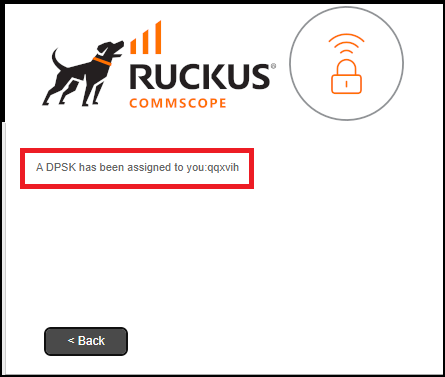
- Configuration Shortcuts: Tenant URLs or DPSK can be selected. The Tenant URLs message informs end users that a unit has been created and to click the link to access the unit tenant portal. The DPSK message presents the DPSK to end users. For example, if the property allows guest DPSK, the administrator can add guest DPSK to the message.
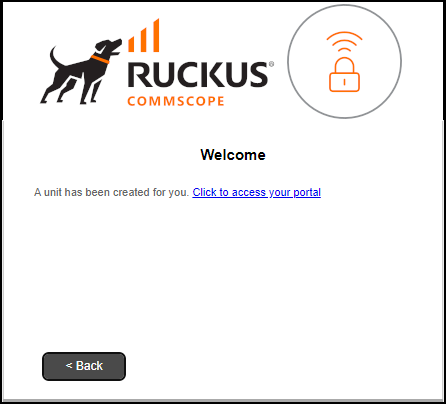
- HTML Title (optional): The tittle for your message. For example, the below illustration shows a HTML Title "Welcome' for a Tenant URL.
- HTML Message: The message that appears for your portal. If you selected Standard Template, this is automatically populated. You can edit it as necessary. The illustration below shows the default HTML message for a DPSK.
- Click Save.
Enrollment Process:
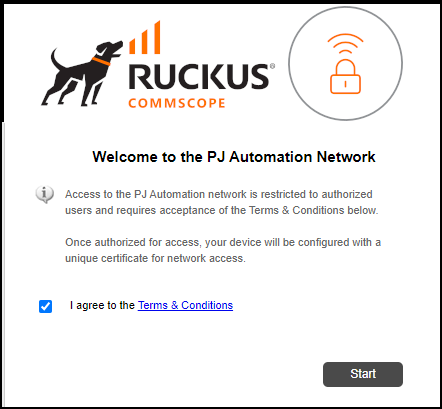
Once the unit is created, it can be presented to the user. The Enrollment Portal URL appears on the message page. The User can be directed to their portal.