Adding and Managing Tags
You can use the Manage Tags feature to
assign, update, or remove tags on one or more configuration templates. Tags help you
organize templates and enable efficient filtering and selection across your
account.
This Topic is reused between RI and MSP User
Guide.
- In the navigation bar, select
.The Configuration Templates page is displayed.
- Select one or more templates by clicking the checkbox alongside the template name.
- Click Manage
Tags.The Manage Tags sidebar is displayed.Note: When multiple templates are selected:
- If the selected templates have common tags, the Manage Tags sidebar displays only the tags shared by all selected templates. You can remove a common tag or add additional tags to the selected templates.
- If the selected templates have no common tags, the Manage Tags sidebar displays no tags. You can add tags to apply them to all selected templates.
- Add a tag by choosing one of the following options:
- Create a new tag by
typing the tag name in the Tags
field and pressing the Enter key. The tag appears as a label in the Tags field, and the Save button becomes active after you press Enter.
- Note:
- Tags must be 2-64 characters long.
- Allowed characters include letters, numbers, and the following symbols: !, @, #, $, %, ^, &, *, (), {}, and -.
- Non‑ASCII characters are supported.
- Tags are case-sensitive, for example, "Prod" and "prod" are different tags and would appear in the Tags filter as two separate options.
- Tag suggestions appear automatically so you can reuse existing tags consistently.
- Select an existing tag from the Tags field. As you type, suggestions appear based on tags already available in the account.
- Create a new tag by
typing the tag name in the Tags
field and pressing the Enter key.
- Click Save.The system adds the tag and displays a toast notification. Changes apply to all selected templates.
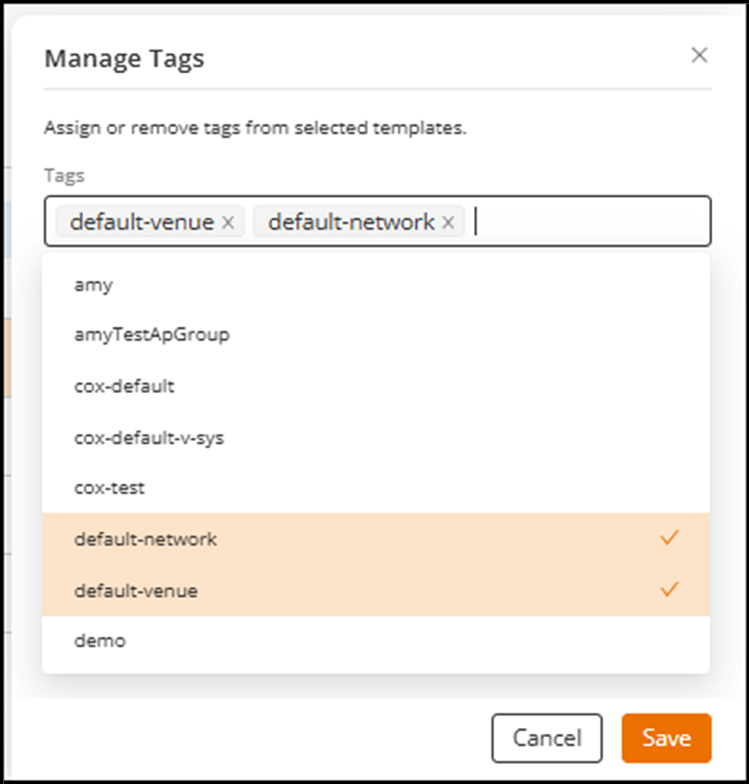
Each tag name is shown as a hyperlink. You can click a tag hyperlink at any time to reopen the Manage Tags sidebar and update the tags.