Logging In to RUCKUS IoT Controller
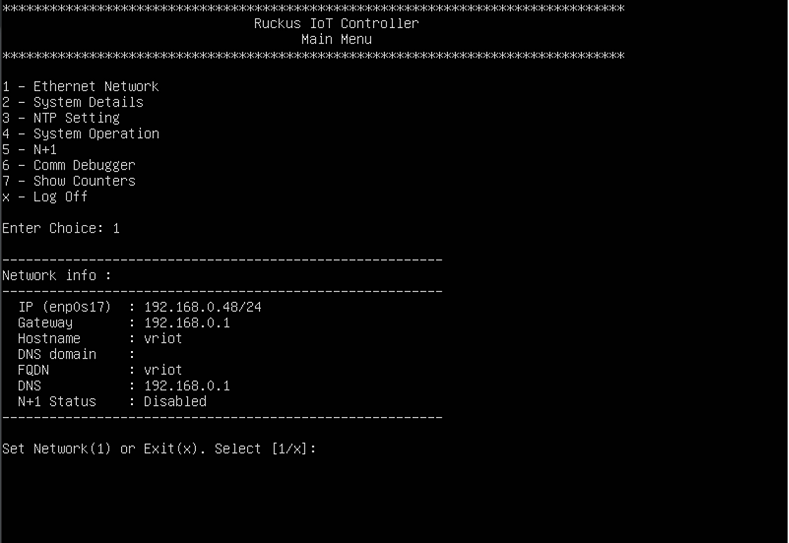
- Log in to the console of the RUCKUS IoT Controller using the username "admin" and password "admin".
- Enter 1 in the Enter Choice field to get the IP address.
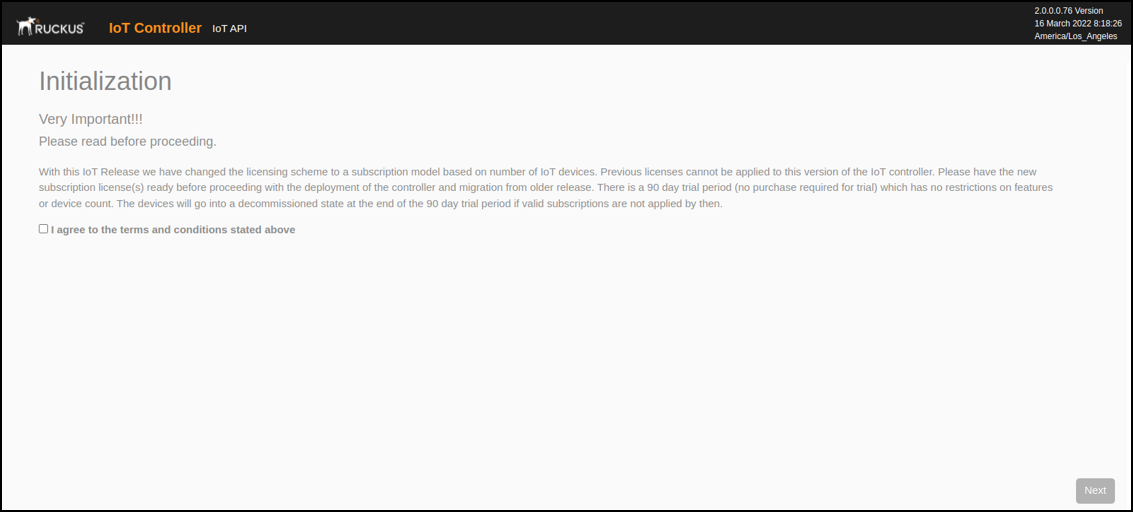
- Open a web browser, enter the IP
address in the address bar, and press Enter.The Initialization page is displayed.
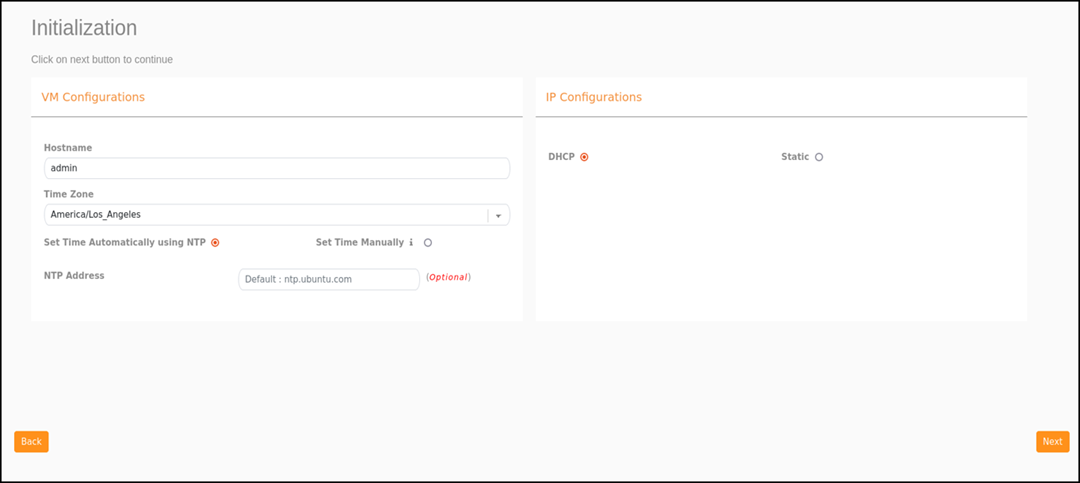
- Enter the Hostname,
Time
Zone, and select the IP Configuration
(DHCP
or Static), and click Next to start
all the services in the RUCKUS IoT Controller.
The RUCKUS IoT Controller services are sensitive to time synchronization. If the Set Time Automatically using NTP option is not available (such as in an isolated setup), you can select the Set Time Manually option to disable NTP sync.
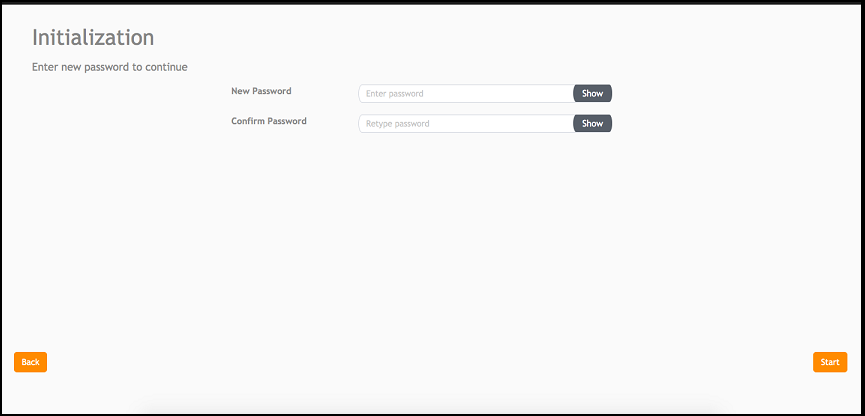
Note: Ensure the NTP between the SmartZone, APs and RUCKUS IoT Controller are in sync. - Enter the RUCKUS IoT Controller password in the New Password field. Re-enter the password in the Confirm Password field. The password must be a least eight characters in length and contain one uppercase letter, one lowercase letter, one digit, and one special character. Click Start.
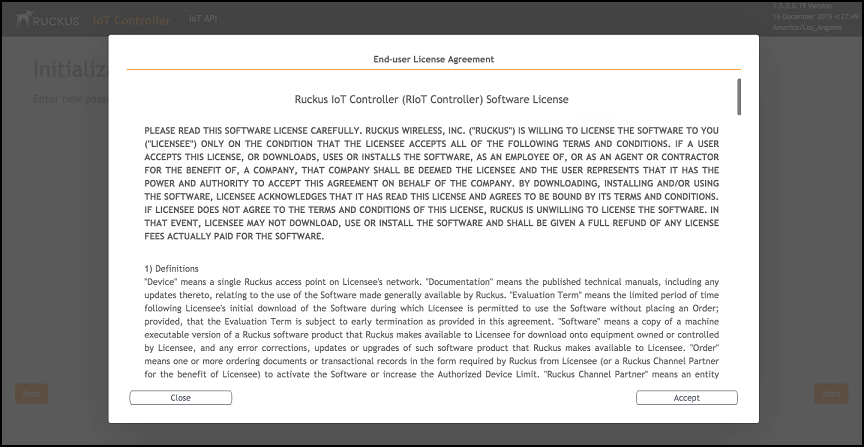
- On the End-user License Agreement page, click Accept to accept the RUCKUS IoT Controller license.