Configuring N+1
RUCKUS IoT Controller N+1 high
availability (HA) ensures high system availability, reliability and scalability
of the
controller, and also enables load balancing, backup, and failover. The hosts must
be in the
same subnet and must be reachable which allows virtual machines (VMs) on a given
host to
fail over to another host without any downtime in the event of a failure.
- The primary and secondary controllers must be in the same subnet and reachable.
- The primary and secondary controllers must be configured with static IP addresses.
- The primary and secondary controllers must be running the same version.
- The primary and secondary controllers must have a synchronized date and time.
- The primary and secondary controllers must have different host names.
- The secondary controller services must be started for N+1 to work.
- The primary and secondary ontroller must have same password configured for the user admin.
- Enter the N+1 password.
Configuring Static Addresses for Primary and Secondary Controllers
- From the RUCKUS IoT Controller main menu, select Admin > VM Configurations.
- Set the static addresses of the primary and secondary controller on the Initialization page. Refer to Logging In to RUCKUS IoT Controller.
Configuring the N+1 Feature
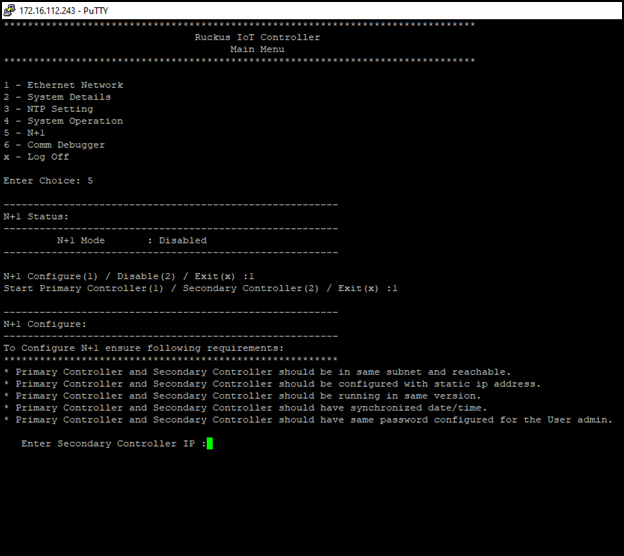
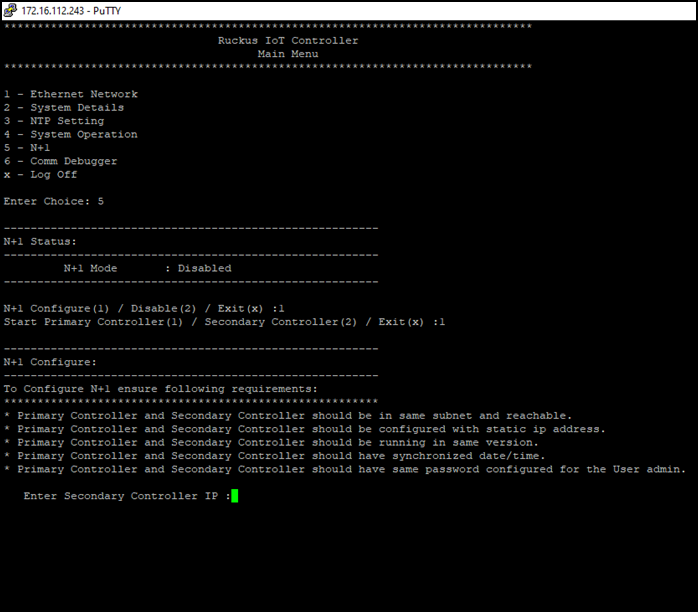
- Log in to the console of the RUCKUS IoT Controller.
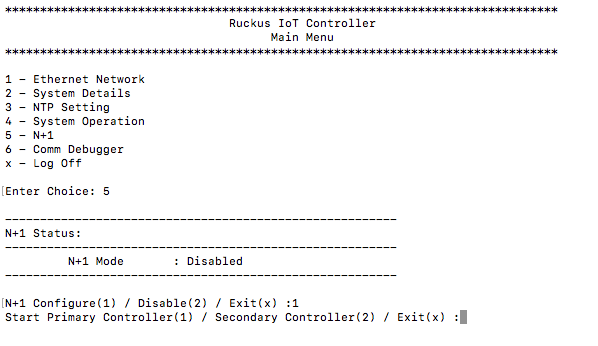
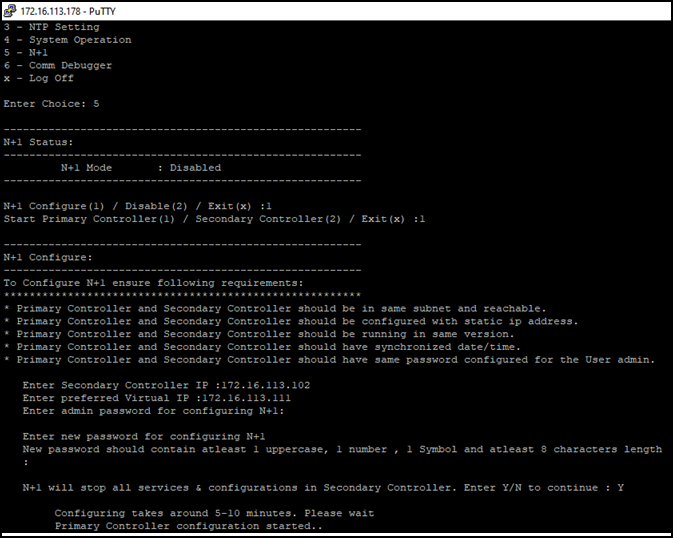
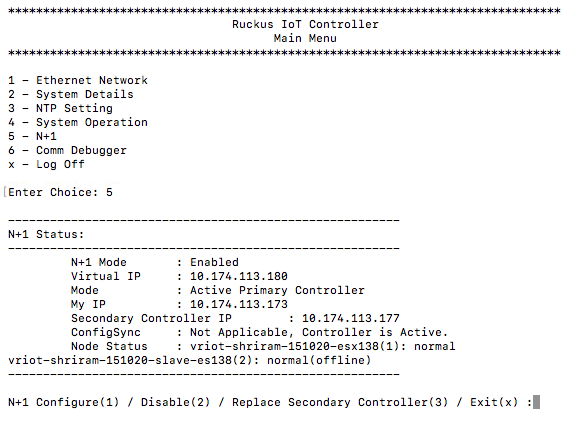
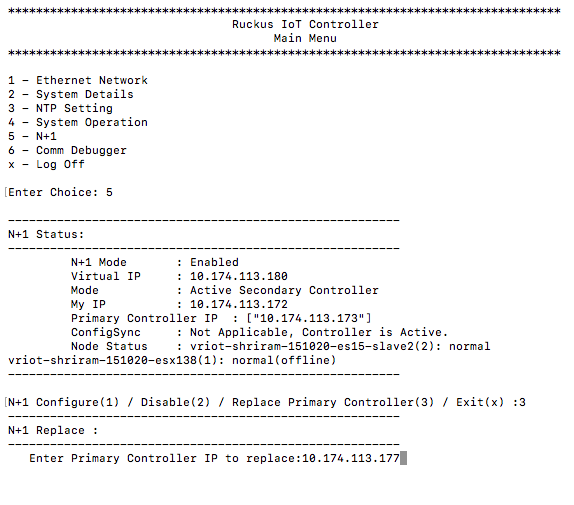
- Enter 5 in the Enter Choice field.
- Enter 1 to continue the configuration.
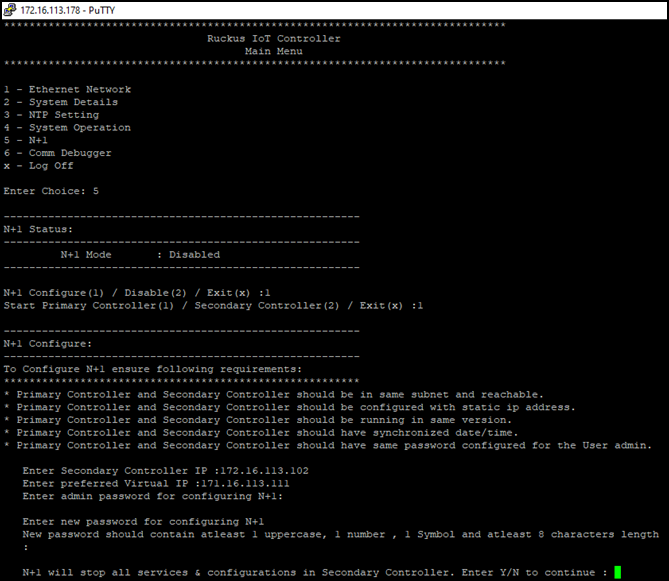
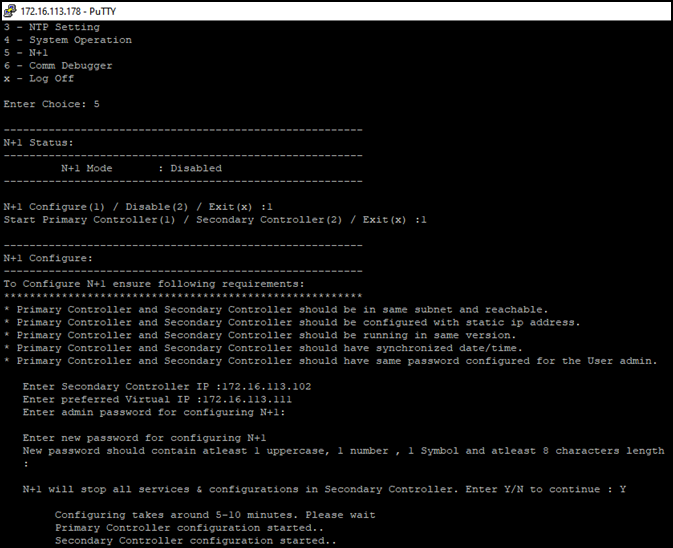
- To configure the primary controllers, enter 1 and type the IP address of the secondary controller in the Enter Secondary Controller IP field.
- Type the preferred IP address in the Enter preferred Virtual
IP field. Note: The preferred virtual IP address must not be the same as the primary or secondary controller IP addresses.
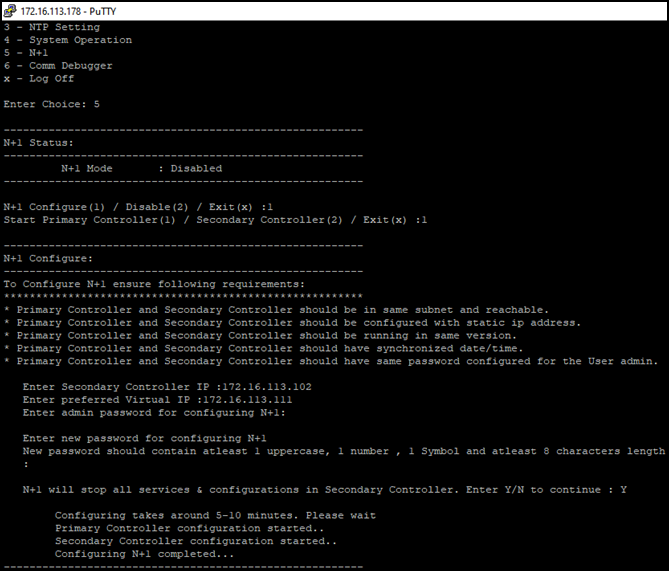
- Enter Y to continue with the N+1 configuration. You have configured N+1 successfully.
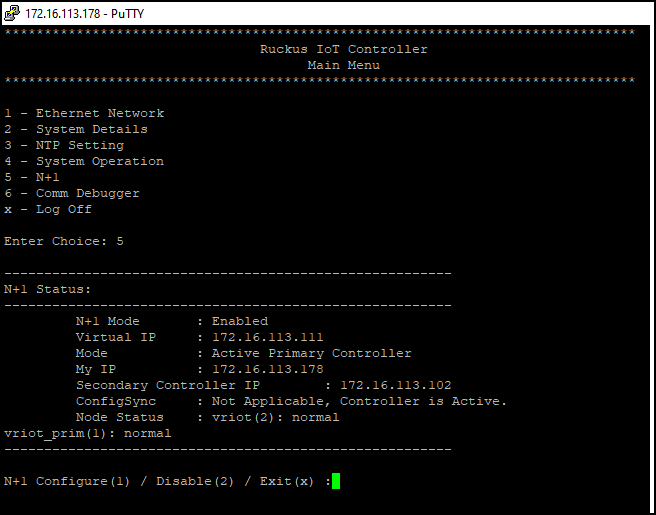
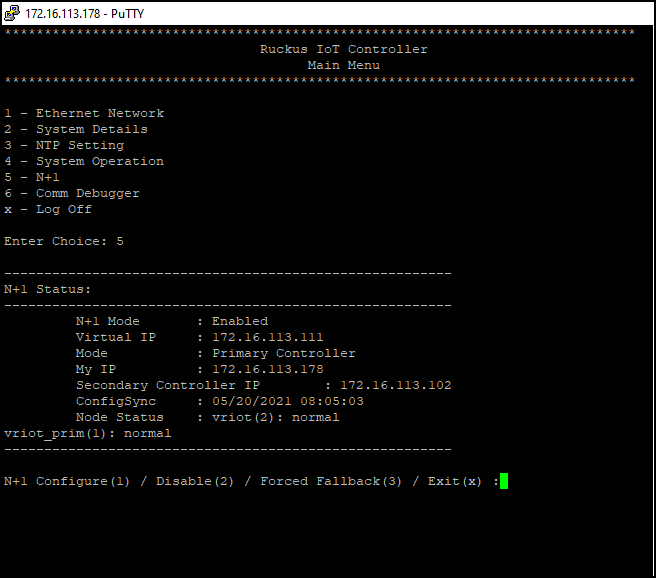
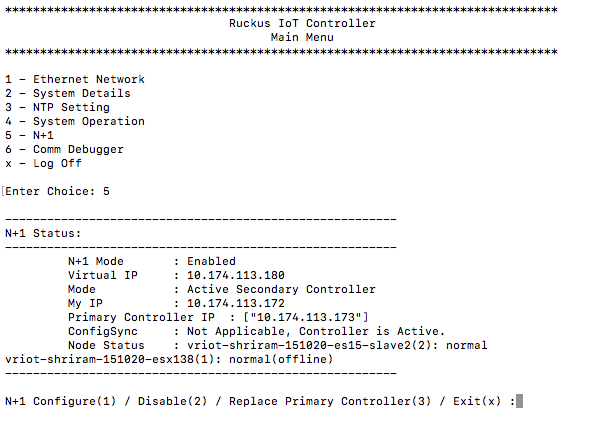
- To verify the IP addresses of the primary controller or active primary controller, and the secondary controller or active secondary controller, enter 5 in the Enter Choice field.
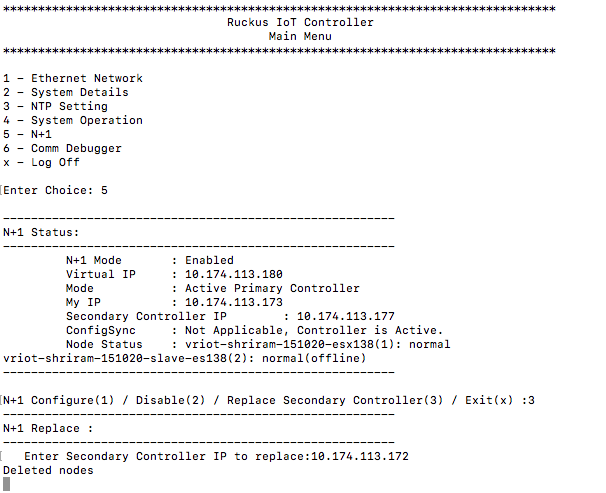
- To replace the secondary
controller, enter 3. Note: While replacing the node, both controller should have same admin password and user needs to enter the password while replacing the node.
- To enable Forced Fallback, enter 3 to continue the configuration.
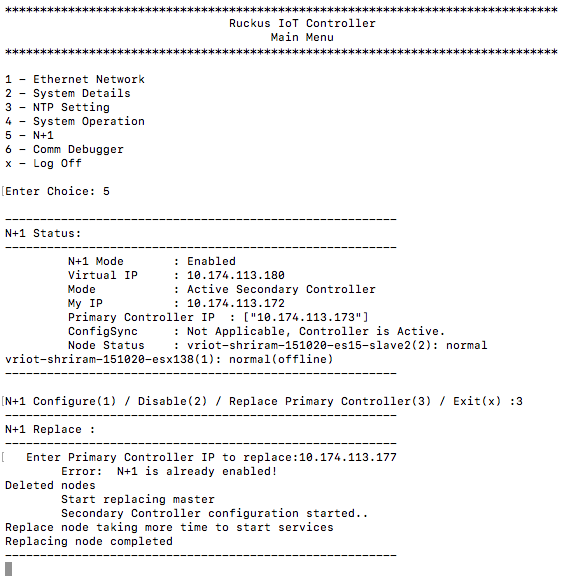
- To replace the primary controller, enter 3.
- Enter the IP address of the primary controller.