Configuring a VE Port
Complete the following steps to configure
a VE interface, add an IP address and network mask for the interface, and associate
a helper
IP address with the interface.
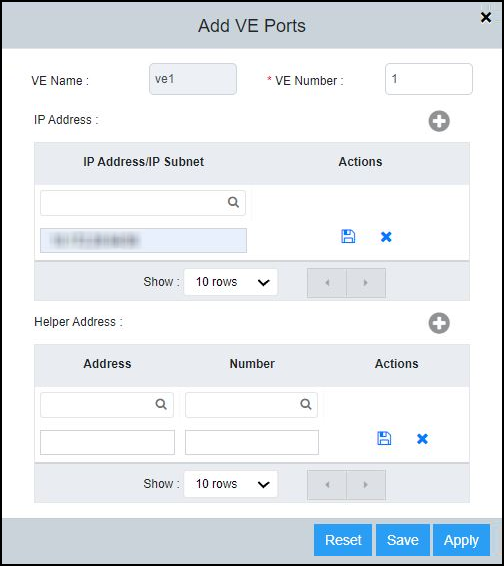
- Select . All the configured Virtual Ethernet (VE) ports are listed in the main pane.You can perform the following actions:
- Select
 to
display the Add VE Ports dialog box.
to
display the Add VE Ports dialog box.
- Complete the following
fields:
- VE Number: Enter the
number of the VE port.
Note: A VE port is created only if the corresponding VLAN is present in the device.
- IP Address/IP Subnet:
Enter the IP address and network mask. Select to add the IP address and network mask.
Select
 to add the entry. Continue to select to add additional IP addresses. .
 - Helper Address: Enter
the helper address. Select to add the helper address. Select to add the entry.
Note: A helper address displays only if the VE IP address is configured.
The VE Name field is automatically populated after you enter the number of the VE port. The helper address needs to be entered only once and applies to VE ports configured thereafter. - VE Number: Enter the
number of the VE port.
- Select to create the VE port.
 to display the
  to display the