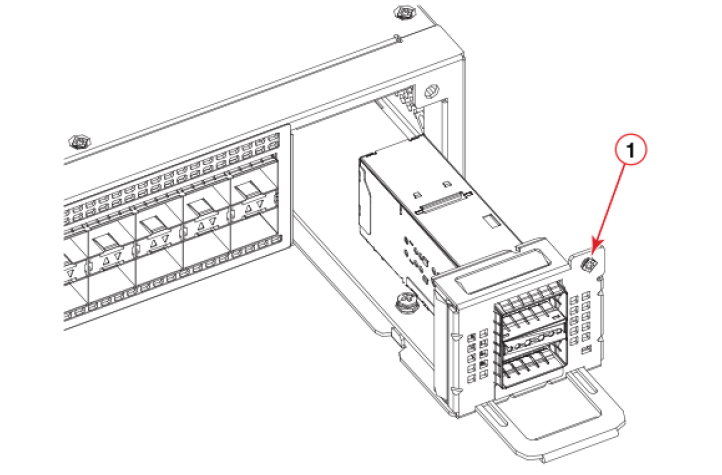
Installing or Replacing an Expansion Module
- Power off the switch.
- If replacing an expansion module:
- If installing a new expansion module into a slot covered with a filler panel:
- Before opening the package that contains the new expansion module, touch the bag to the switch casing to discharge any potential static electricity. It is recommended that you wear an ESD wrist strap during installation.
- Remove the expansion module from the anti-static shielded bag.
Caution: Do not force the installation. If the expansion module does not slide in easily, ensure that it is correctly oriented before continuing.
- Holding the expansion module level, guide it into the carrier rails on each side and gently push it all the way into the slot, ensuring that it firmly engages with the connector.
- When you are sure the expansion module has properly engaged the connector, tighten the captive screw to secure the expansion module in the slot.
- Power on the switch.
- Verify correct installation by running the
show module
command.
Caution: If you do not install a module or a power supply in a slot, you must keep the slot filler panel in place. If you run the chassis with an uncovered slot, the system will overheat.