Inserting a New DC Power Supply
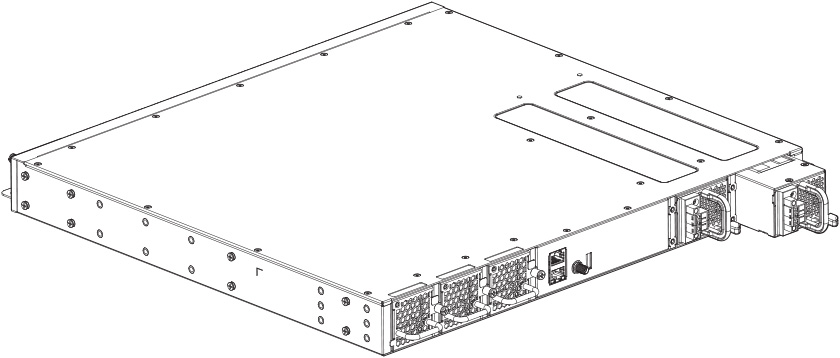
Use the following steps to install a DC power supply (400W only) in the RUCKUS ICX 7550 switch.
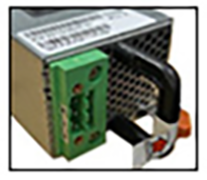
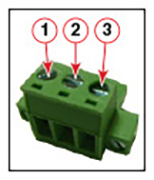
- The DC PSU uses A Dinkle 2EHDP-03P connector, and the mating connector is a Dinkle 2ESDVM-03P or equivalent, as shown in the following illustrations. Ensure that the pin assignments are properly observed.
- If replacing a power supply:
- If installing a new power supply into a slot covered with a filler panel:
- Before opening the package that contains the DC power supply, touch the bag to the switch casing to discharge any potential static electricity. CommScope recommends using an ESD wrist strap during installation.
- Remove the power supply from the anti-static shielded bag.
- Holding the power supply level, guide it into the carrier rails on each side and gently push it all the way into the slot, ensuring that it firmly engages with the connector. At the same time, the release tab should also snap into the locking hole.
- If the DC power wiring not completed yet, connect the DC power wires to the mating connector. Observe the correct pin assignments.
- Connect the cabled-mating connector to the DC power inlet.
When the RUCKUS ICX 7550 switch is powered on, the power LED on the front of the device lights up green to confirm that the power supply is correctly installed and supplying power.