Adding a RUCKUS Edge through the Web User Interface
- Log in to the RUCKUS One web user interface with your RUCKUS One credentials.
- In the RUCKUS
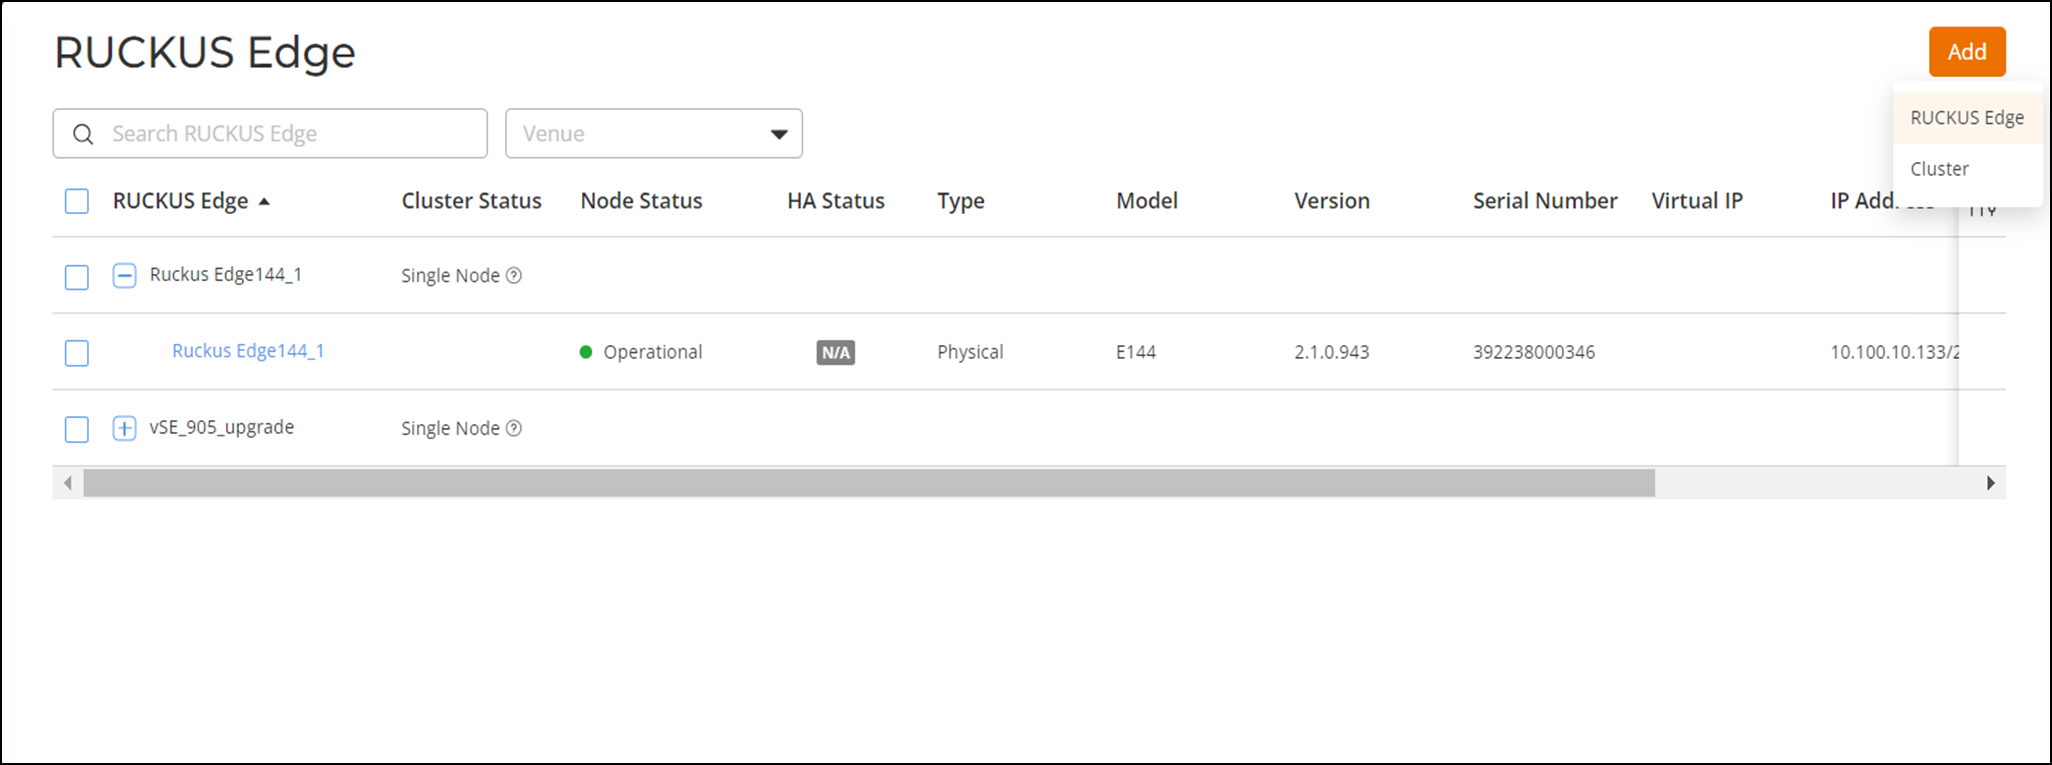
One menu, go to .This displays the RUCKUS Edge page.
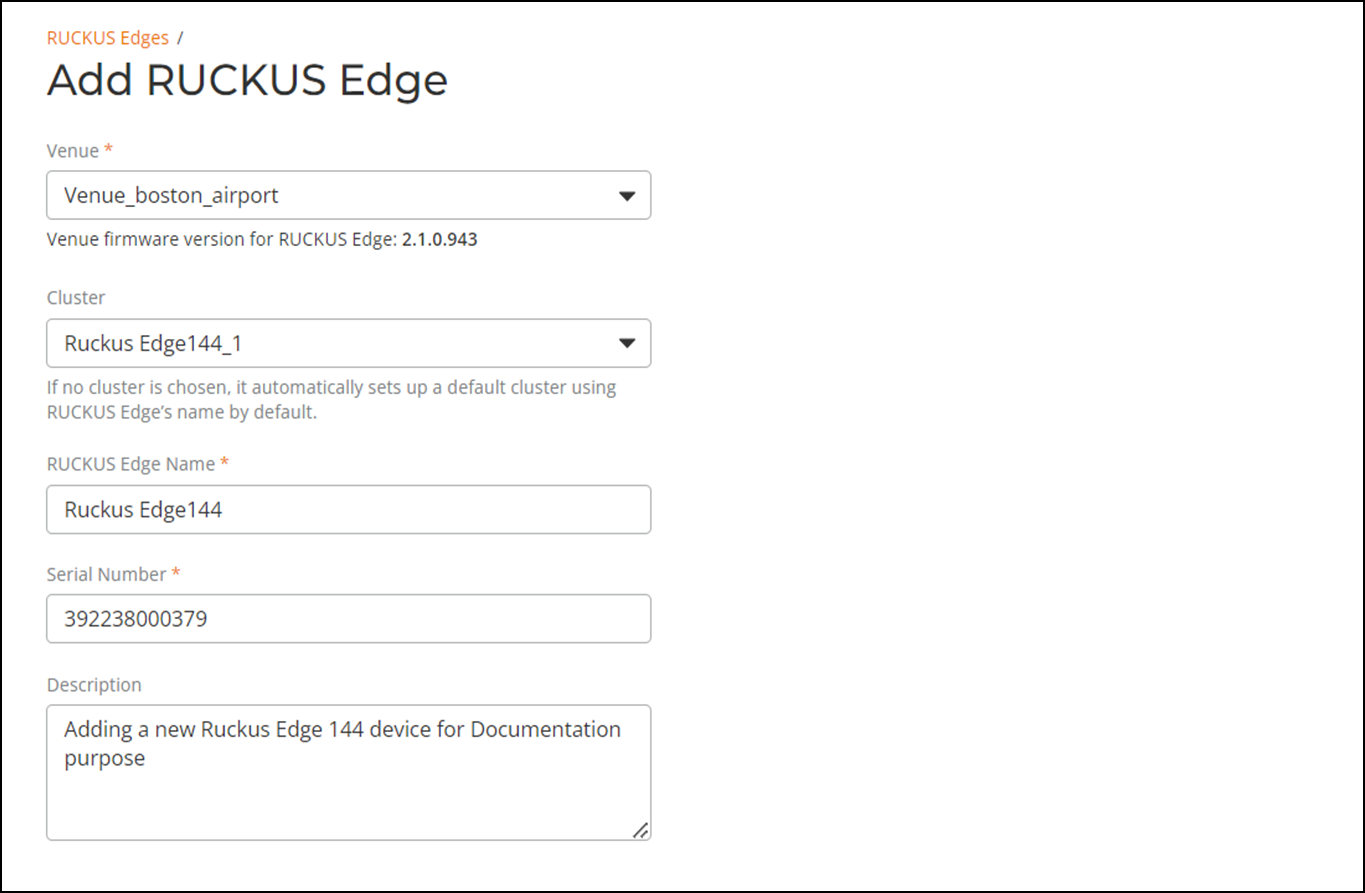
- In the RUCKUS Edge page, click Add and select RUCKUS Edge. This displays the Add RUCKUS Edge page.
- In the Add RUCKUS
Edge page, enter the following details:
- Venue: Click the drop-down arrow to select a site to associate with the RRUCKUS Edge device. A venue represents a physical space where networking devices are deployed.
- Cluster: (Optional) Click the drop-down arrow to select the cluster to associate with RUCKUS Edge device. Set this field only if you are adding multiple RUCKUS Edge devices for redundancy. A cluster is a group of nodes which act as a single system to provide high availability and load balancing.
- RUCKUS Edge Name: Enter a meaningful name for the RUCKUS Edge device.
- Serial Number:
Enter the serial number of the RUCKUS Edge
device. The serial number can be viewed either by entering the command
show
                           								serial
or scanning the QR code; refer to Obtaining the RUCKUS Virtual Edge Serial Number and Interface IP Addresses in the RUCKUS Virtual Edge Getting Started Guide for detailed instructions. - Description (Optional): Enter a purposeful description for the RUCKUS Edge device.
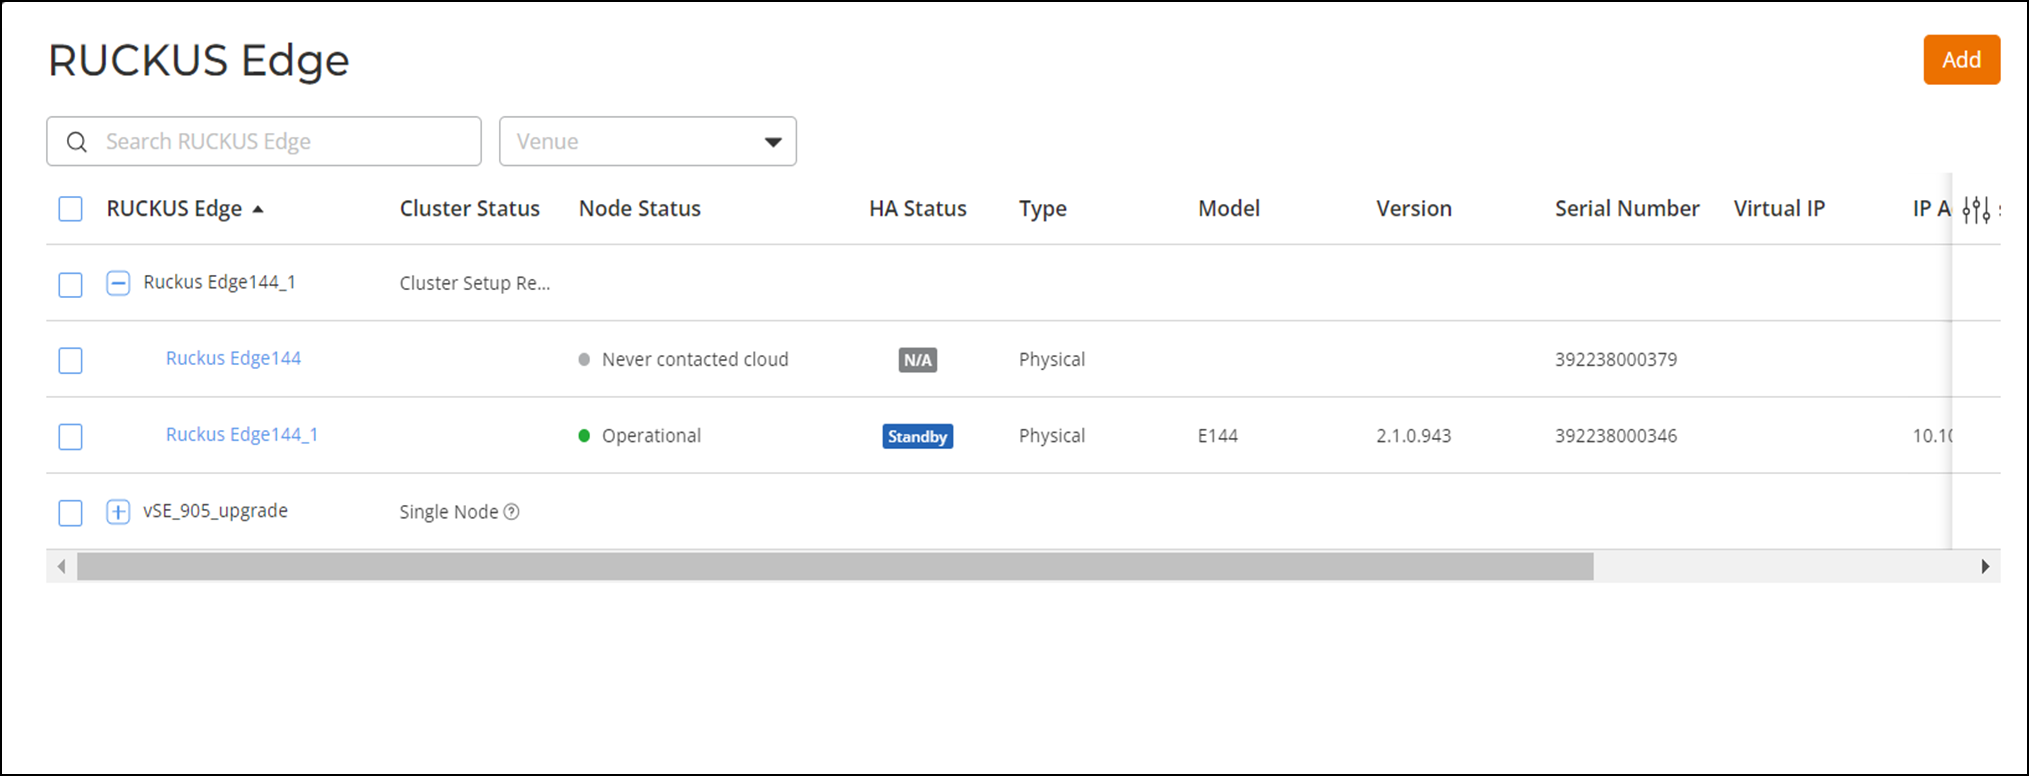
- Click Add.