Mounting the Controller
Follow these steps to mount the controller onto a server rack.
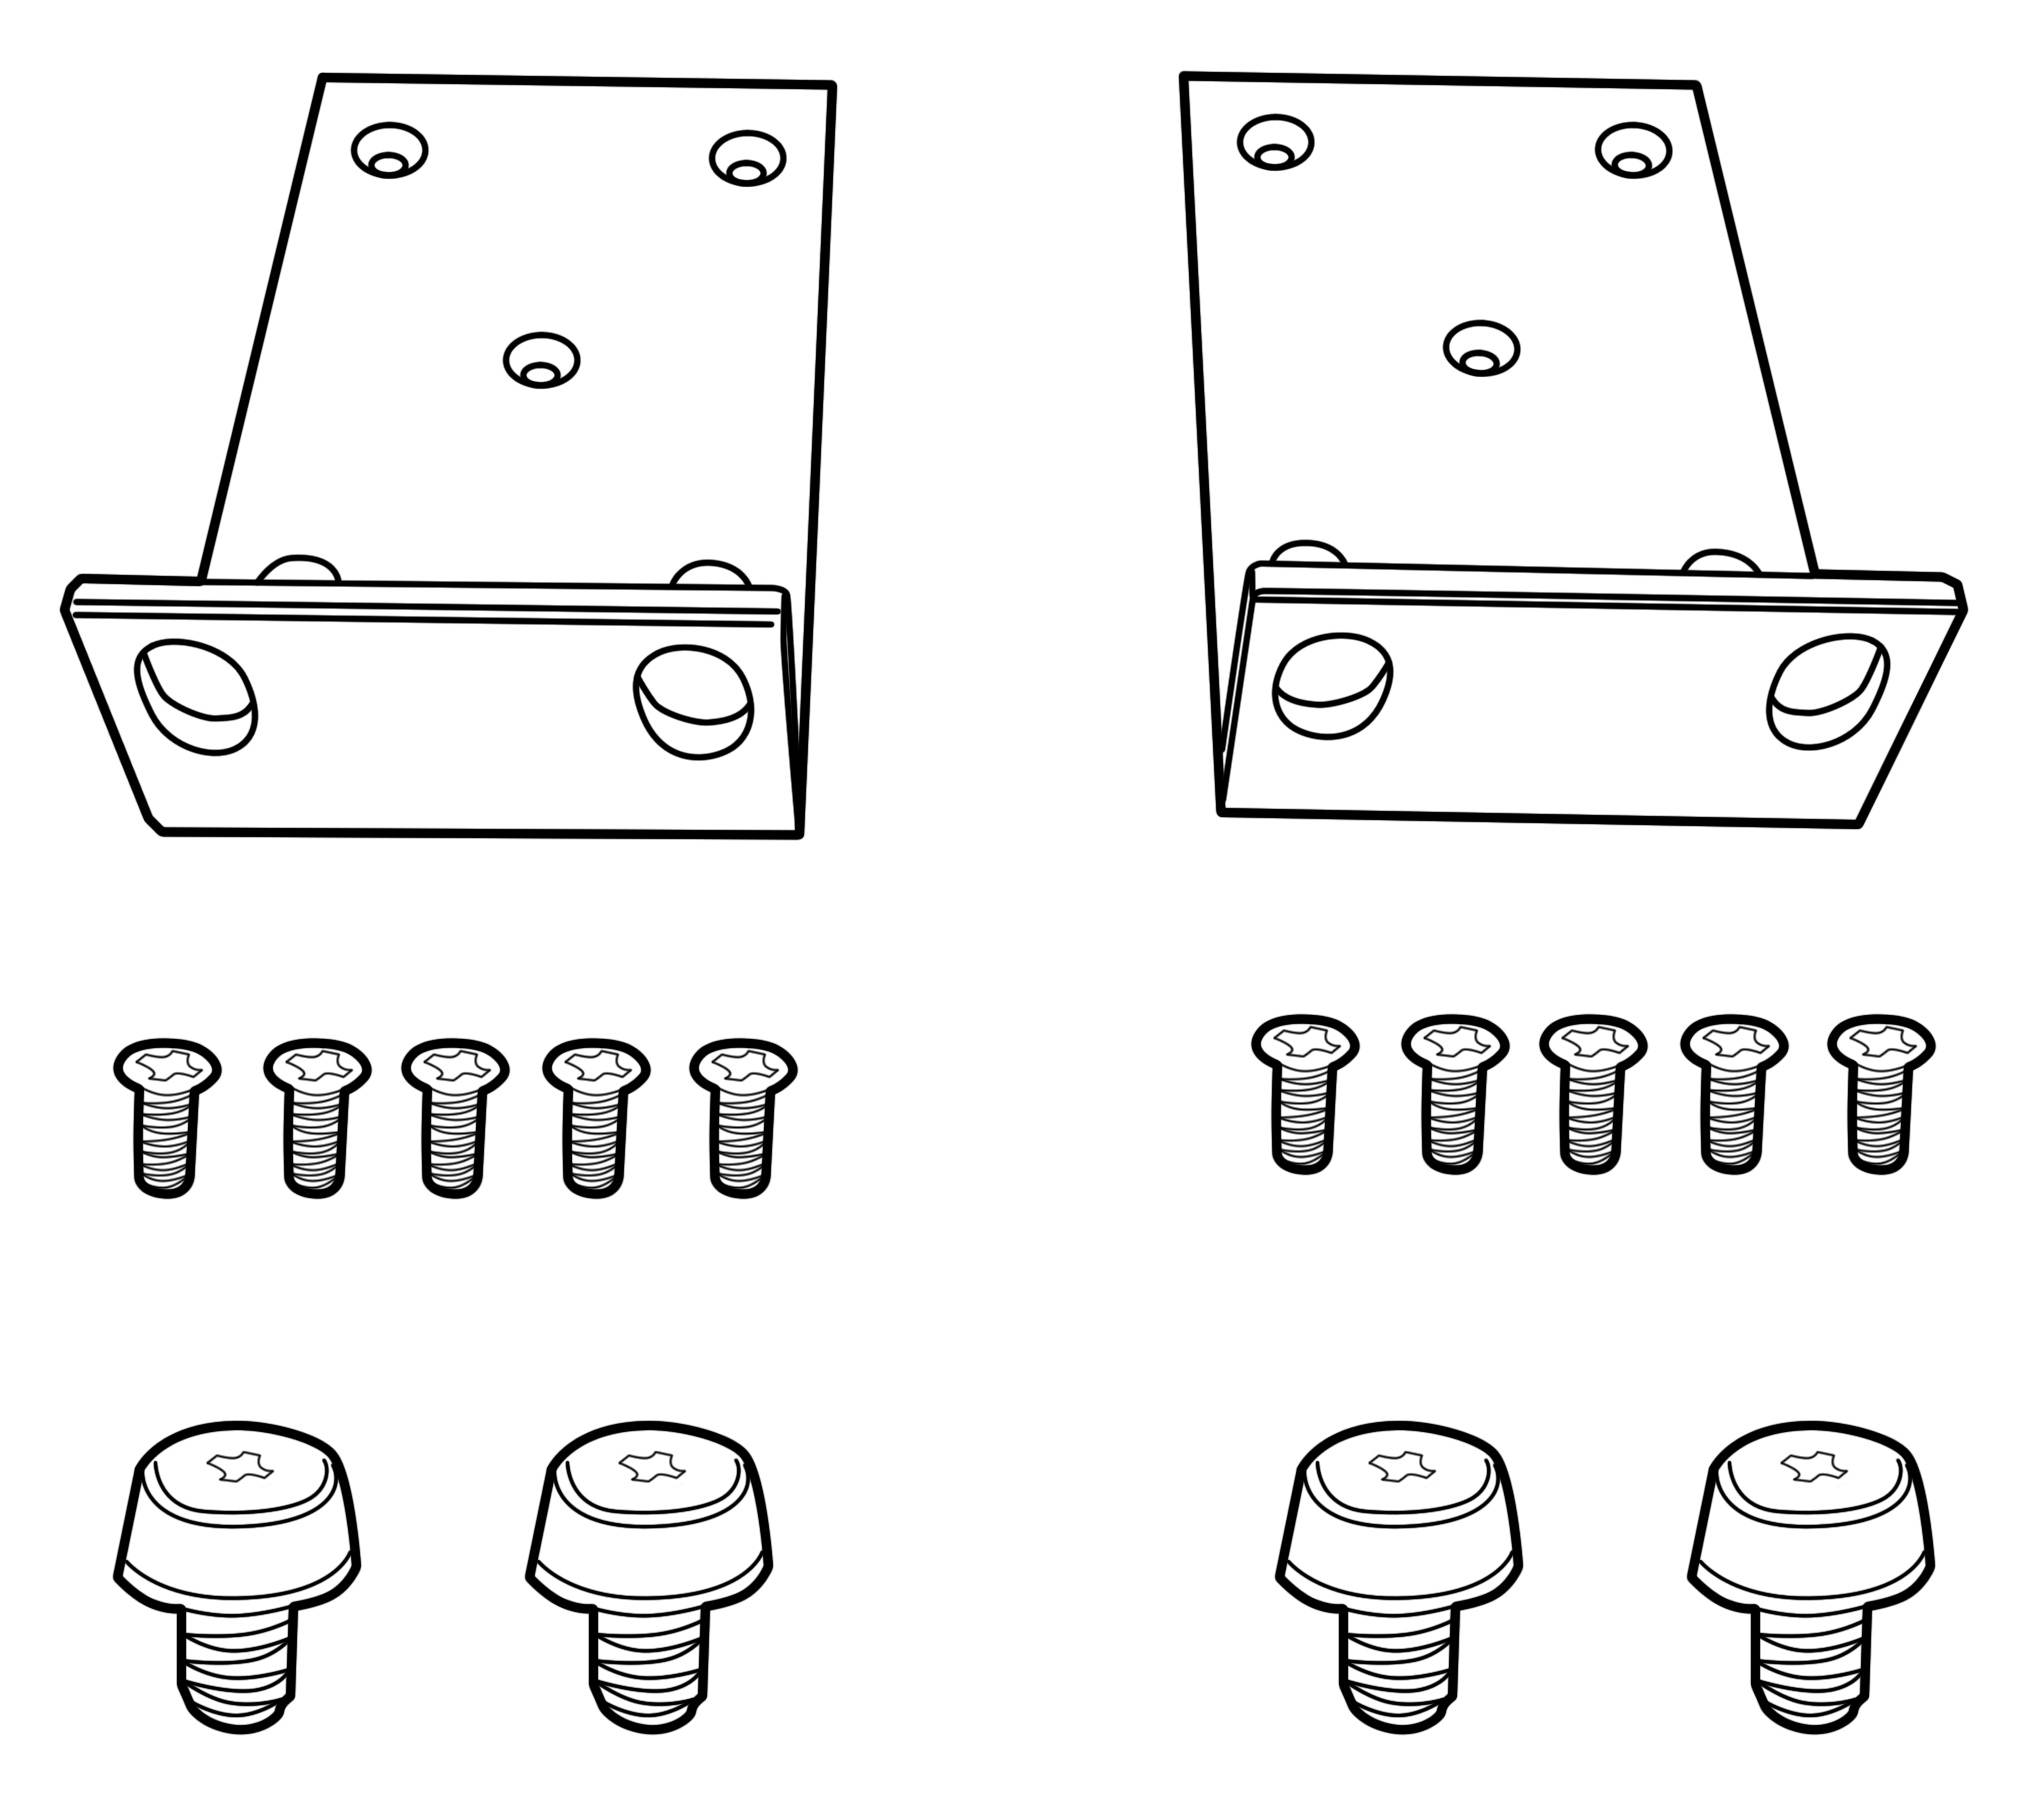
- Unpack the rack mount kit that is included in the SZ100 package that you received. Refer to Rack Mount Kit Contents and verify that the rack mount kit contents are complete.
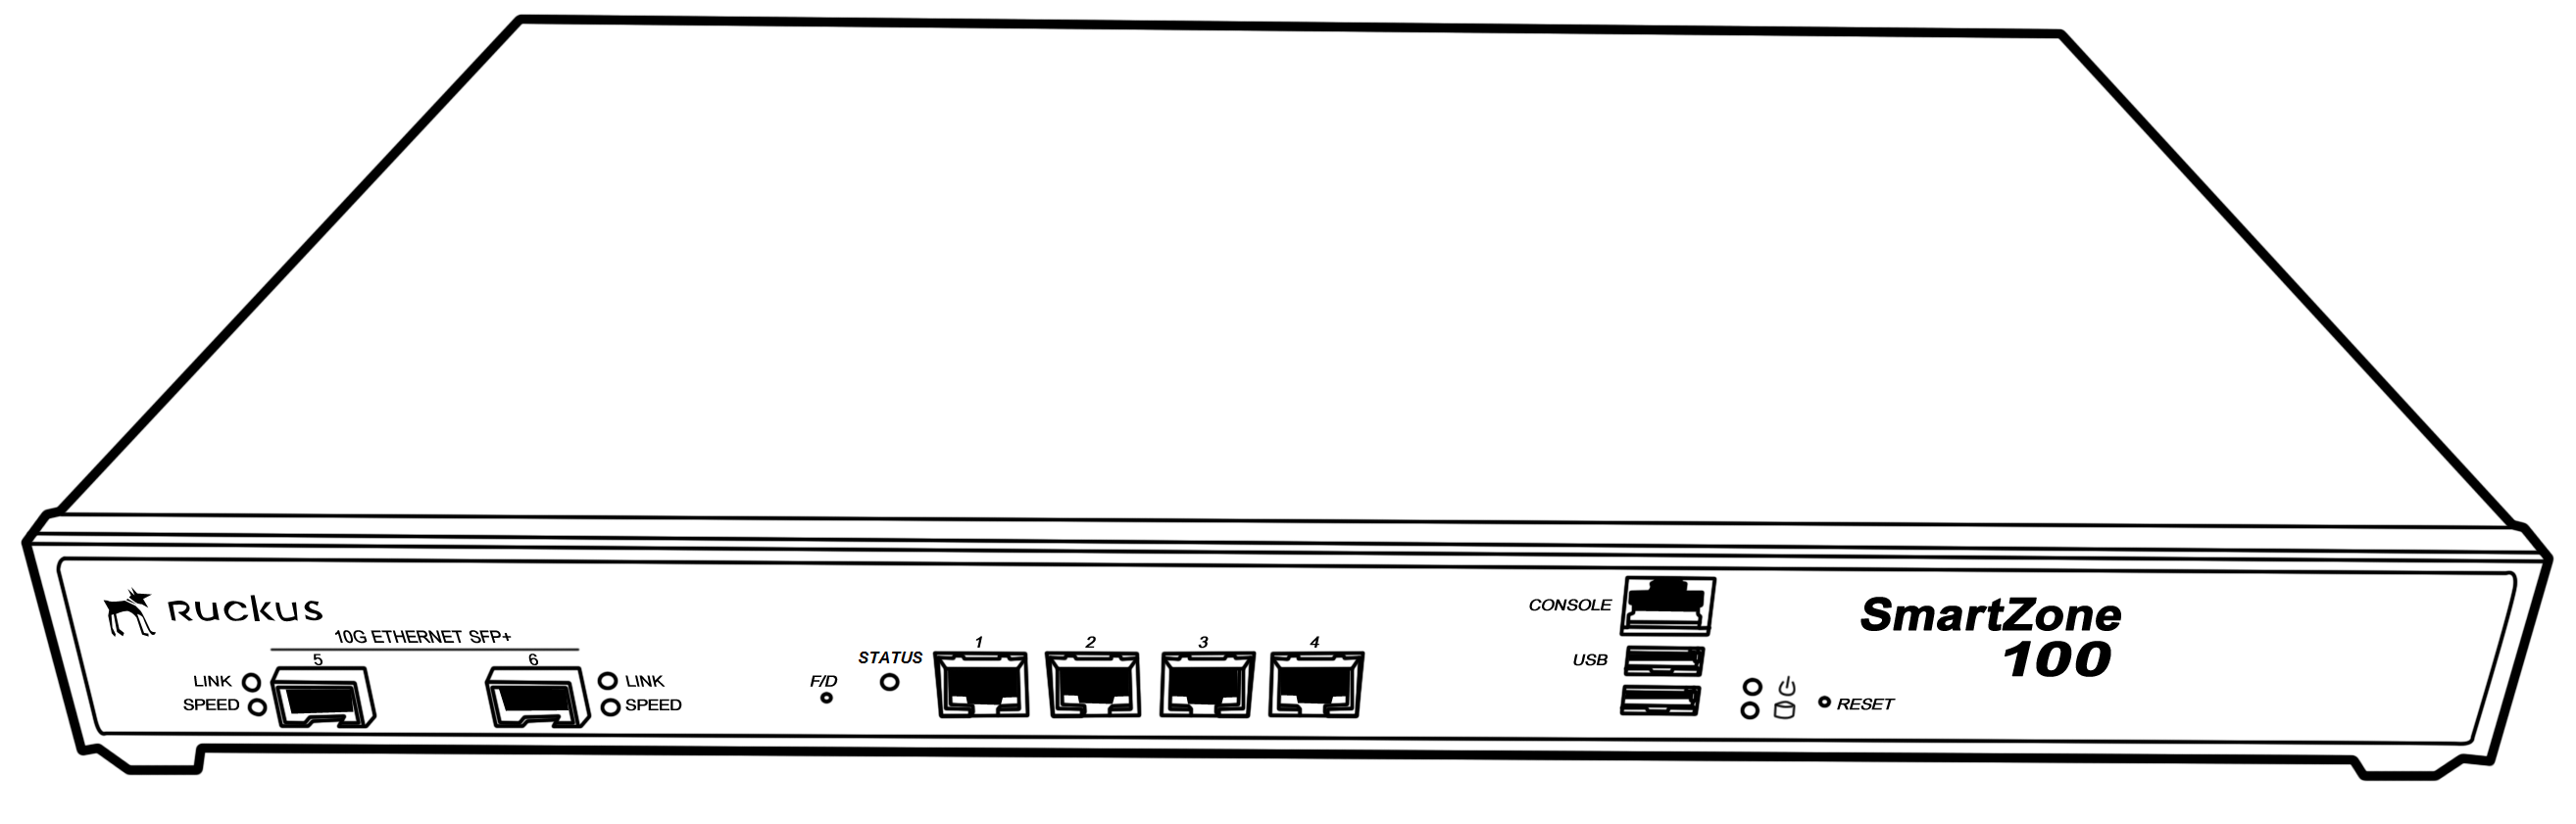
- Find a flat and surface (such as a table) and place the SZ100 unit on top of it.
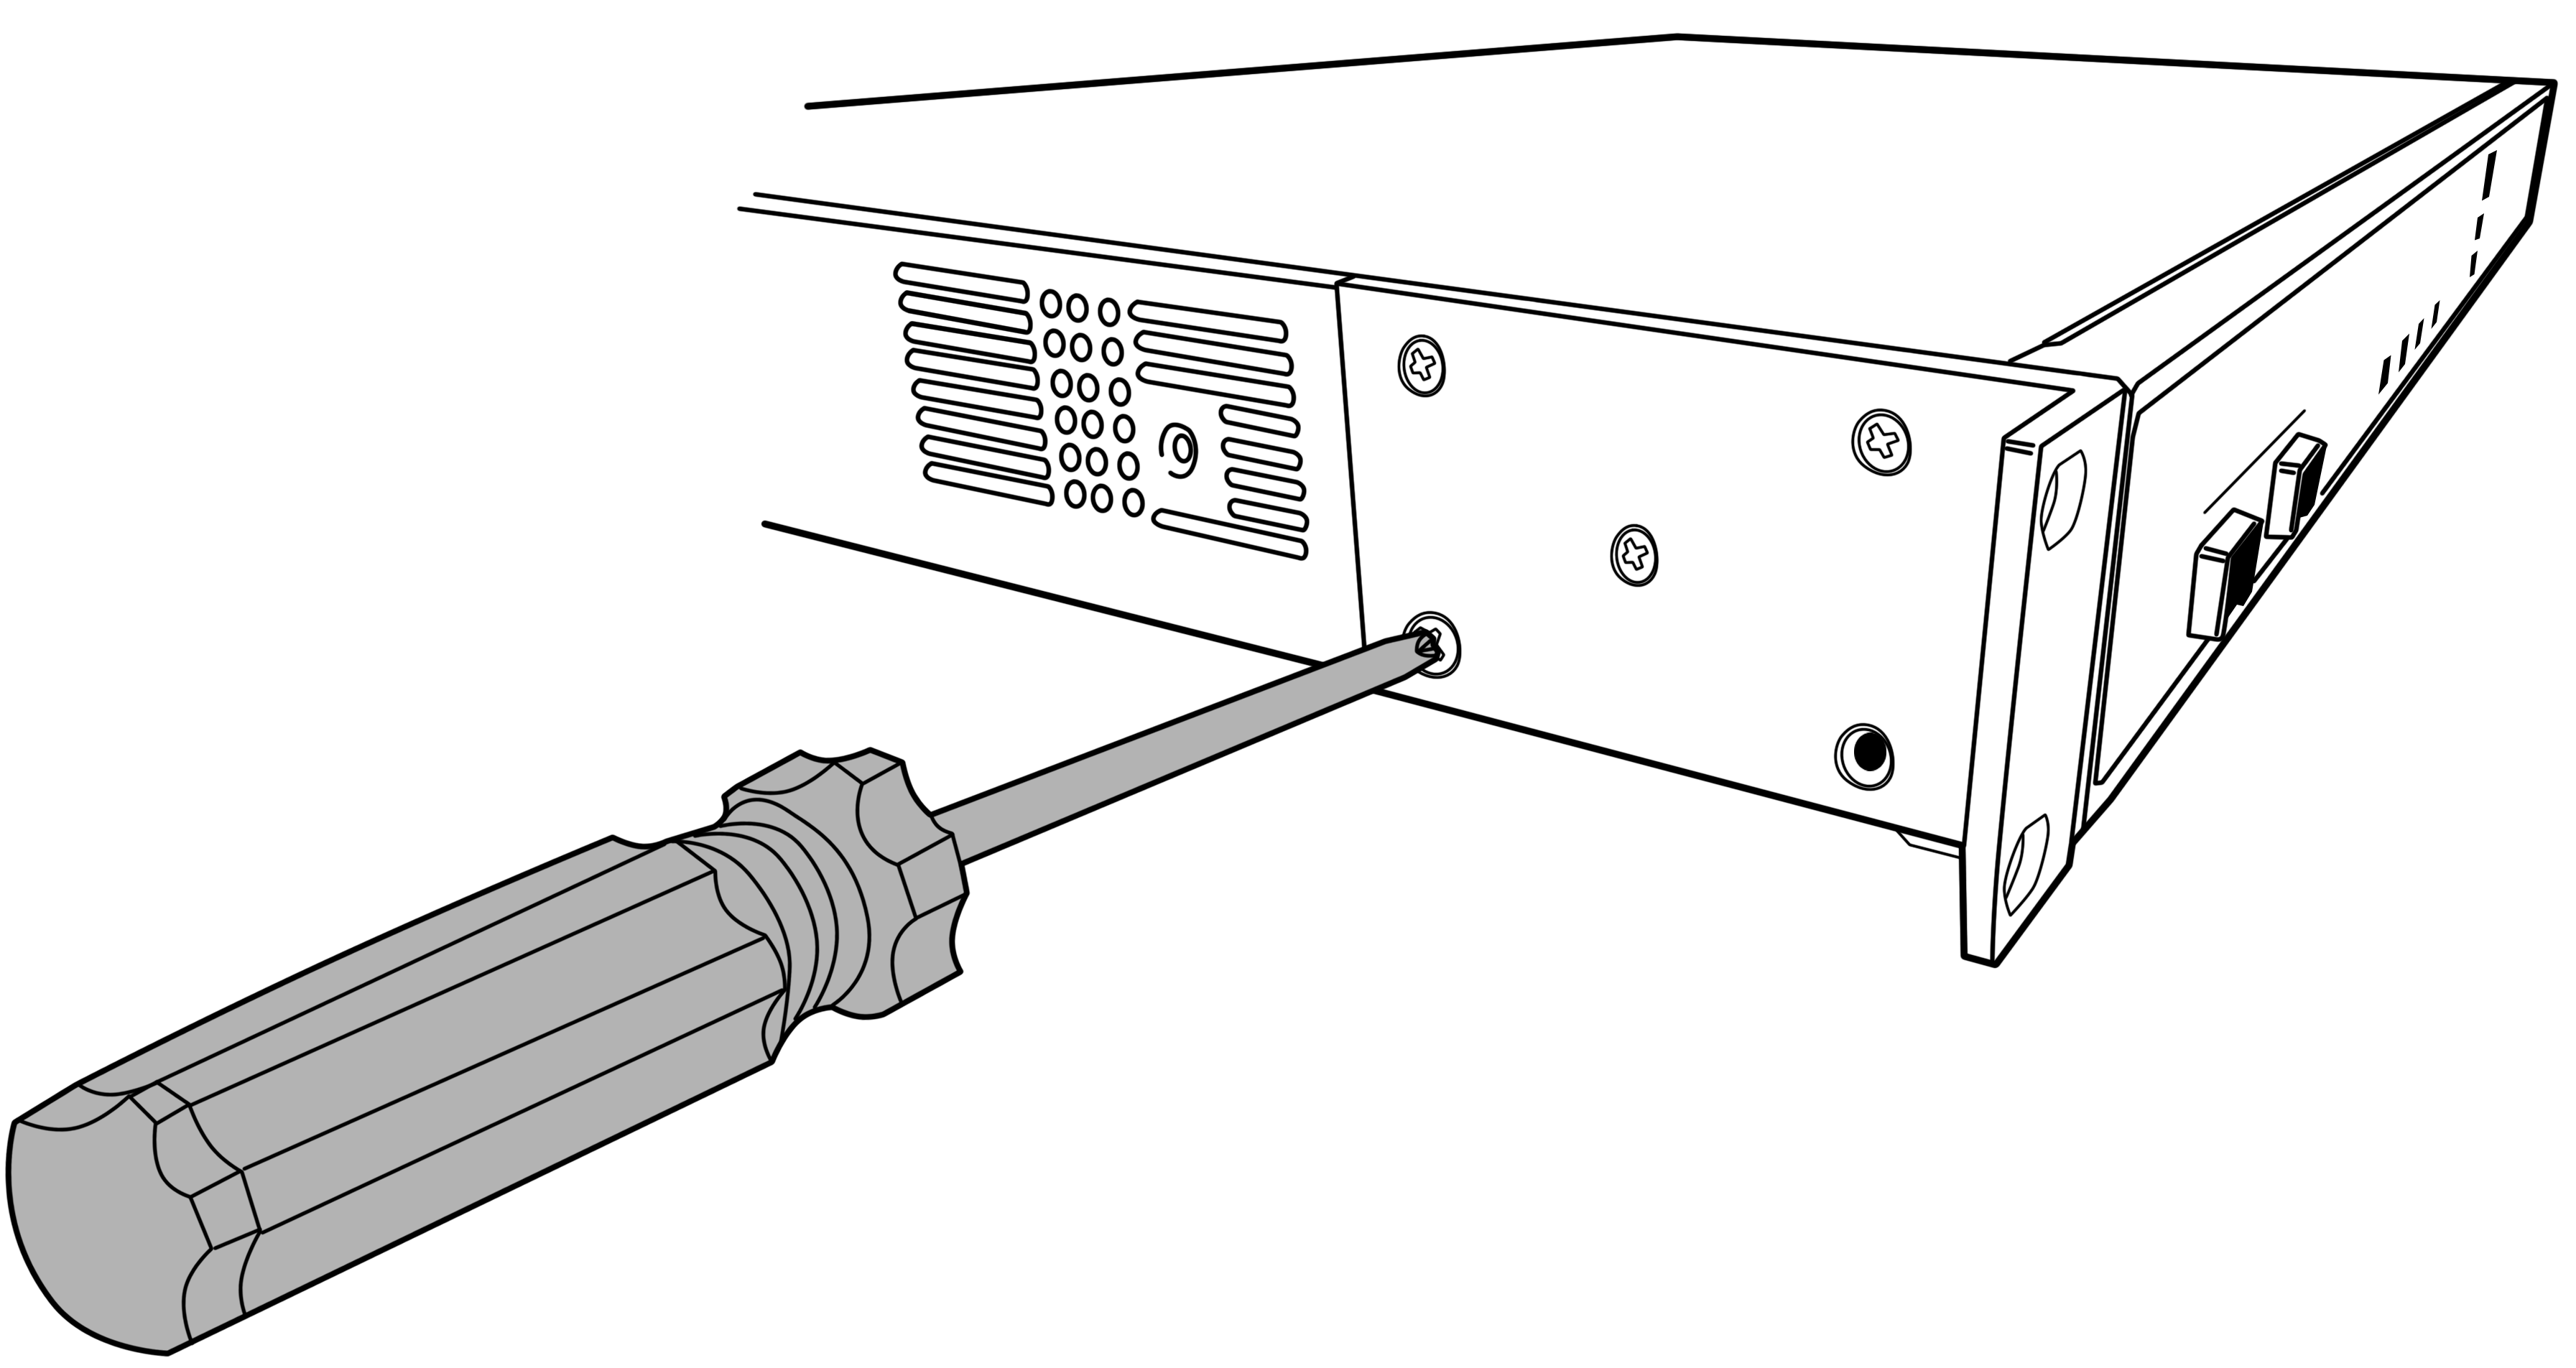
- Take one mounting ear, and then use a Phillips to secure it to the right side of the chassis with the supplied mounting ear screws.
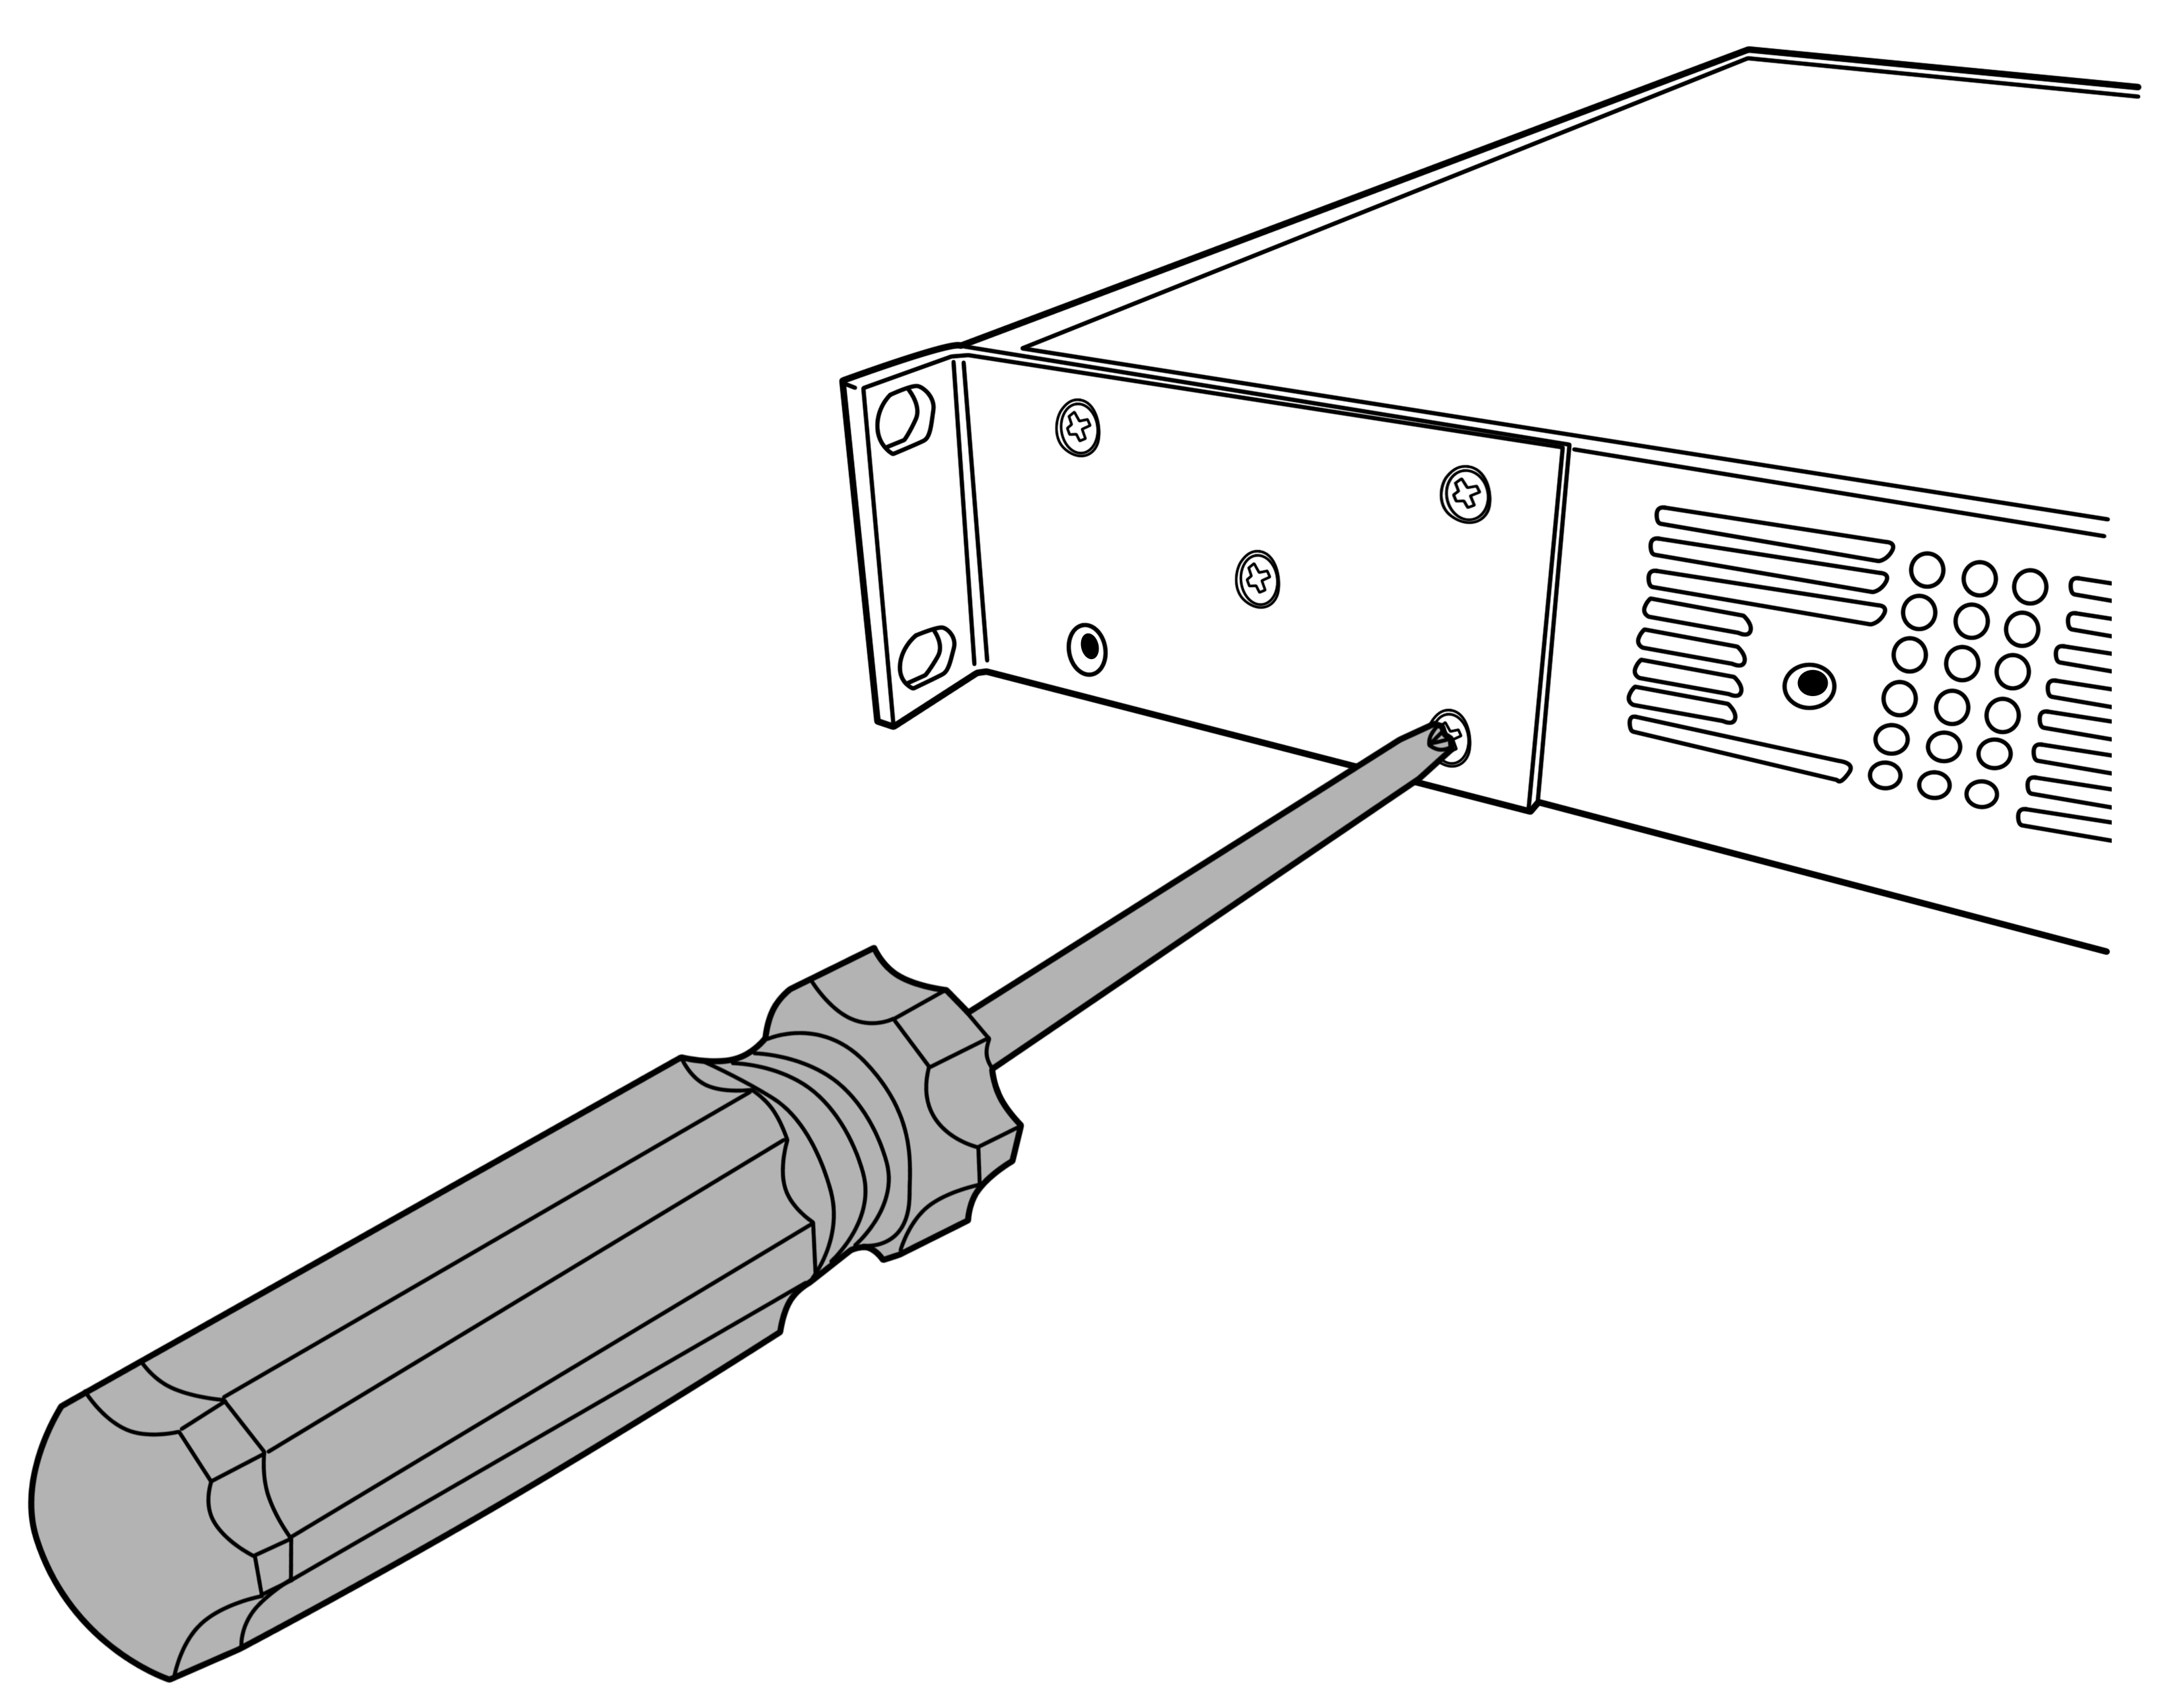
- Take the remaining mounting ear, and then repeat the above procedure on the left side
of the chassis.
Secure the other mounting ear to the left side of the chassis
Note: One of the bottom screw holes on each side of the chassis is unusable – it is used to secure the chassis cover to the chassis. Therefore, you can only use up to four mounting ear screws on each side. Ten mounting ear screws are supplied. So you may have two or more mounting ear screws left (depending on how many you use) when you finish.
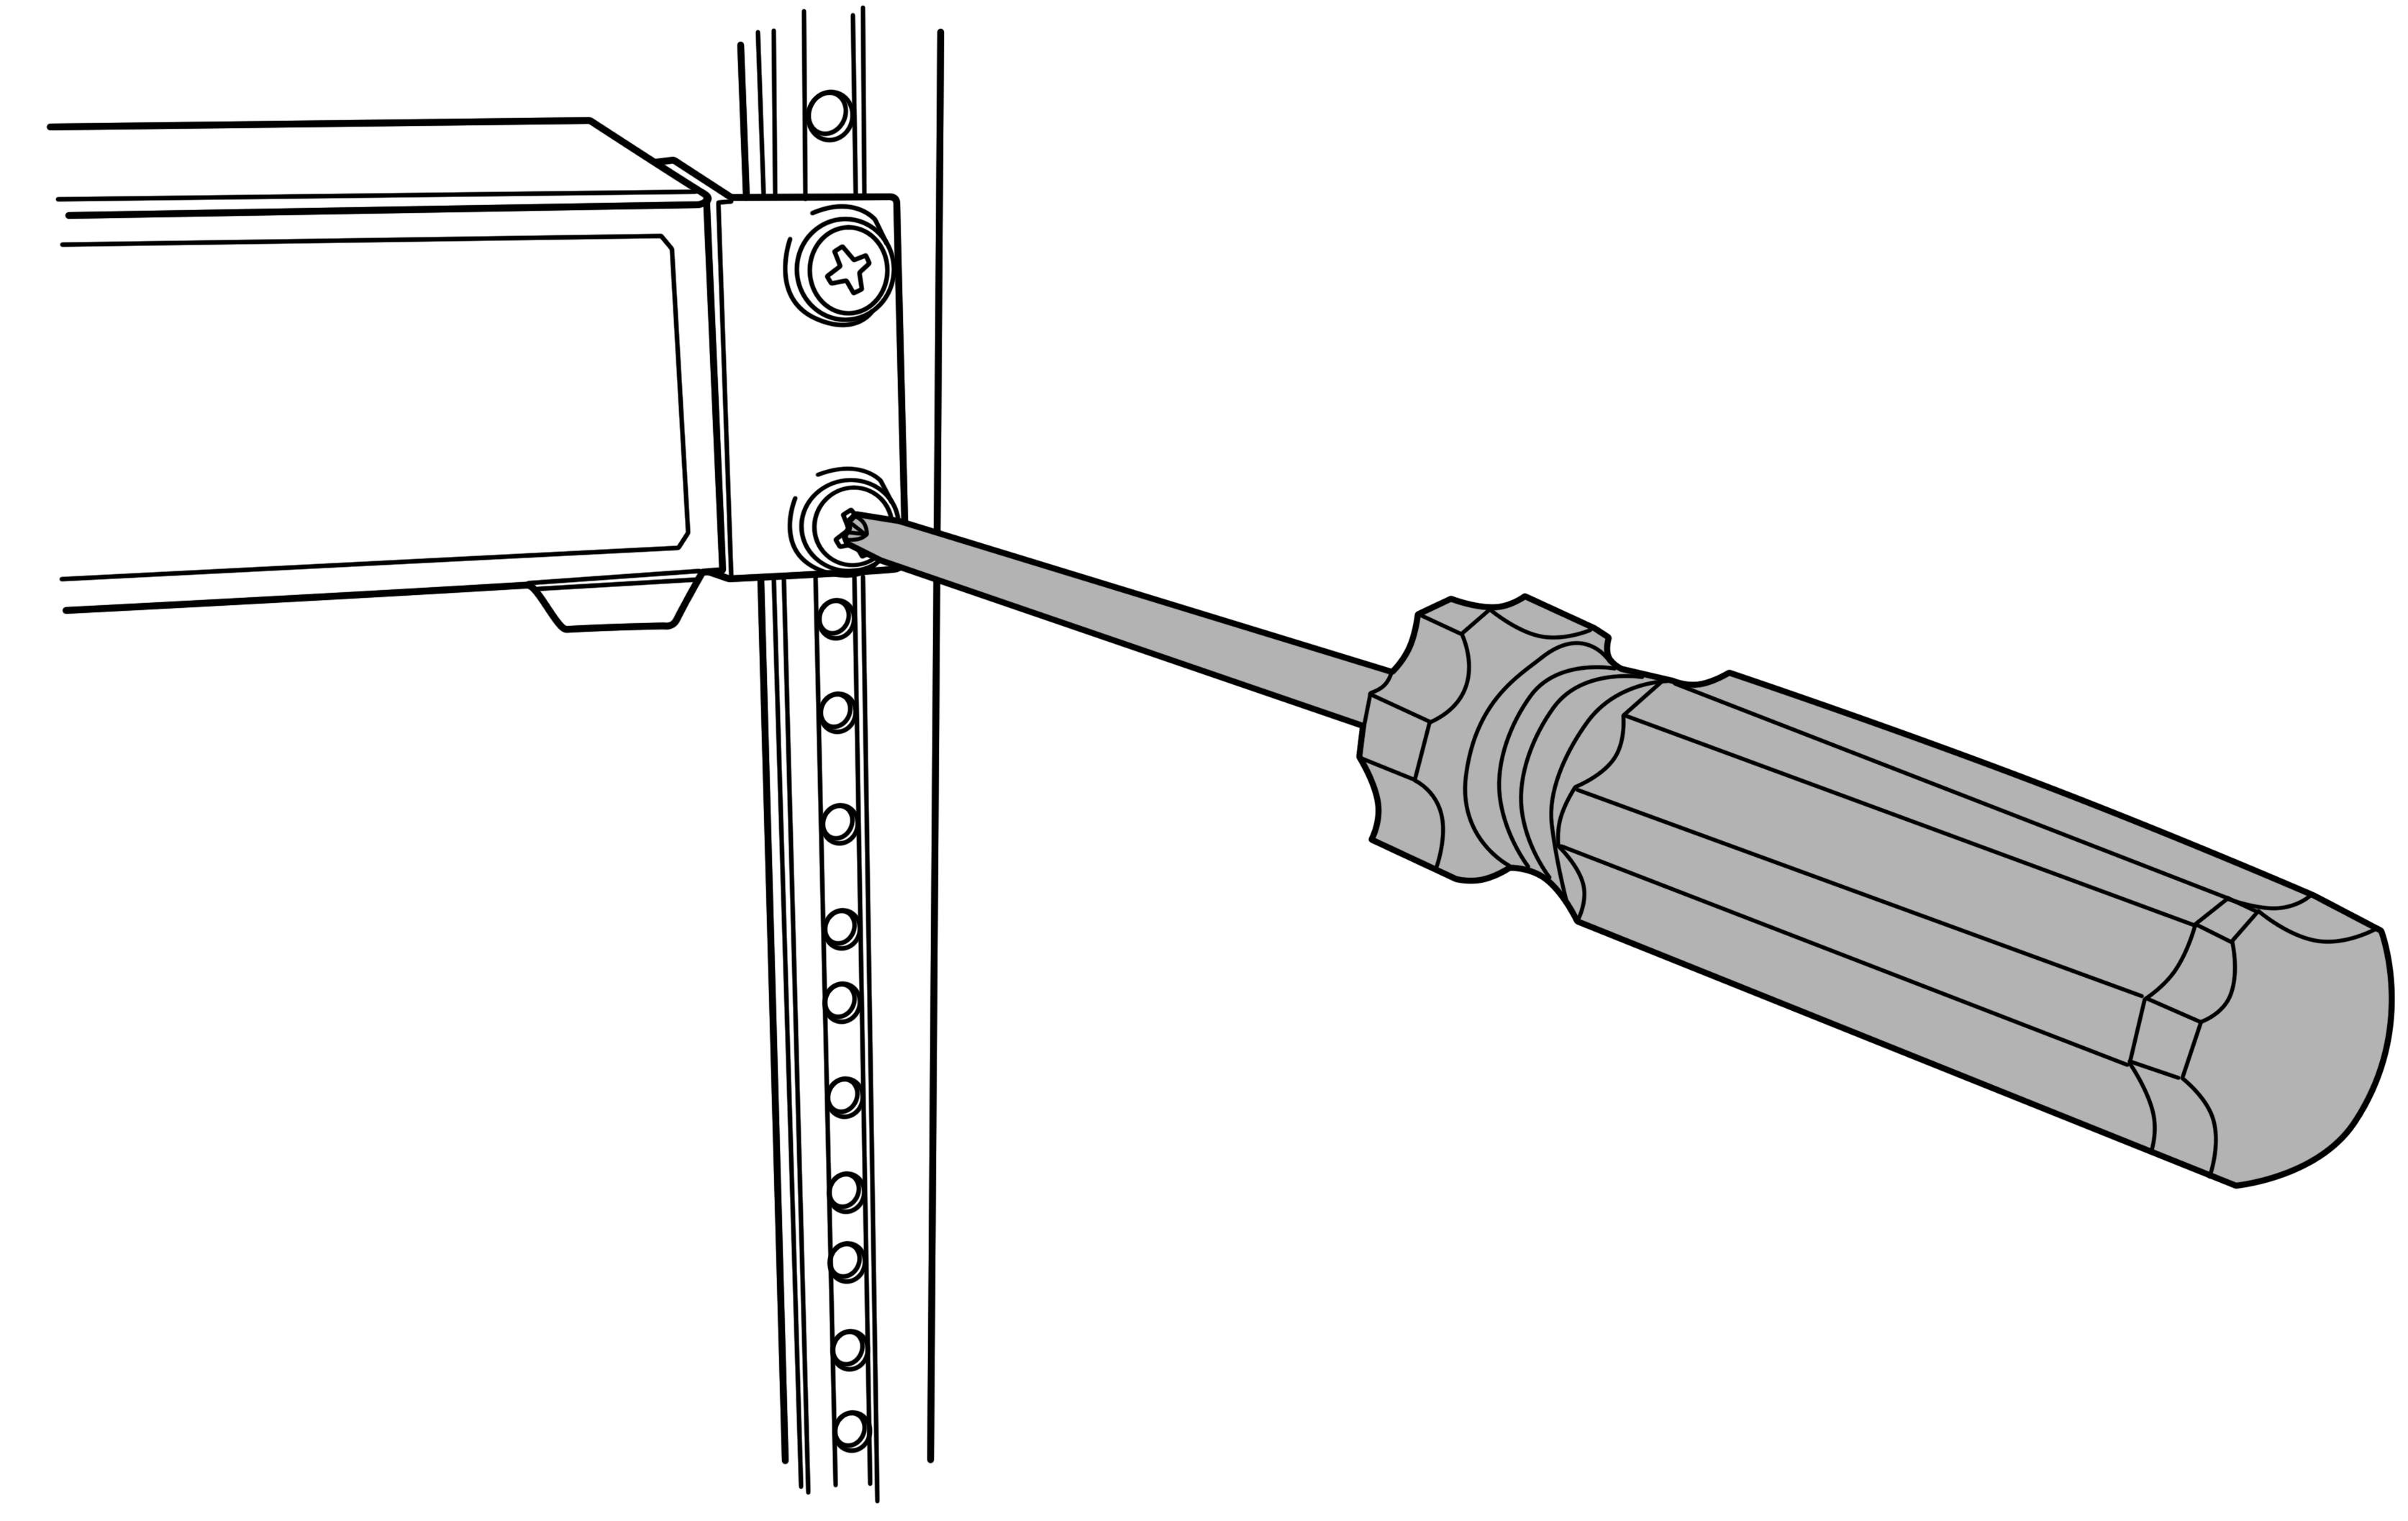
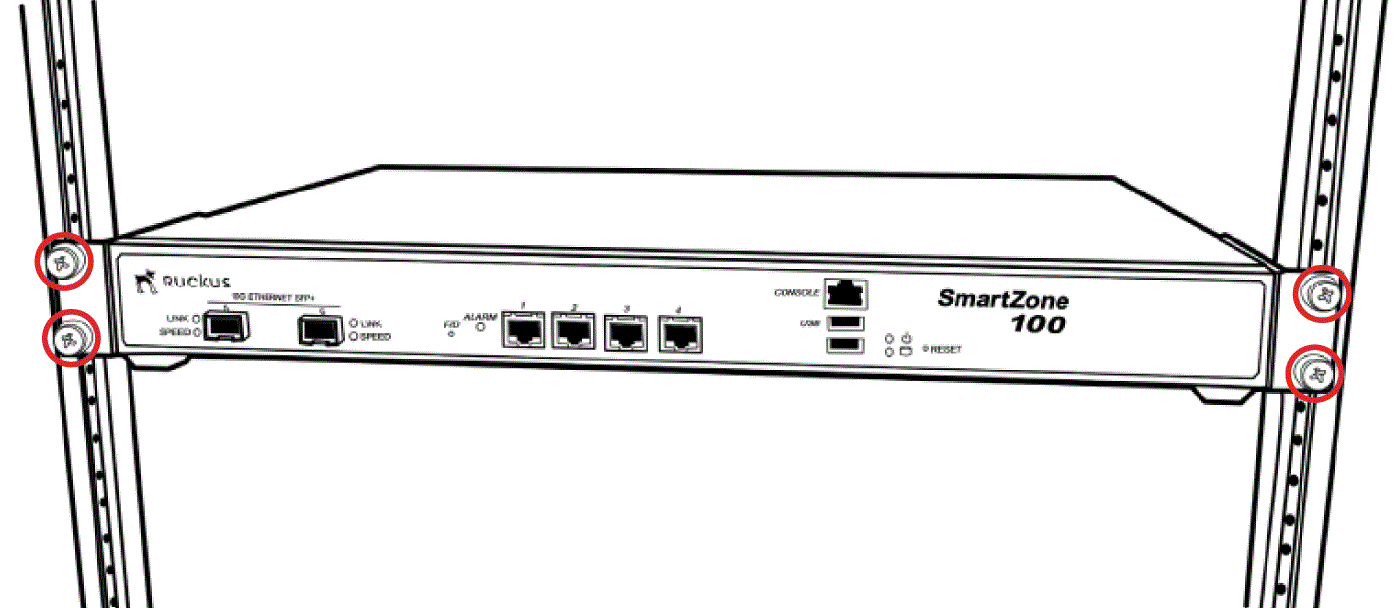
- Using the supplied four rack mounting screws, secure the SZ 100 chassis to the rack.
Use two screws on each side of the chassis.
You have completed mounting the controller to a rack.