Logging On to the Web Interface
You can access the controller’s web interface from any computer that is on the same subnet as the Management (Web) interface, which you configured in Step 3: Configure the IP Settings.
Follow these steps to log on to the controller’s web interface.
- On a computer that is on the same subnet as the Management (Web) interface, start a web browser.
- In the address bar, enter the IP address that you assigned to the Management (Web)
interface and append a colon and
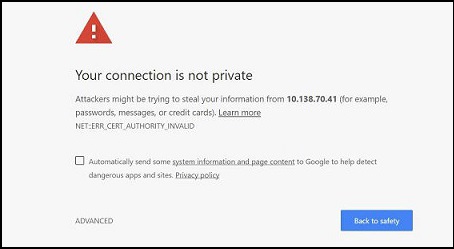
8443(controller’s management port number) at the end of the address. - If a browser security warning appears, this is because the default SSL certificate (or security certificate) that the SZ is using for HTTPS communication is signed by RUCKUS Networks and is not recognized by most web browsers. Click continue or proceed (depending on the browser that you are using).
- Log on to the controller’s web interface using the following logon details:
- Click Log On.
You are now ready to configure the controller. Refer to the SmartZone 100 Administrator Guide for information on how to configure the controller and manage APs and wireless clients.