If You Selected Two Port Groups
After you click Next on the previous setup wizard page, a warning message appears and informs you that the administrative computer must be connected to LAN 1 (Port 1) and LAN 2 (Port 2) to complete the setup process.
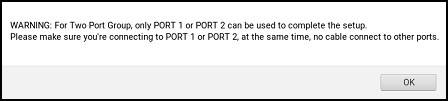
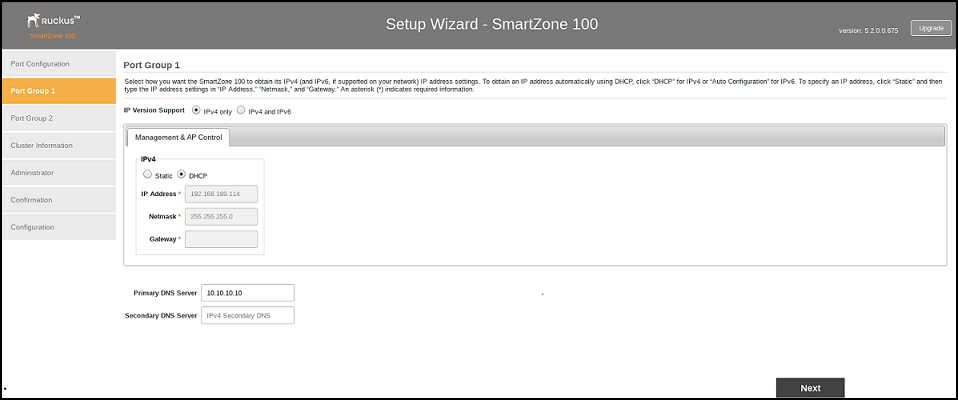
- Click OK on the warning message to close it. The Port Group 1 configuration page appears.
- In IP Version Support, select one of the following options:
- Configure the IP address settings of the
Management & AP Control
interface.
- Under the IPv4 section, click Static, and then enter the network settings that you want to assign to the interface.
- If you clicked
IPv4 and IPv6
at the beginning of this procedure, under the
IPv6 section, click
Auto Configuration if you want the controller to obtain its IP address from Router Advertisements (RAs)
or from a DHCPv6 server on the network. If you want to manually assign the IPv6 network
address, click
Static, and then set the values for the following:
IP address (IPv6): Enter an IPv6 address (global only) with a prefix length (for example,
1234::5678:0:C12/123). Link-local addresses are unsupported.Gateway: Enter an IPv6 address (global or link-local) without a prefix length. Here are examples:
NAT IP: Enter a NAT IP address. SmartZone pushes both the private IP and the NAT IP to the AP.
- In Primary DNS Server and Secondary DNS Server, enter the DNS server address for the enabled interfaces.
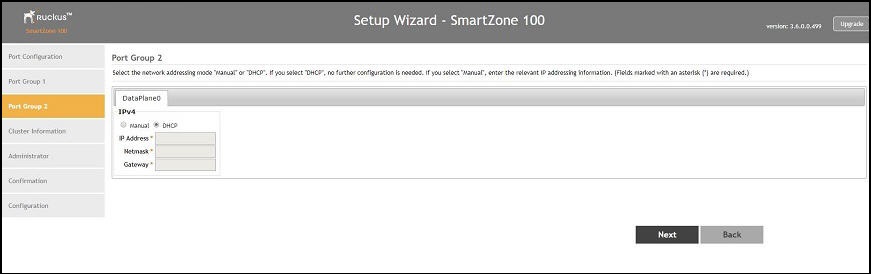
- Click Next. The Port Group 2 page appears.
- On the AP Tunnel Data tab, click Manual, and then enter the network settings that you want to assign to the port group 2 interface, through which client traffic and configuration data will be sent and received.
- Click Next. The Cluster Information page appears.