Creating a Client Isolation Profile
You can use a Client Isolation profile to
create multiple wireless networks to connect a client to the network.
Complete the following steps to create a Client Isolation profile:
- Add the Client Isolation service to your tenant account. From the navigation bar, select . Alternatively, you can select , then click Add Service.
- Find the Client Isolation tile and click Add.
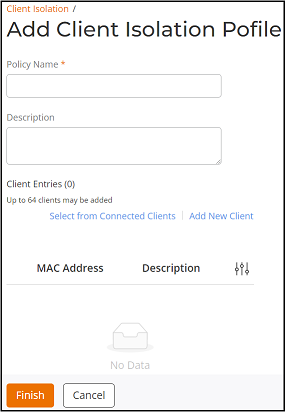
- Complete the following
fields:
- Policy Name: Enter the name for the Client Isolation profile.
- Description: Enter a short description for the Client Isolation profile.
- Client
Entries: You can select the connected clients using the
Select
from Connected Clients and also you can add new clients
using the Add
New Client.
Note: A maximum of 64 clients can be added to each Client Isolation profile.
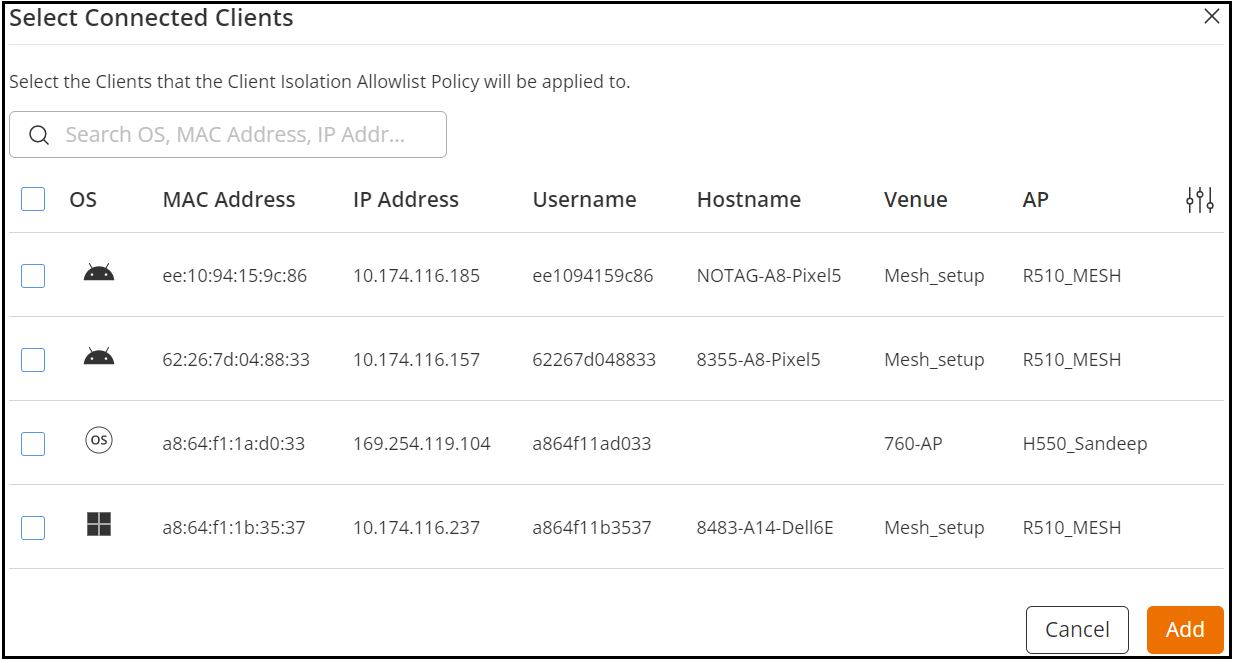
- Select from
Connected Clients: Click Select from
Connected Clients. The Select
Connected Clients dialog box is displayed. Select
the clients that you want to add to the Client Isolation profile
and click Add.
Note: You can search a connected client by OS, MAC address, IP address, username, and hostname. Filter the clients by venues and/or access points.
The connected clients are added to the Client Enteries table.
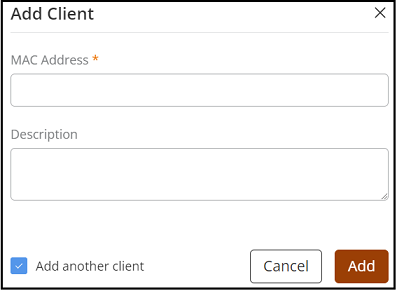
- Add New
Client: Click Add New
Client. The Add Client
dialog box is displayed. Enter the MAC
address and Description,
and click Add.
The clients are added to the Client Enteries table.
- Select from
Connected Clients: Click Select from
Connected Clients. The Select
Connected Clients dialog box is displayed. Select
the clients that you want to add to the Client Isolation profile
and click Add.
- Click Finish.A Client Isolation profile is created and is displayed in the Client Isolation page.