vSZ-D/SZ100-D/SZ144-D Connect to vSZ Using CLI
Follow the below procedures for
vSZ-D/SZ100-D/SZ144-D to connect to vSZ.
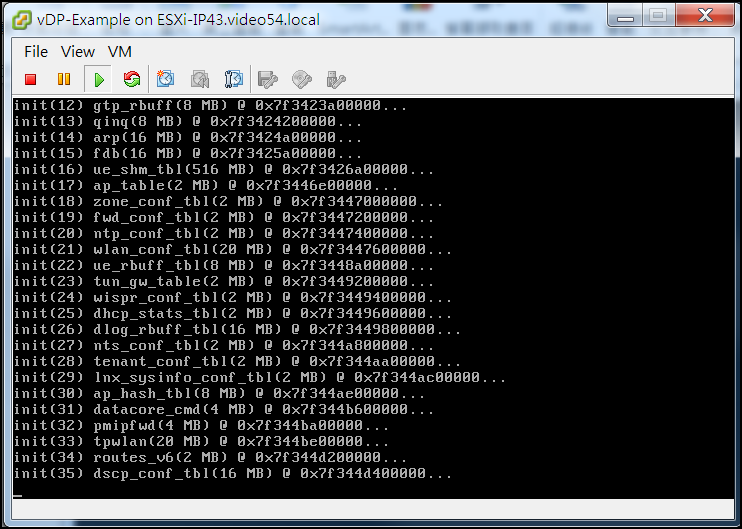
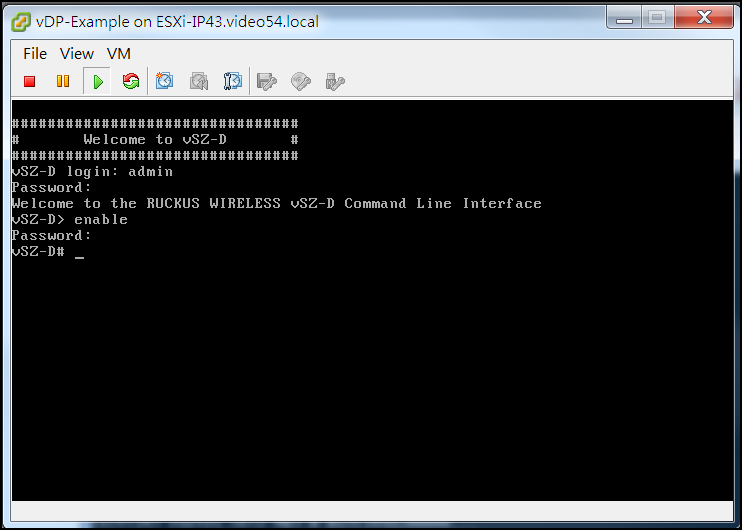
- At the login prompt, login using administrator credentials of username and password. At the > prompt, enter the enable (en) command and the admin password to change the mode to Privileged-exec mode.
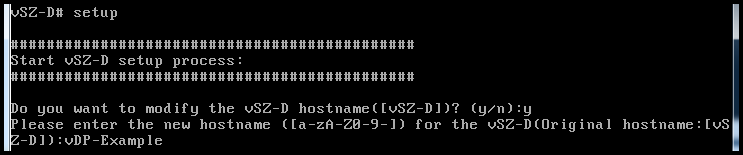
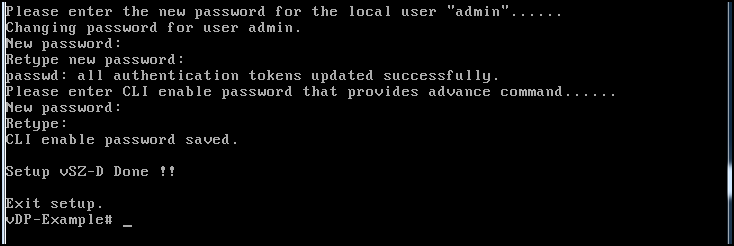
- Run the setup command to configure the IP address for management and data interface. It is recommended to add a new host if you have multiple hosts for various configurations
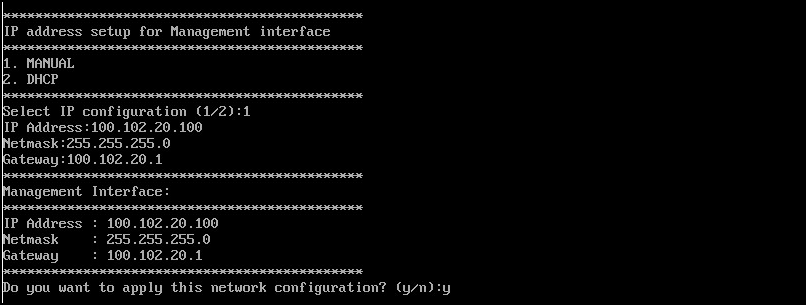
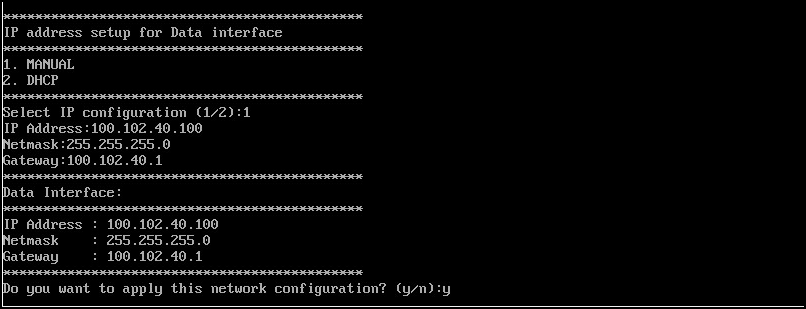
- Choose the IP address setup (IPv4 only or IPv4 and IPv6) for Management and Data interface by either selecting manual or DHCP. On defining the IP setup the process of vSZ-D/SZ100-D/SZ144-D connecting to vSZ controller starts.
- Enter the DNS setting and select Enter to skip the NAT IP setting.
- Enter vSZ control interface IP address. Follow the set of sequences as seen below for the vSZ-D/SZ100-D/SZ144-D to connect to vSZ controller. This changes the mode for vSZ-D/SZ100-D/SZ144-D as well as for vSZ.
- Exit from CLI console.
- To view and approve the vSZ-D/SZ100-D/SZ144-D, login to the web interface. Navigate to Clusters > Data planes. Select the vSZ-D/SZ100-D/SZ144-D and click on Approve. On approval the status is greyed.