Deployment Procedure
The following are basic instructions for setting up the controller on the ESXi server.
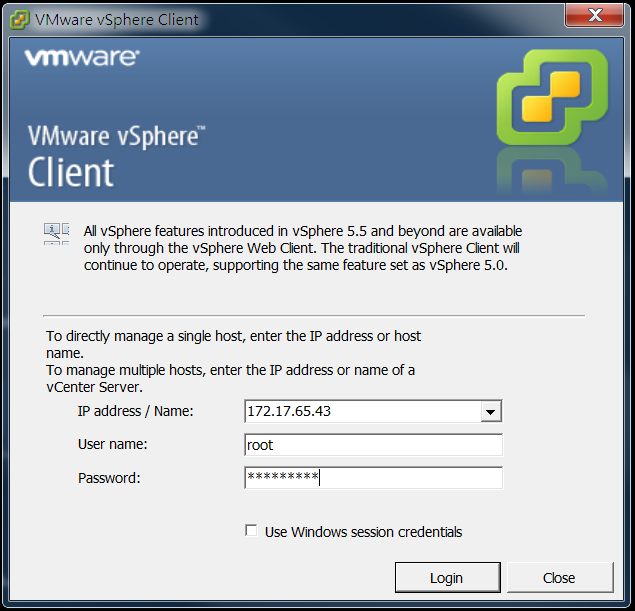
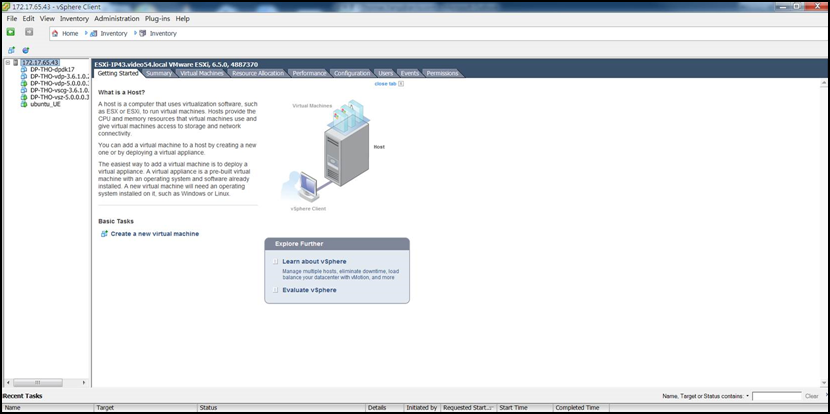
- Login to the server through vSphere client tool as seen below.
-
5.0 UpdateNavigate to Configuration > Advanced Settings > Edit.
- Select XL710 40GbE QSFP+ ports and reboot vSphere server.
- Download the controller (.ova file) from
Ruckus support
.
Note: You must deploy the controller directly from the .ova file. Copying an instance of the controller from another controller template might not function properly.
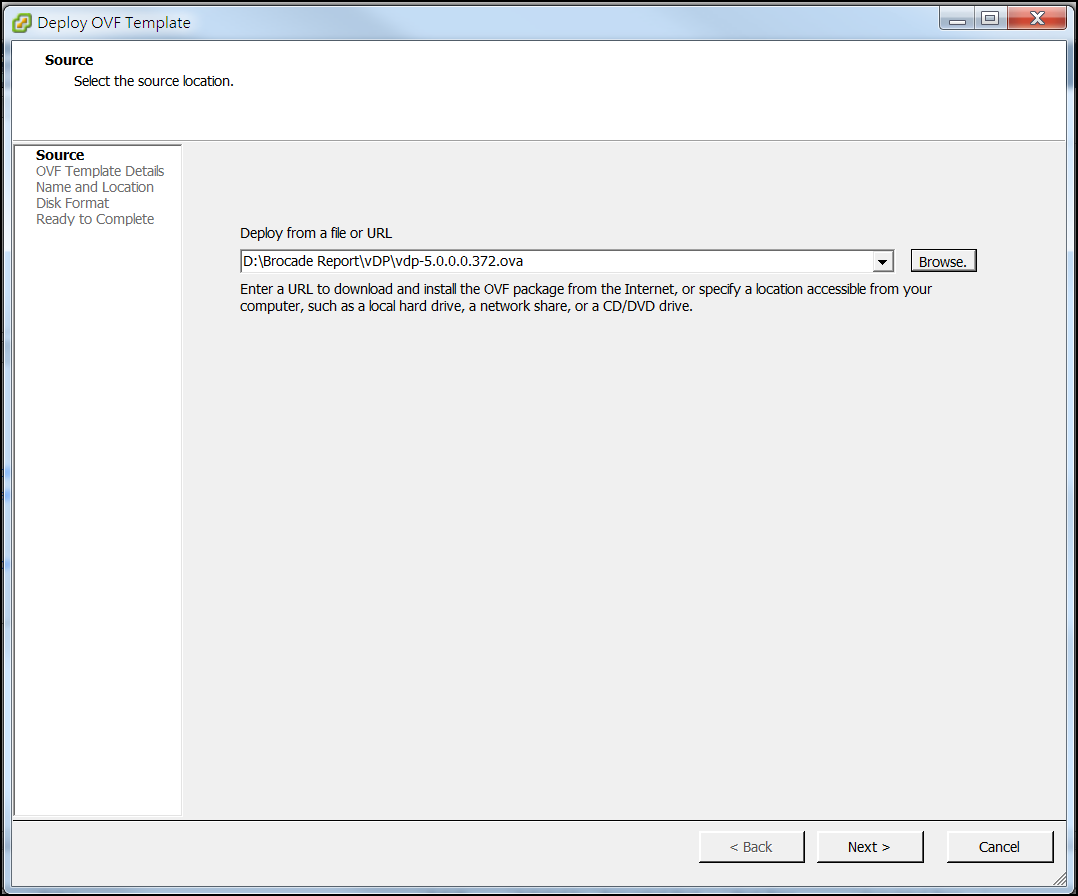
- Click Browse, to select the source location and upload the .ova file.
- Click Next.
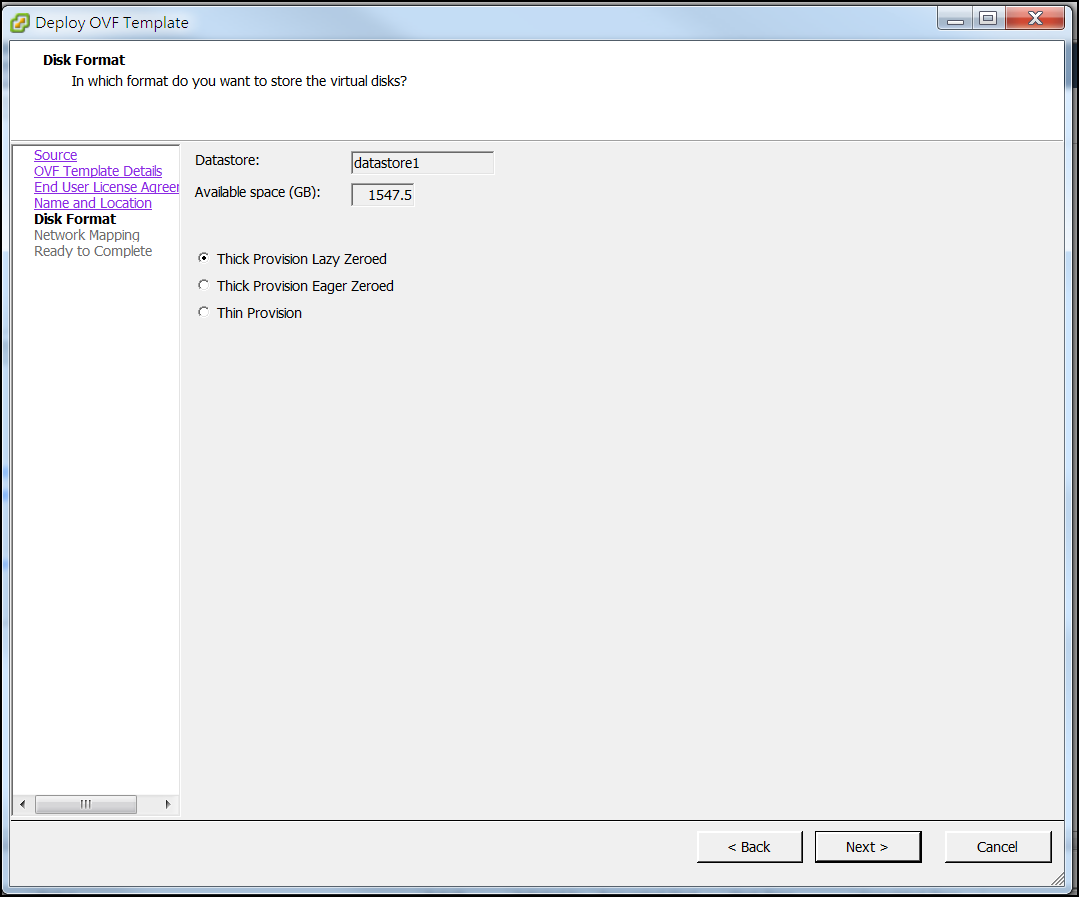
- Enter the vSZ datastore name and choose the disk format as seen below.
- Click Next.
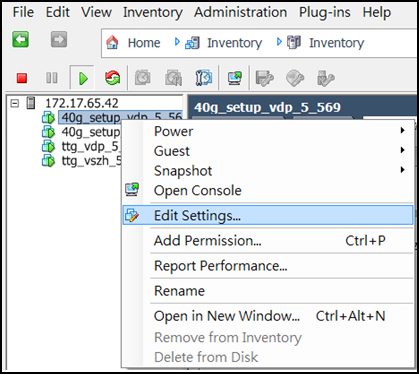
- From the controller, right-click the VM and select Edit Settings.
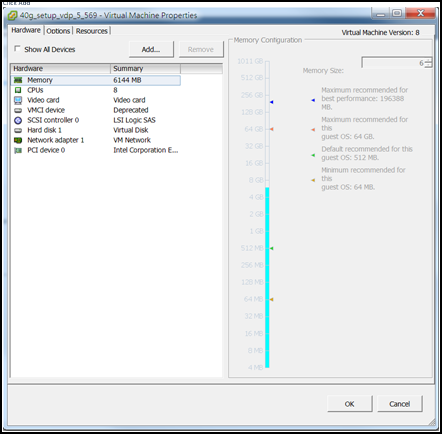
- Select the destination network for each network source and click Add as shown in the following image.
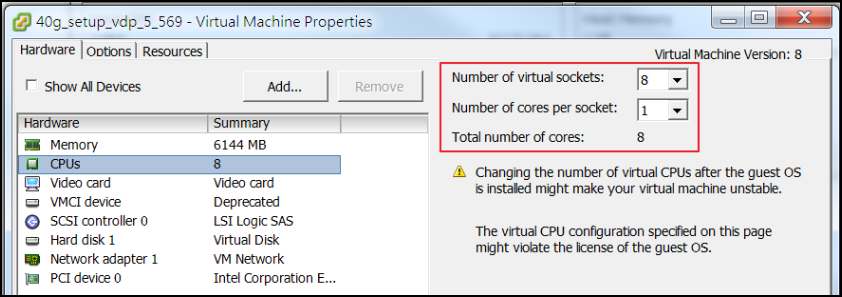
- For 40Gb throughput performance ,select total number of CPU cores to 8.
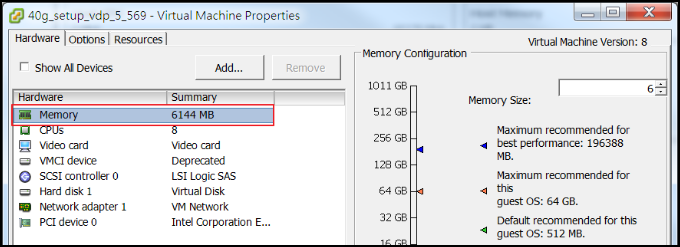
- Select 6GB memory size.
- Click OK to start the deployment.
- The deployment progress is displayed. On successful deployment, by default the controller now supports two network interfaces for management and data.