Mounting the Compact Device Directly on a Wall
Use the following items to mount the compact device directly to a wall:
- #2 Phillips screwdriver
- Hammer
- Drill
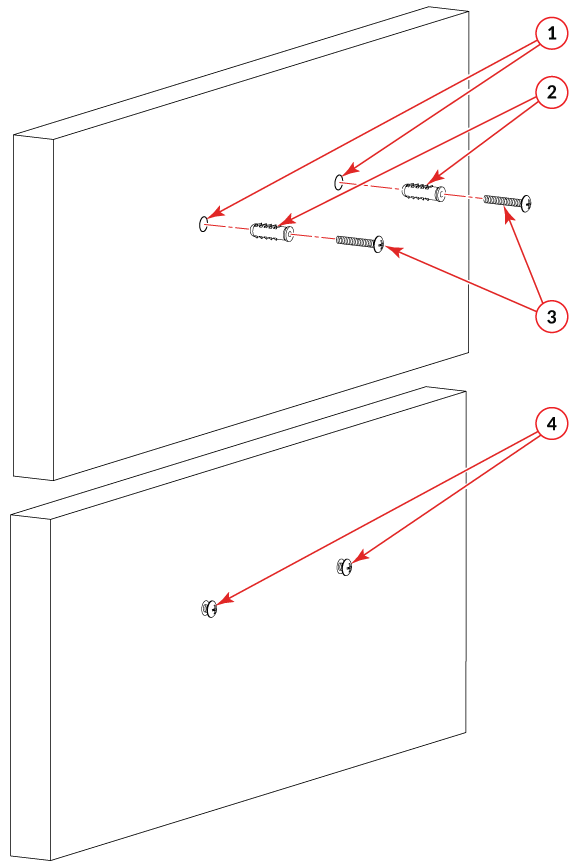
- Wall-mount anchors (plastic screw retainer, 2.9 mm x 25 mm)
- Wall-mount screws (screw, M4-16 x 25 mm, panhead Phillips)
- Wall-Mount Holes Location template
- Tape
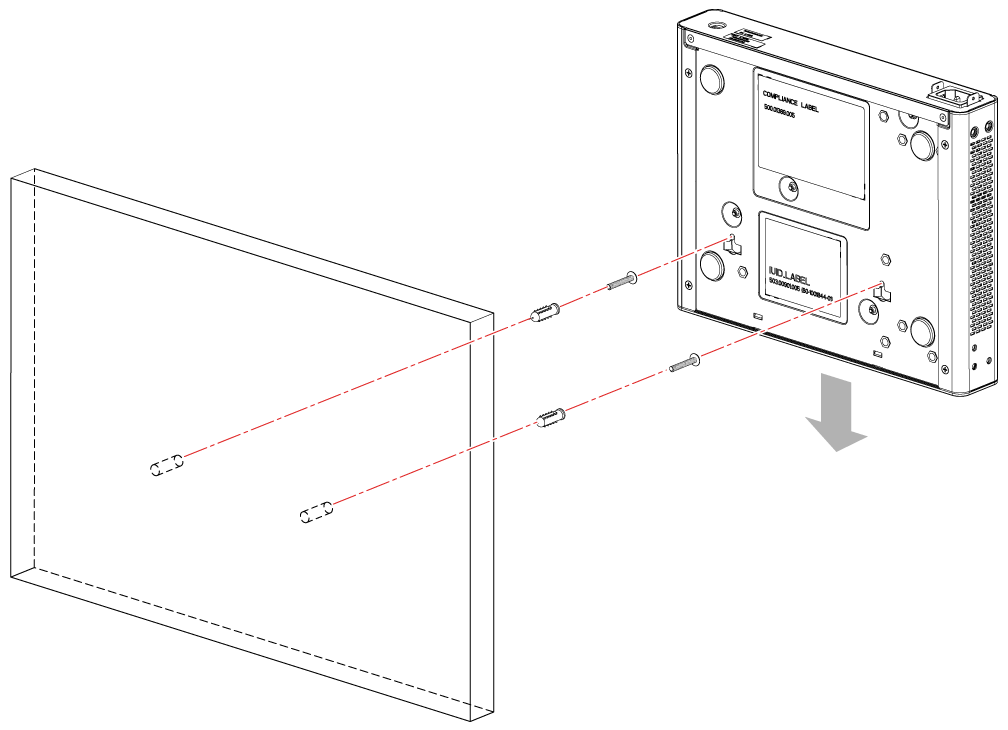
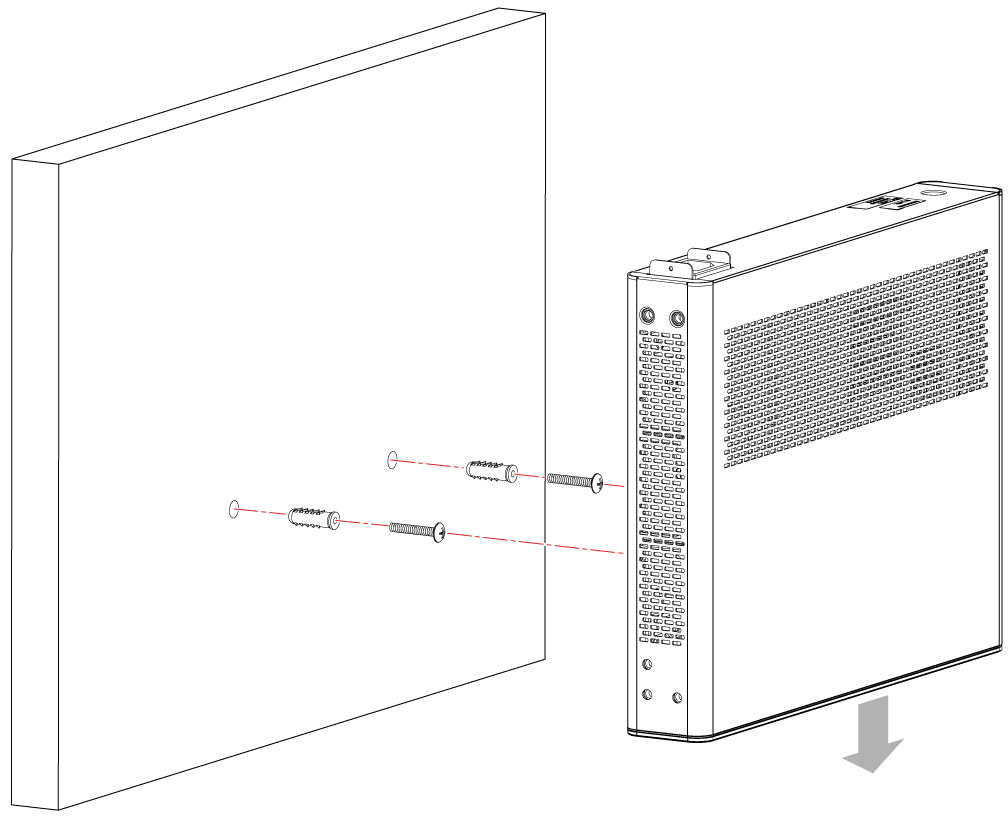
Note: When mounting the device on a wall, mount the device with the port side down.
Complete the following steps to mount the device directly to a wall.
- Use tape to place the Wall-Mount Holes Location template against the wall, in the same position that you plan to place the device against the wall. The Wall Mount Holes Location template serves as a guide for drilling the screws and wall-mount anchors into the correct location on the wall to place the device in the desired location.
- Using the Wall-Mount Holes Location template as a guide, drill two holes in the wall where you want to mount the device.
- Hammer the wall-mount anchors into the two holes.
- Use the #2 Phillips screwdriver to secure the two wall-mount screws into the wall-mount anchors. Leave a gap of 4.0 to 4.5 mm between the screw head and the wall.
- With the port side of the device facing down, aim the mounting holes on the bottom panel of the device towards the wall-mounting screws on the wall and hang the device securely against the wall, so that the wall-mount screws are inserted into the mounting holes.