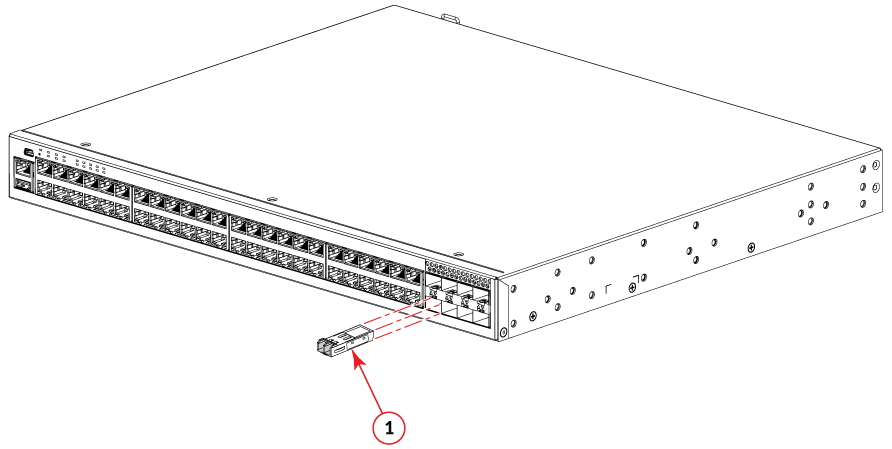
Installing a New Fiber-Optic Transceiver
For direct attachment from the device to a Gigabit NIC, switch, or router, using a fiber-optic transceiver, you need fiber cabling with an LC connector. You can install a new fiber-optic transceiver in an SFP or SFP+ slot while the device is powered on and running. While installing a transceiver, wear a properly grounded ESD wrist strap.
Danger: For
safety reasons, the ESD wrist strap should contain a series 1 megohm resistor.
Danger: All fiber-optic interfaces use Class 1 lasers.
Perform the following steps to install a fiber-optic transceiver.
- Put on the ESD wrist strap and ground yourself by attaching the clip end to a properly grounded, bare-metal surface (such as an equipment rack).
- Remove the new transceiver from the protective packaging.
- Gently insert the transceiver into the slot until it clicks into place. Transceivers
are keyed to prevent incorrect insertion.
Note: The location of the fiber-optic interface shown is for illustration purposes only. They may be in a slightly different location on the device you are using.Note: If a 1-Gbps optic transceiver is inserted, you must configure the port using the
speed-duplex 1000-full-mastercommand at the interface level.Note: If a fiber optic transceiver is unplugged and plugged in again rapidly, the link may not come up. Allow a delay of two to five seconds between unplugging and reinserting the optic to ensure optic detection so that the link comes up without issues.