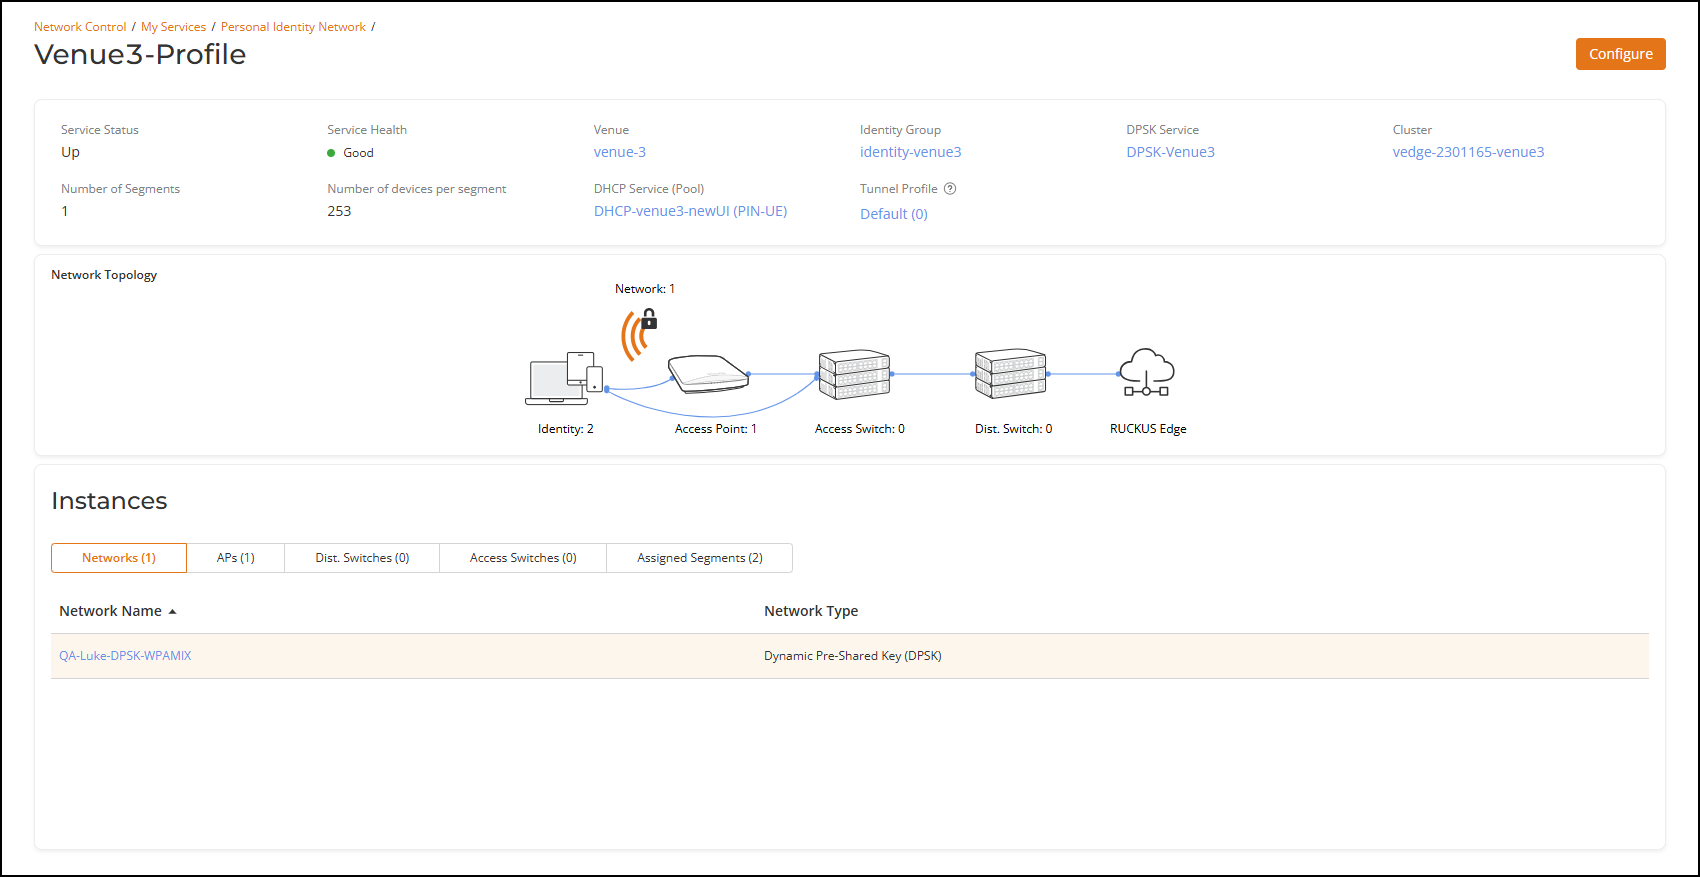
Personal Identity Network Configuration
- On the RUCKUS One navigation bar, navigate and hover the mouse on Network Control option.
- In the My Services screen, click Personal Identity Network.
- Click Add Personal Identity
Network button.This displays Add Personal Identity Network Service screen.
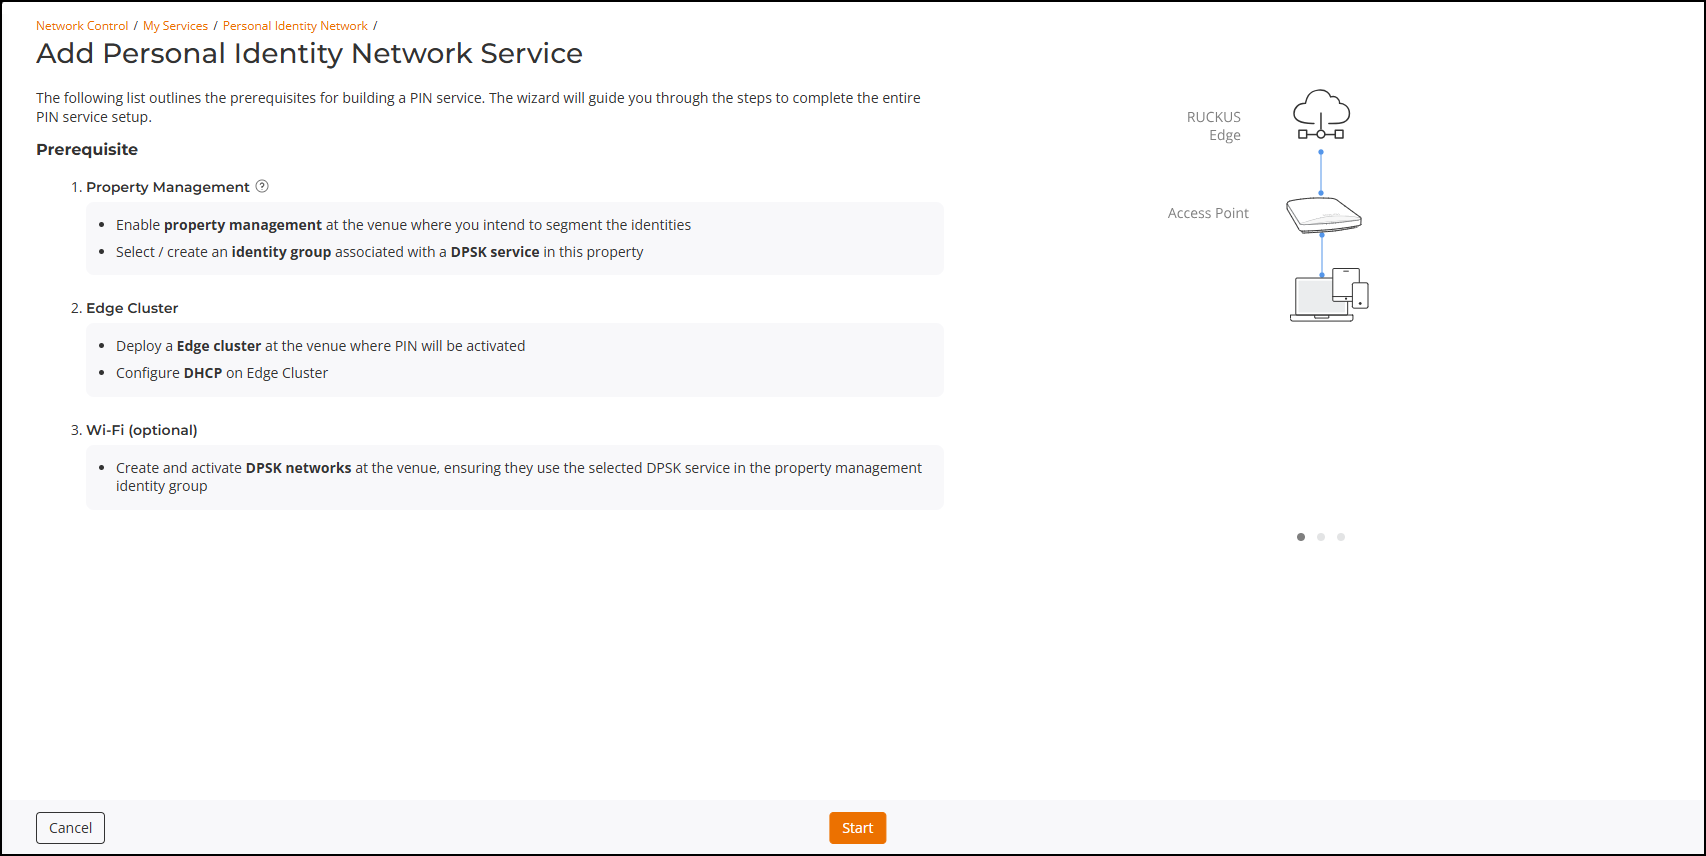
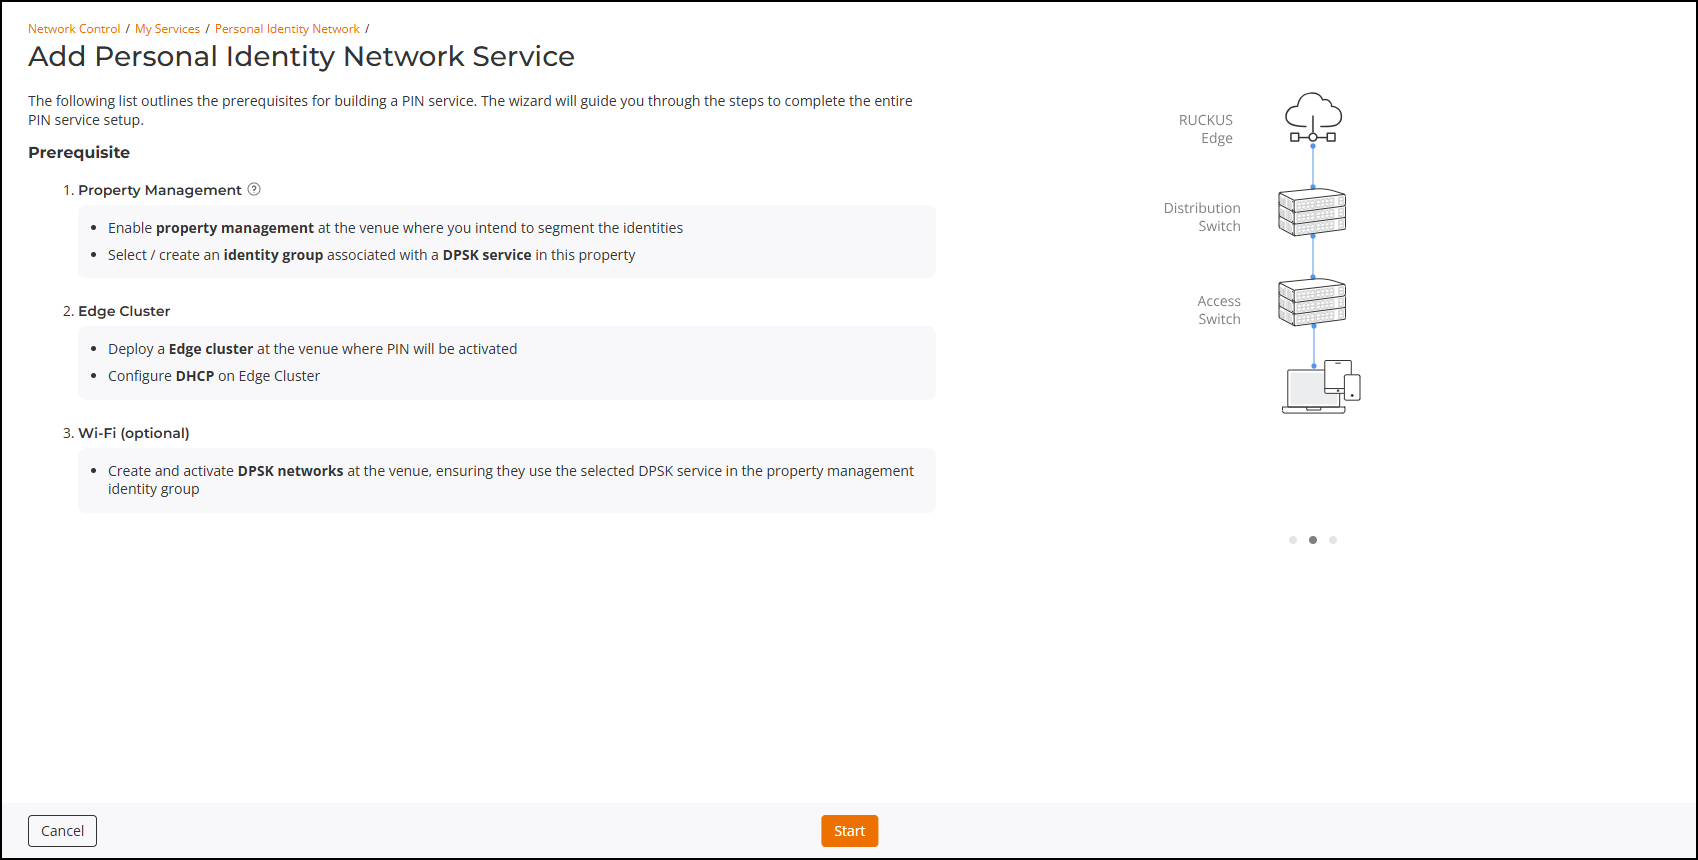
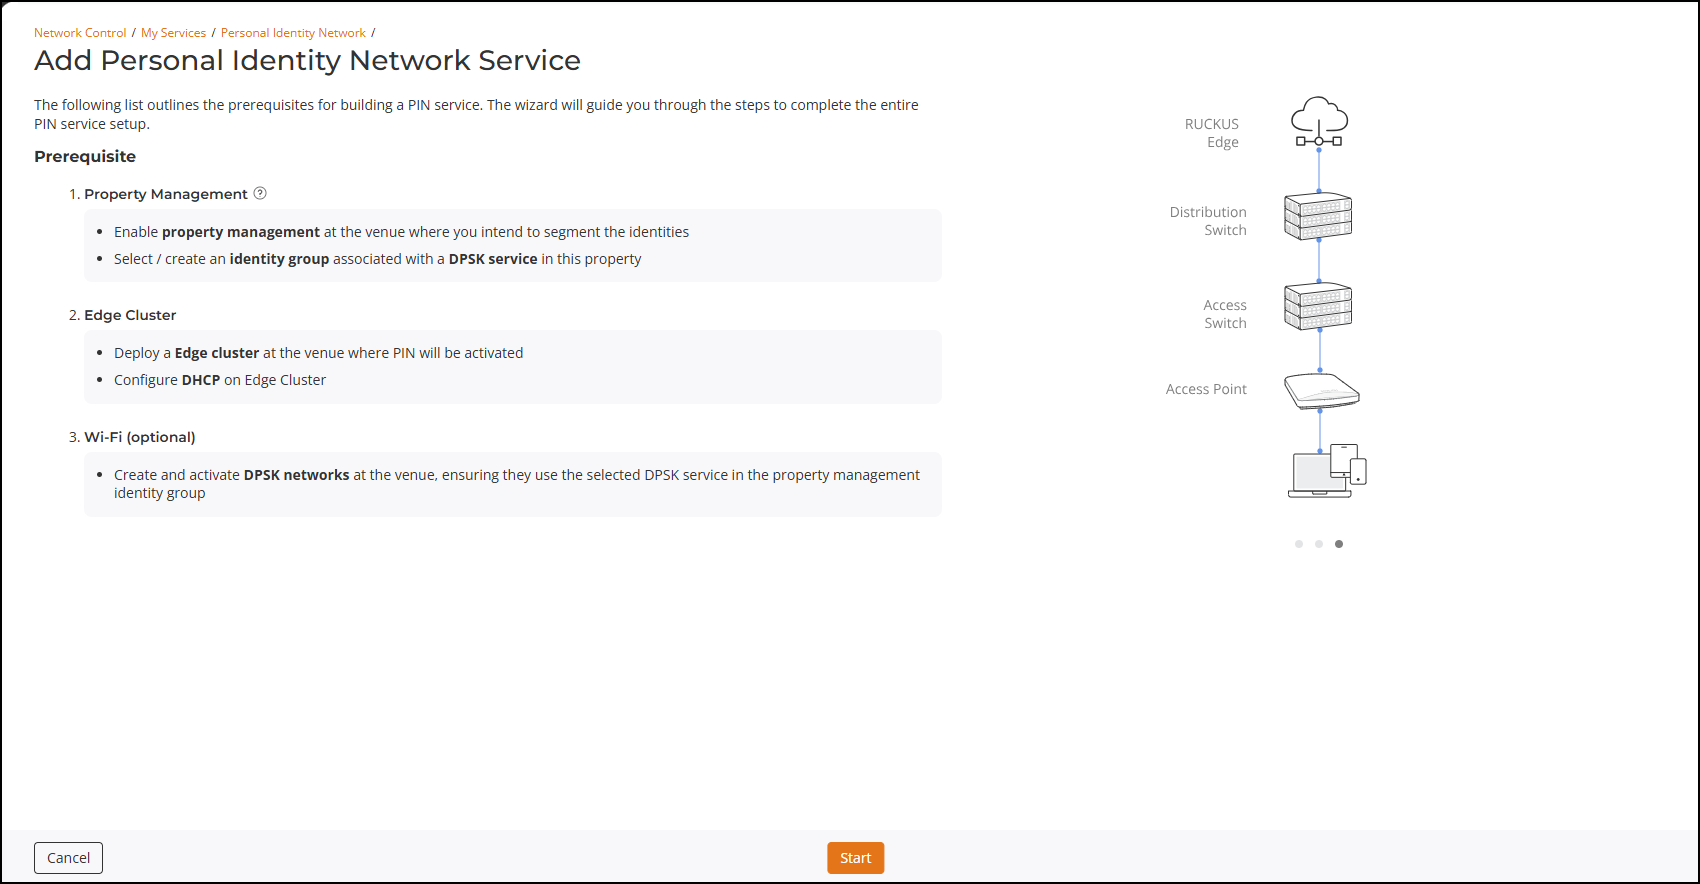
- Click Start. The General Settings page is displayed.

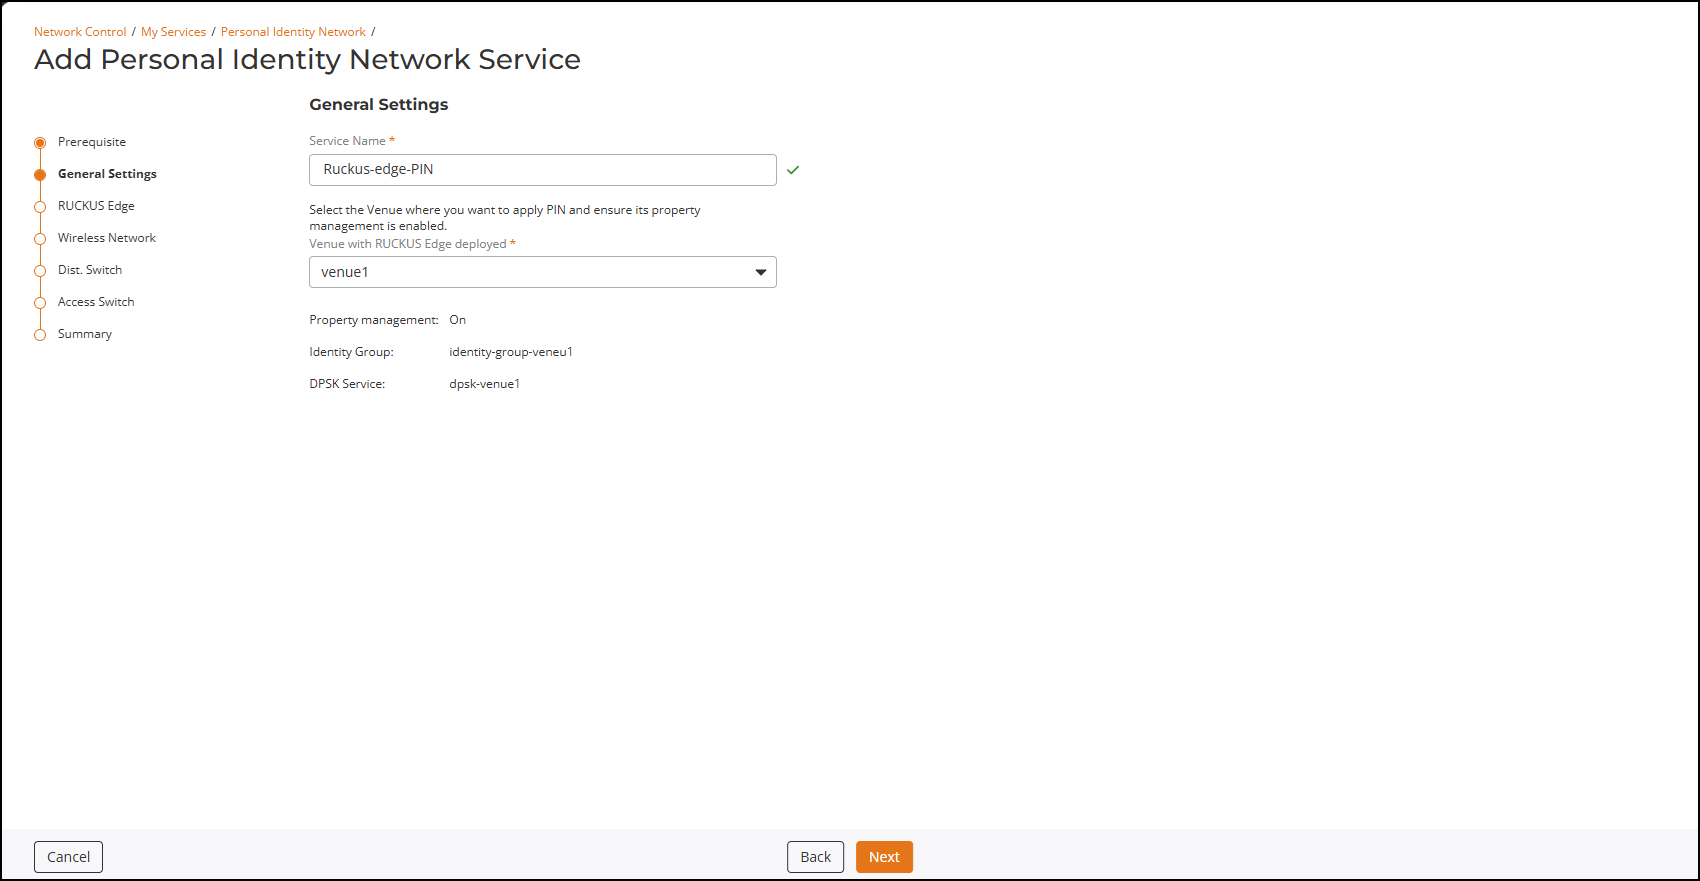
General Settings
In the General Settings screen, enter the following details: and click Next.
- Service Name - Enter a name of the service. Avoid spaces at the beginning or end. The following three characters are not allowed: ` $ (.
- Venue with RUCKUS Edge deployed - Select the venue from the drop-down to segment the devices (identities). The selected venue displays the Property Management status, Identity Group, and DSPK Service.
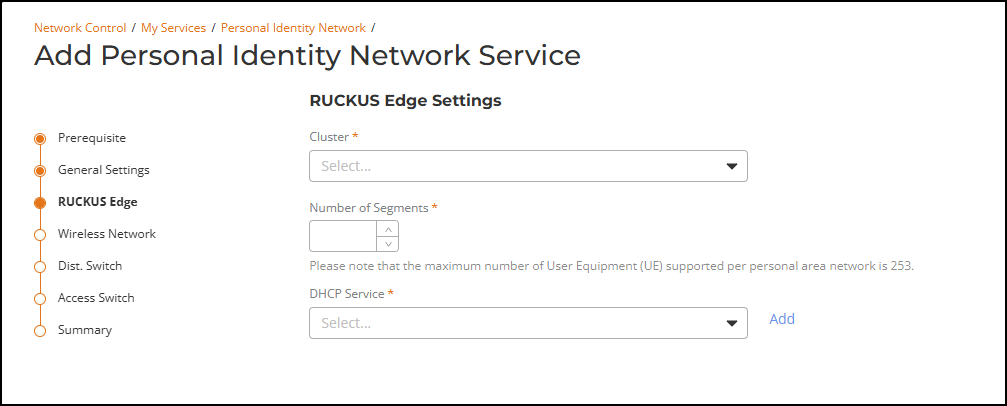
RUCKUS Edge Settings
In the RUCKUS Edge Settings screen, enter the following details and click Next.:
- Cluster - Select the cluster from the drop-downlist.
- Number of Segments - Enter the number of segments required in the platform.
- DHCP Service - Select the DHCP service associated with the selected cluster from the drop-down.
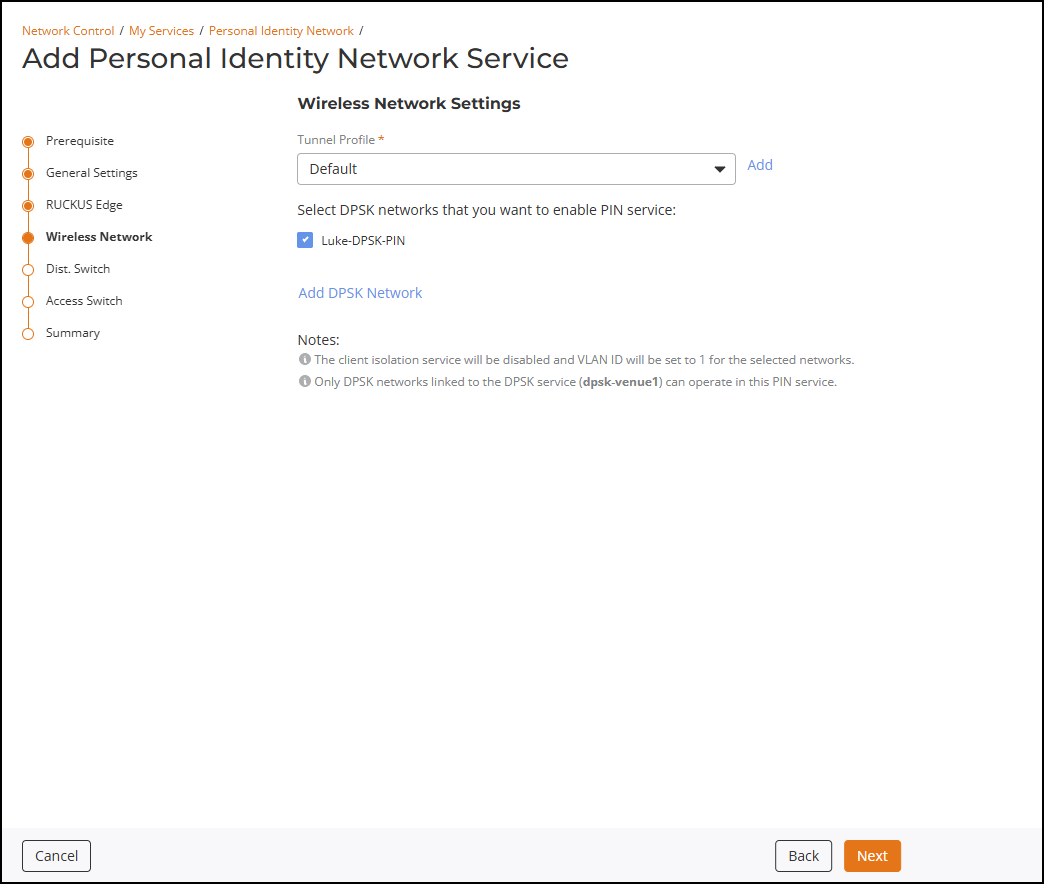
Wireless Network Settings
In the Wireless Network Settings screen, enter the following details and click Next.
- Select associated Tunnel Profile from the drop-down menu or click Add to createa a new tunnel profile. Refer to Creating a New Tunnel Profile for more information.
- Select the DPSK Network for PIN Service.
Distribution Switch Settings
In the Distribution Switch Settings screen, by default the distribution switch associated with the selected RUCKUS Edge device is displayed in the window. However, to add a new distribution switch, click Add Distribution Switch and enter the following details in the Add Distribution Switch window.
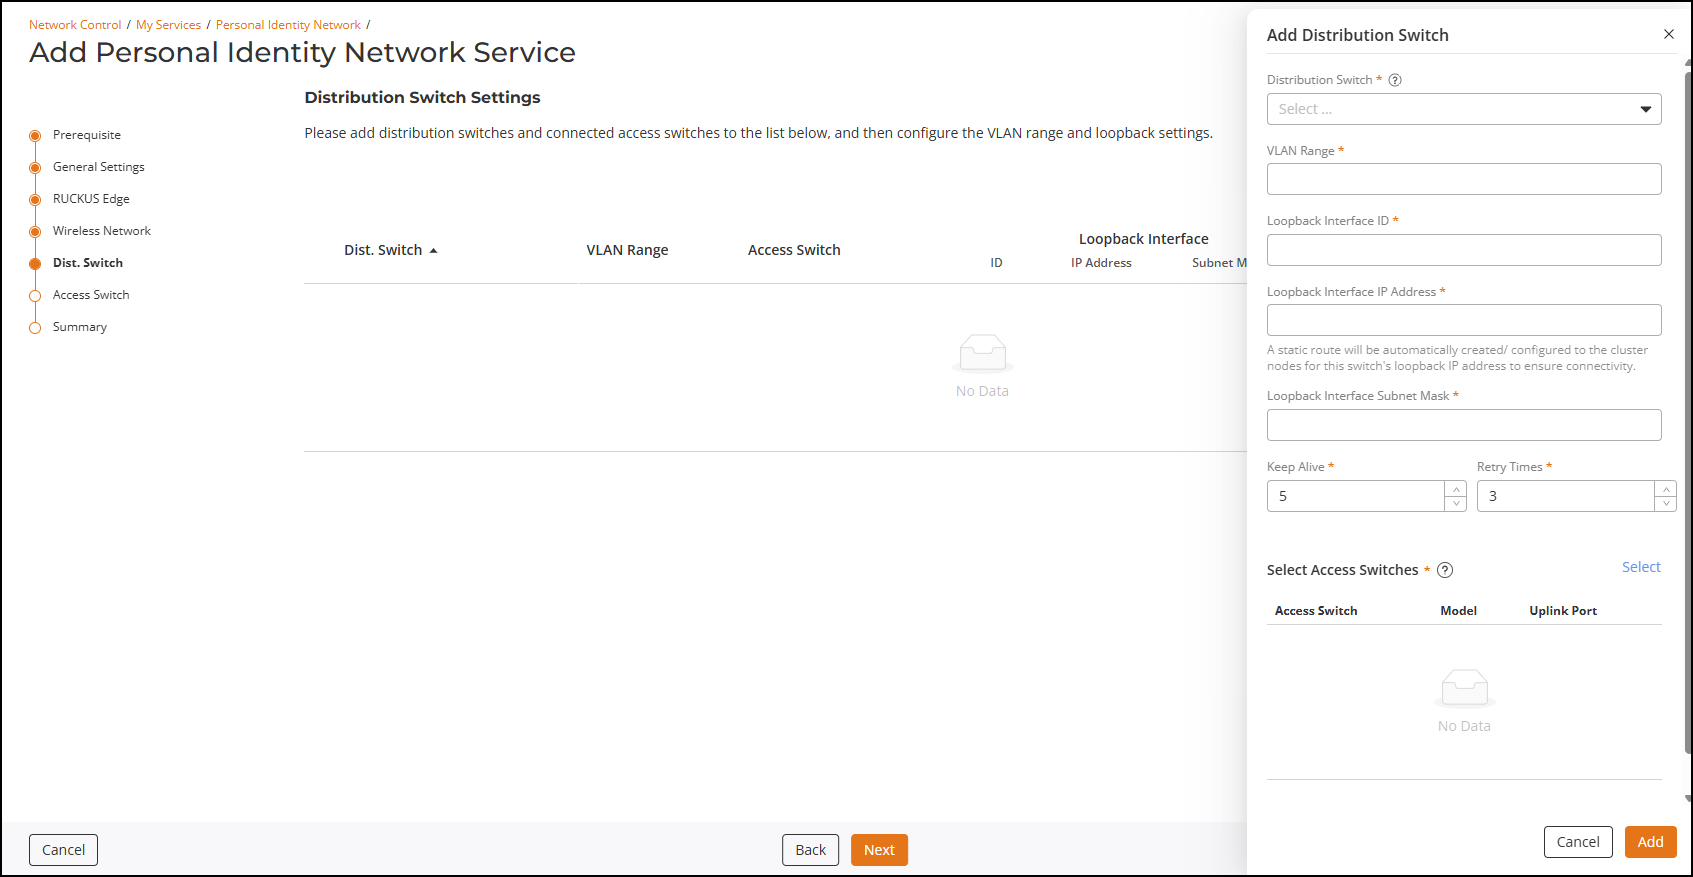
- Distribution Switch: Select the distribution switch from the drop-down.
- VLAN Range: Enter the VLAN range.
- Loopback Interface ID: Enter the interface ID.
- Loopback Interface IP Address: Enter the loopback interface IP address.
- Loopback Interface Subnet Mask: Enter the subnet mask.
- Keep Alive: Enter the keepalive duration.
- Retry Times: Enter the number of times to check if the connection is active.
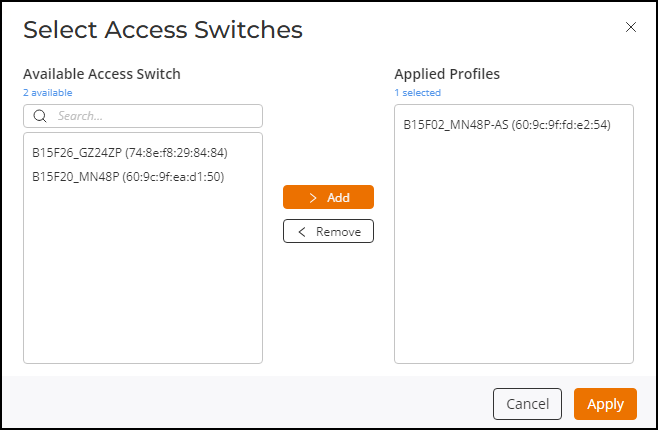
- Select Access Switches:Click the Select button to add associated Access Switch with the Distribution Switch.
- To add the associated access switch with the distribution switch, select the switch from the Select Access Switches list and click Add to move it to the Applied Profiles.
- Click Apply to make the change effective.
- Click Next.
Access Switch Settings
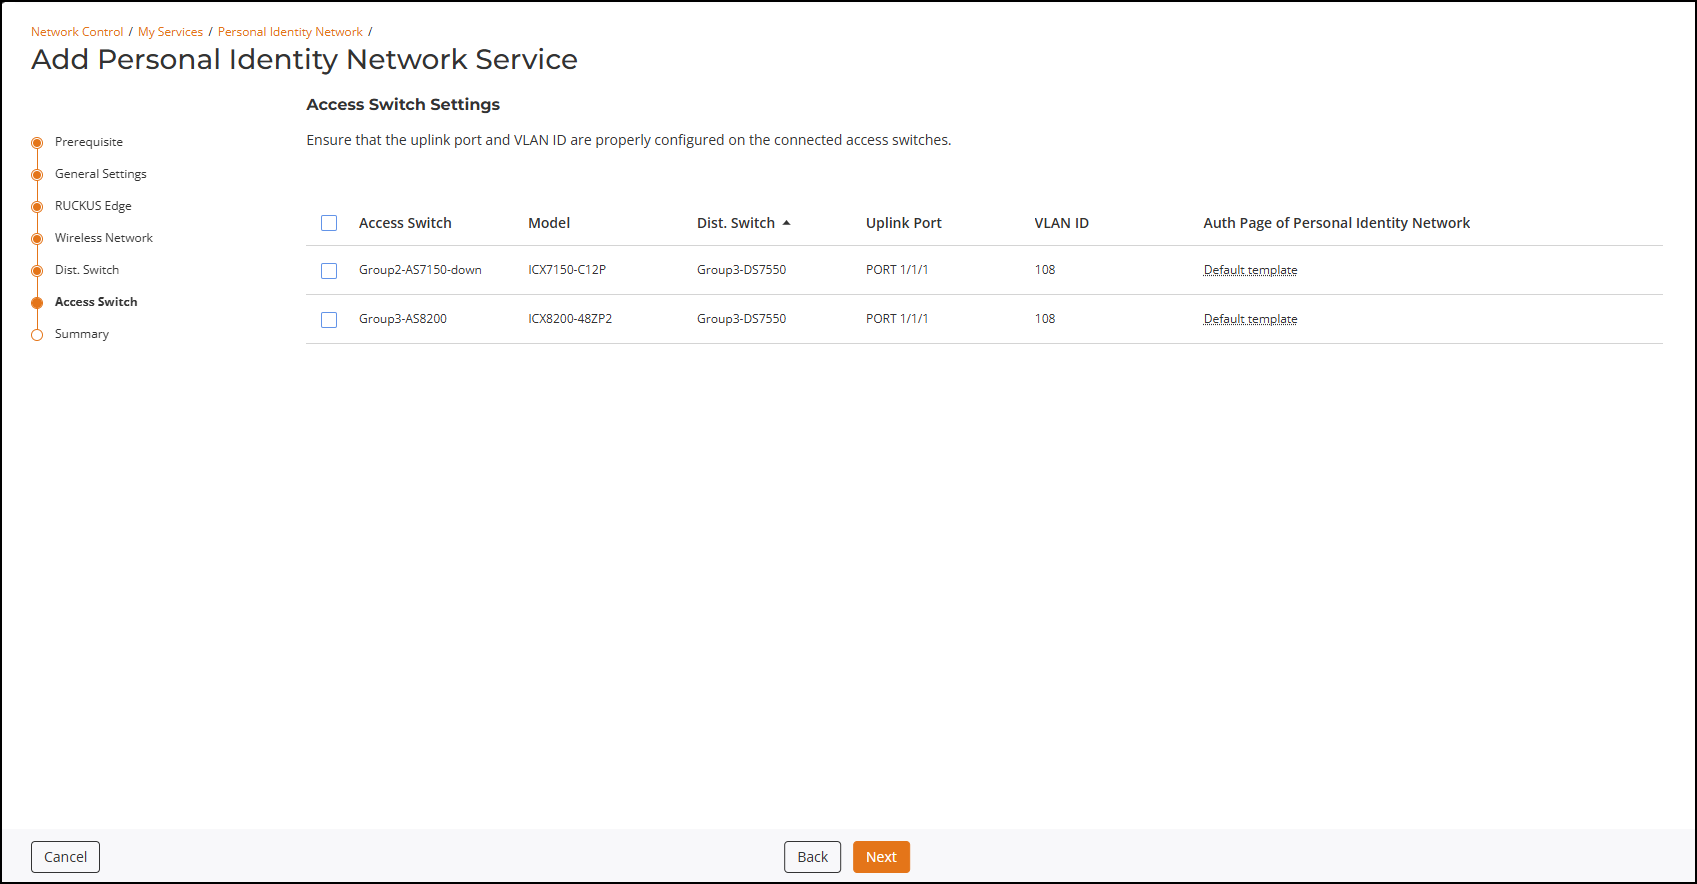
From the Access Switch Settings page, select the required switches and click Next to make the change effective.
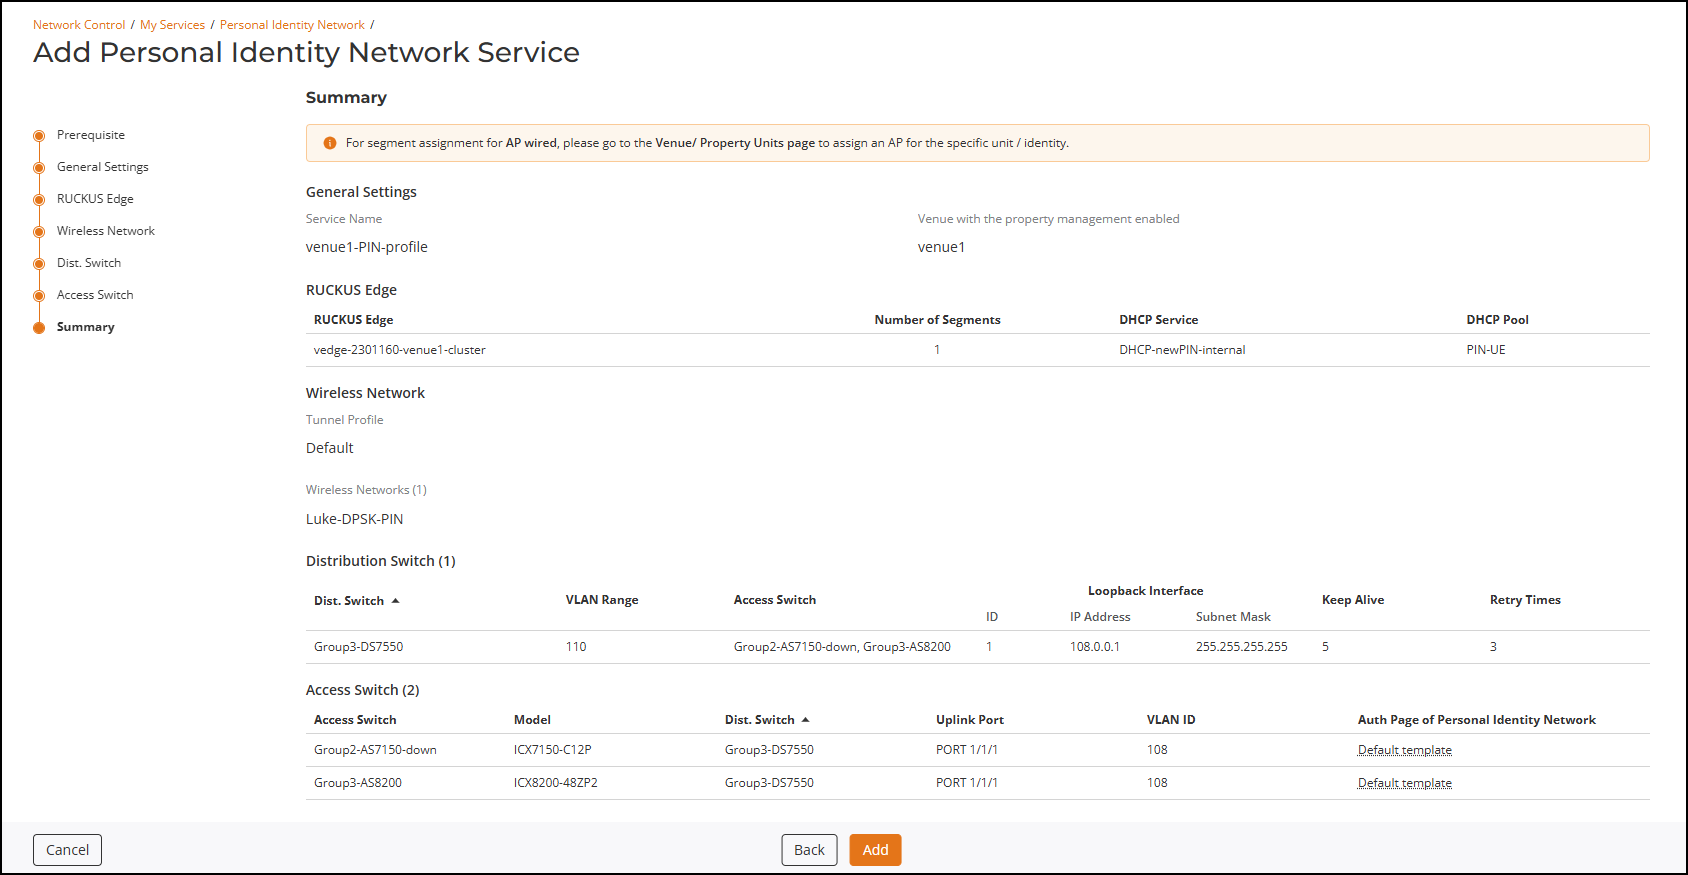
Summary
The Summary screen displays all the selected entries, verify and click Add. To edit any entry, click Back until you reach the required page.