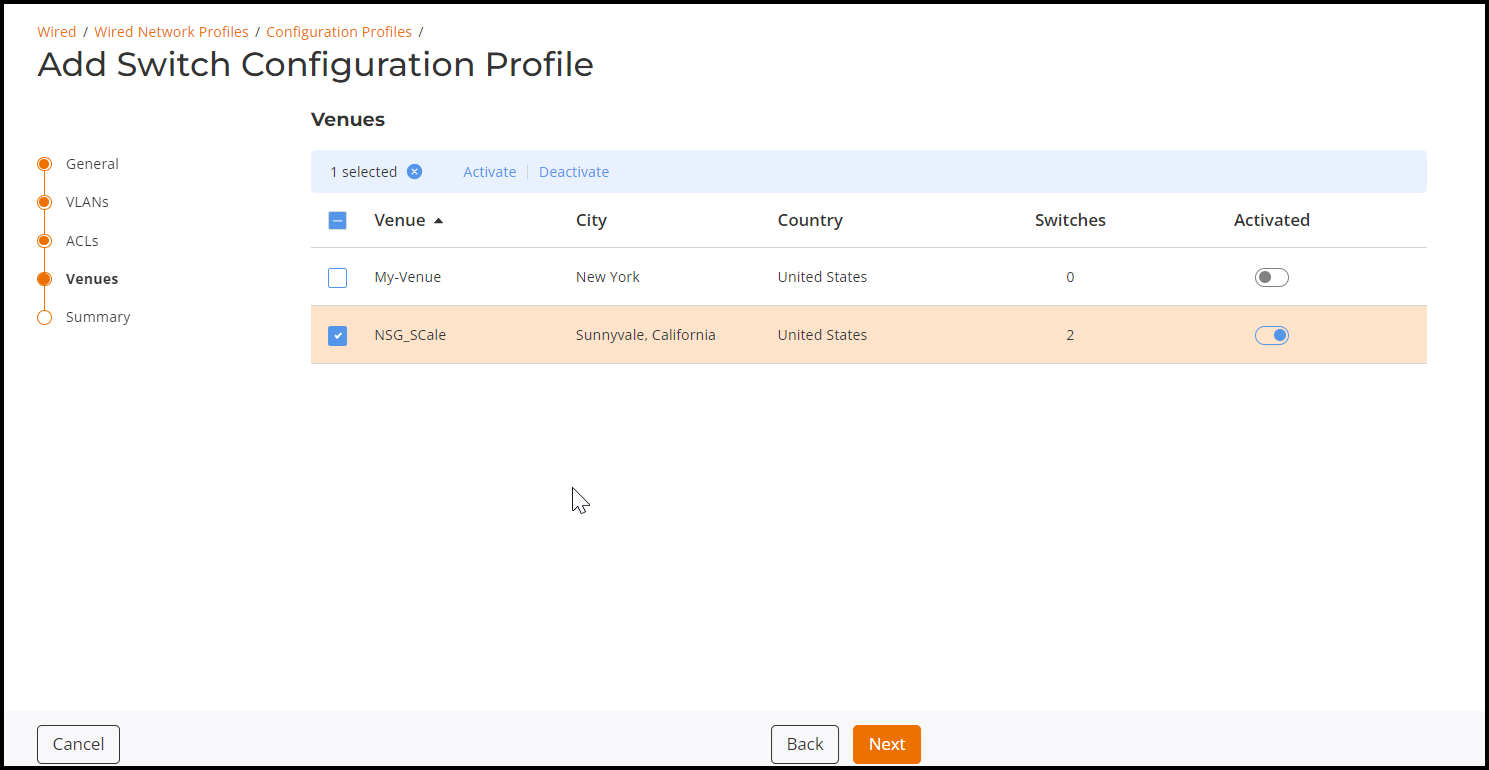
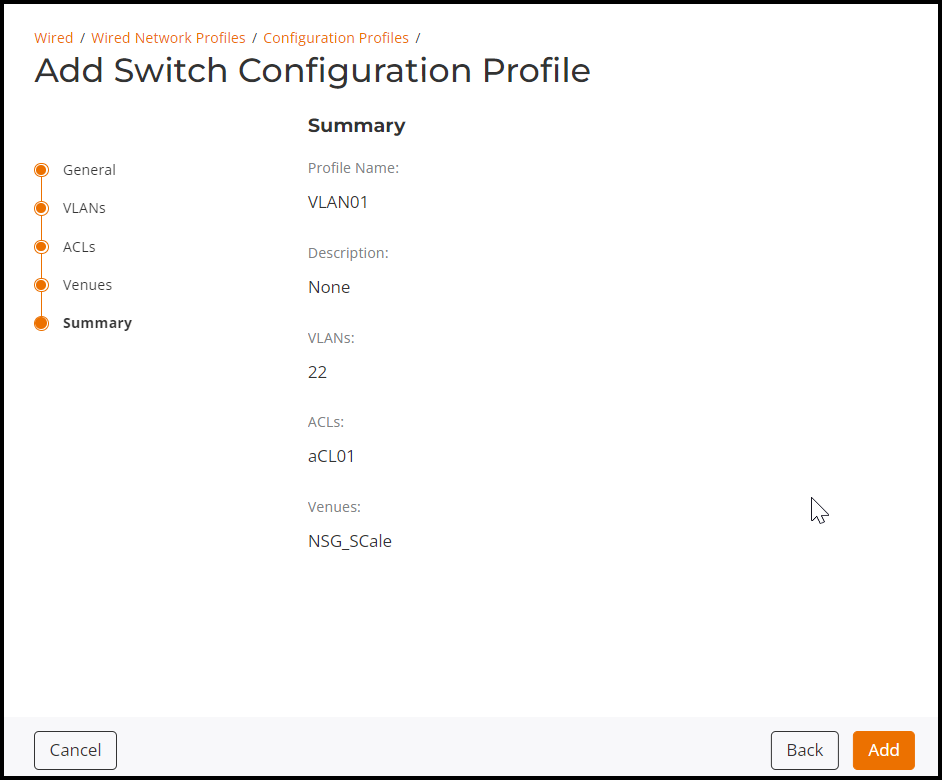
Adding VLAN Profile
Virtual Local Area Network connects
multiple devices and network nodes from different LANs to one logical network.
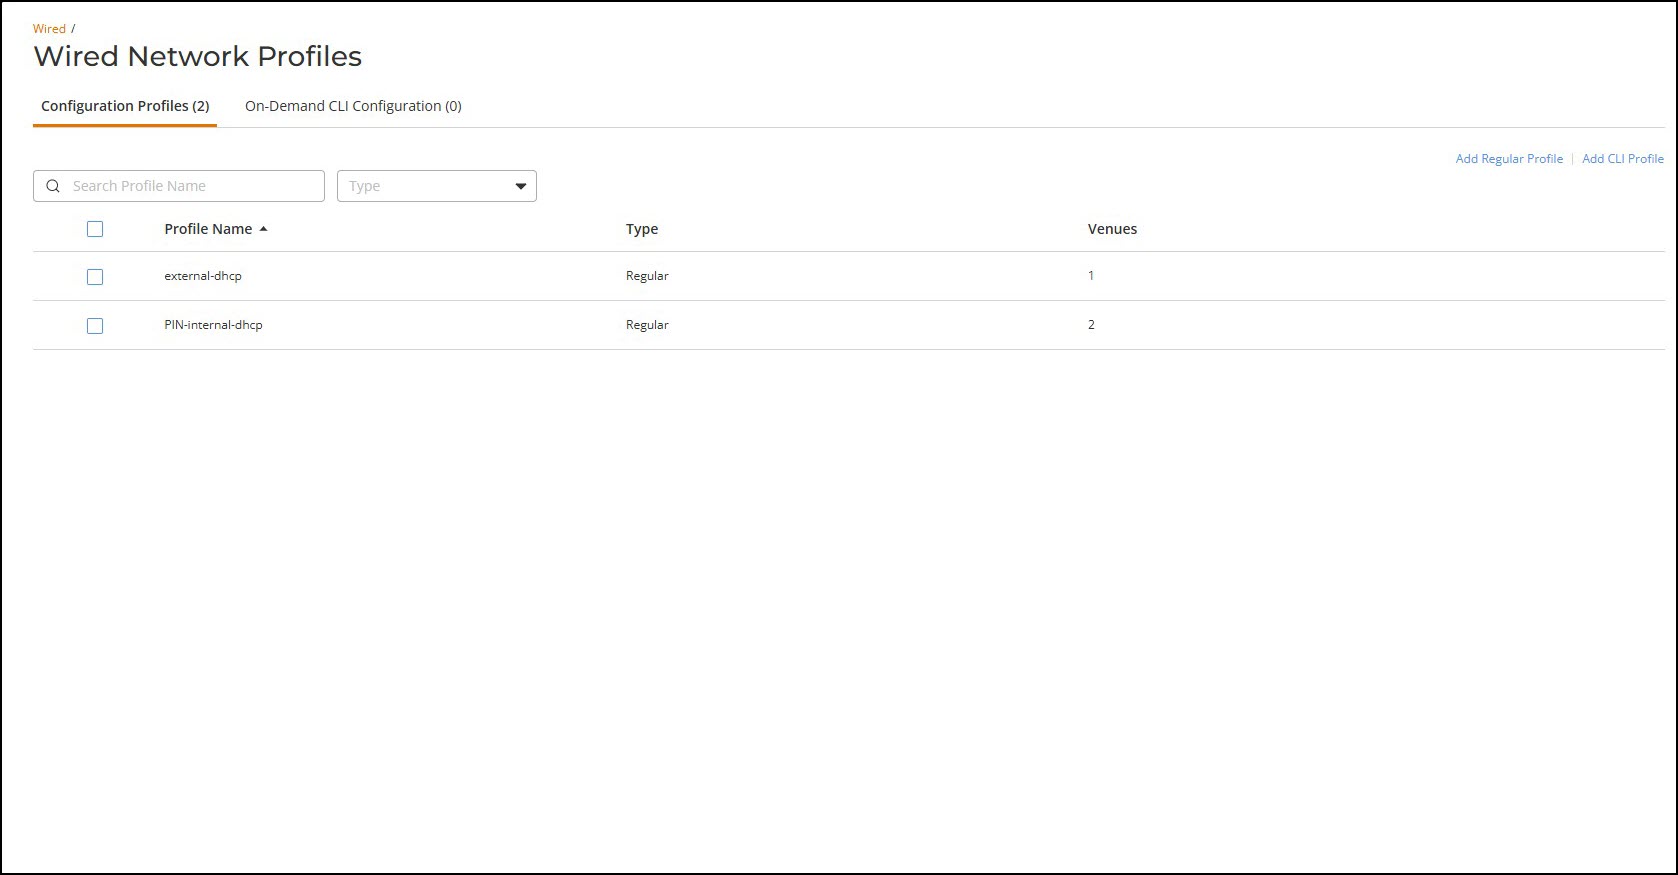
- On the RUCKUS One navigation bar, navigate and hover the mouse on Wired option and select Configuration Profiles.
- In Wired Network
Profiles page, click Add Regular Profile
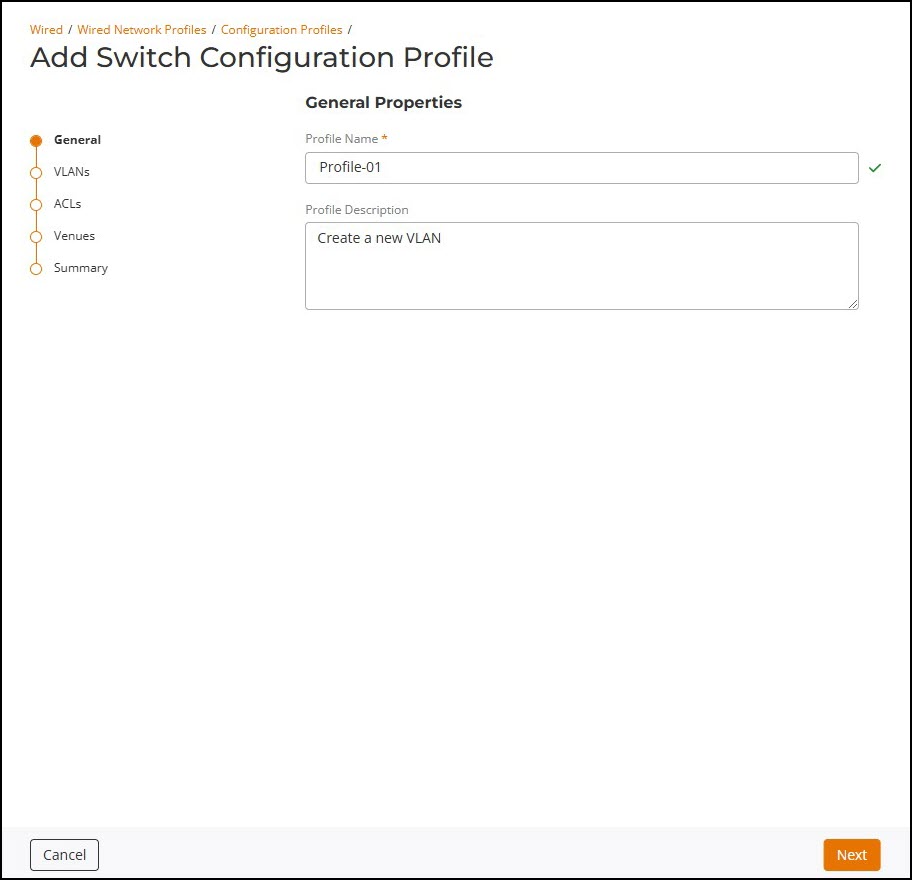
link.This displays Add Switch Configuration Profile page. In this page enter the details in the respective section as mentioned below.
General Properties
VLANs
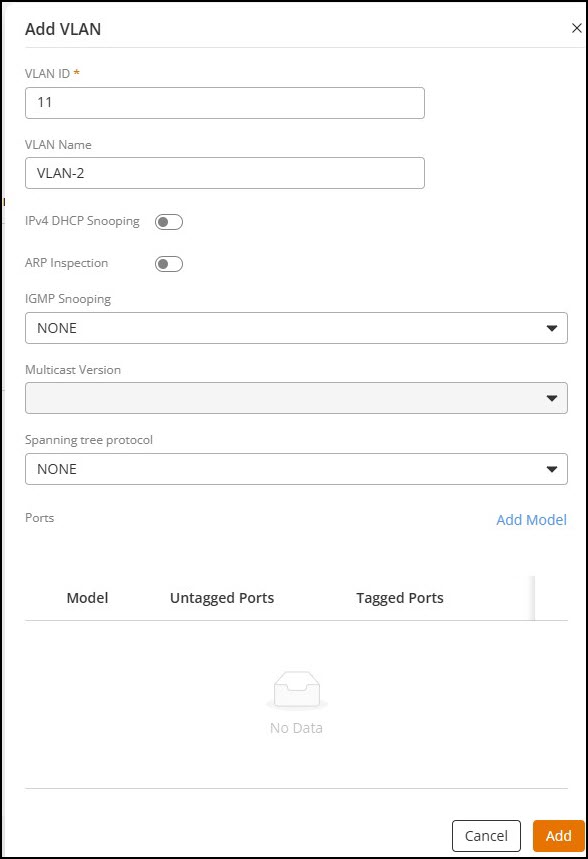
- VLAN ID - Each port on a switch can be assigned to be a member of VLAN. VLAN ID is a number between 0-4095. Enter a VLAN ID.
- VLAN Name - Enter a name to identify the VLAN.
- IPv4 DHCP Snooping - Internet Protocol version 4 is a protocol and DHCP snooping a security that prevents unauthorised servers from accessing the network. By default, this option is disabled.
- ARP Inspection - It is a security feature to inspect Address Resolution Protocol (ARP) packets in a network. By default, this option is disabled.
- IGMP Snooping - Internet Group Management Protocol (IGMP) is a method switches use to identify multicast groups. Click on the drop-down list and select the IGMP Snooping option.
- Multicast Version - There are three versions of IGMP. Click on the drop-down list and select the Multicast Version.
- Spanning Tree Protocol - It is a network protocol used to prevent looping within a network. Click on the drop-down list and select the Spanning Tree Protocol option.
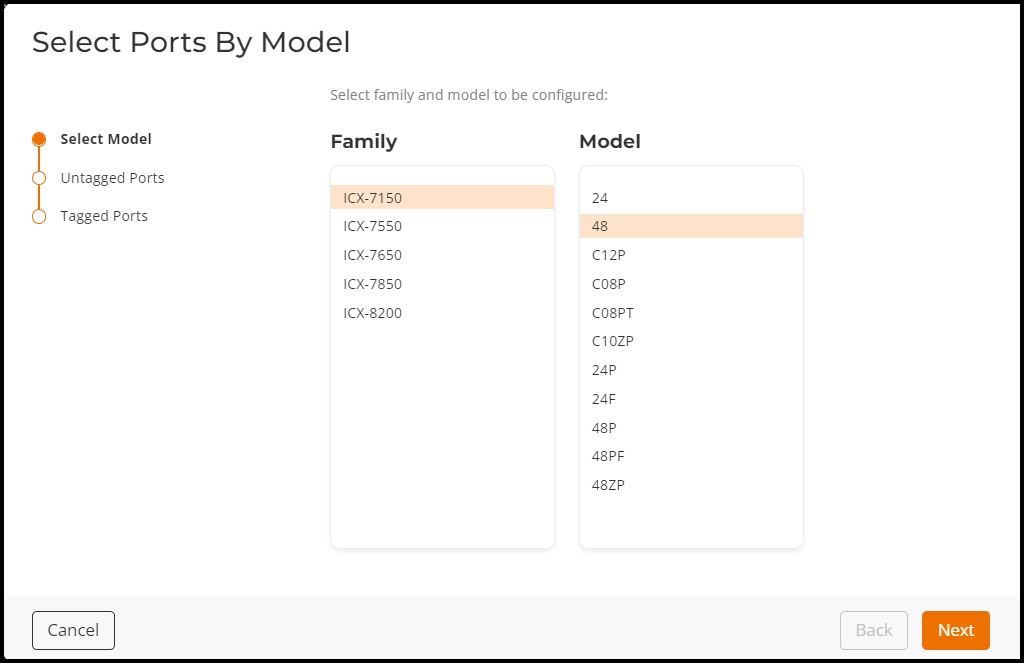
- Add Model - Click Add Model link, this displays Select Ports by Model page, Selec the Family and Model and click Next.
- Untagged Ports - Select the untagged ports (Access Ports) for this model. To select the ports, click on the Port Numbers and the selected ports are highlighted. Click Next.
- Tagged Ports - Select the tagged ports (Access Ports) for this model. To select the ports, click on the Port Numbers and the selected ports are highlighted. Click Add.
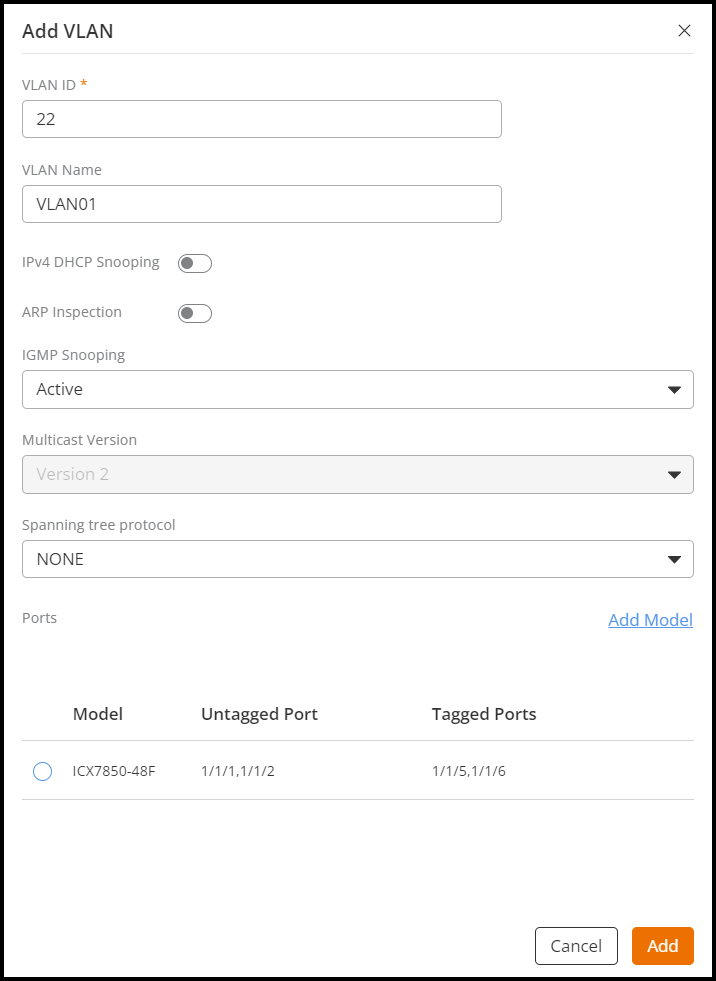
- The newly added model with port details are displayed in the Add VLAN window.
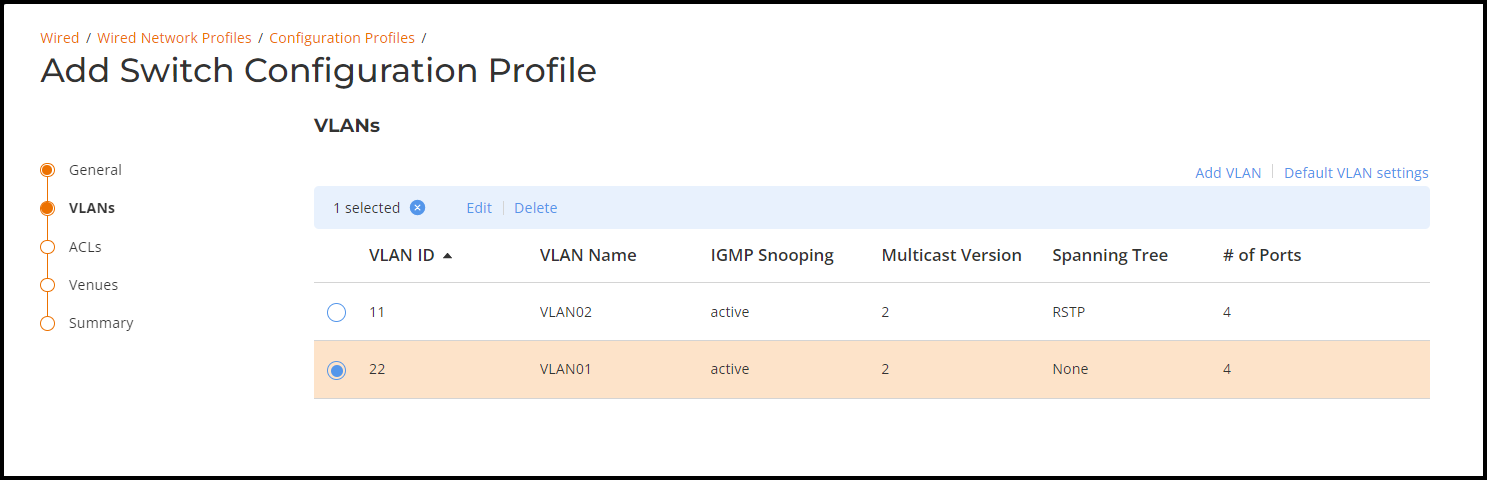
- Select the model and click Add. The new VLAN ID is displayed in the VLANs section.
- Click Next. This displays the ACLs section.
- Click Next to bypass the ACL configuration, as it is not necessary for the PIN setup. This will take you to the Venues section.