Adding Switches
Add to two switches.
- On the RUCKUS One navigation
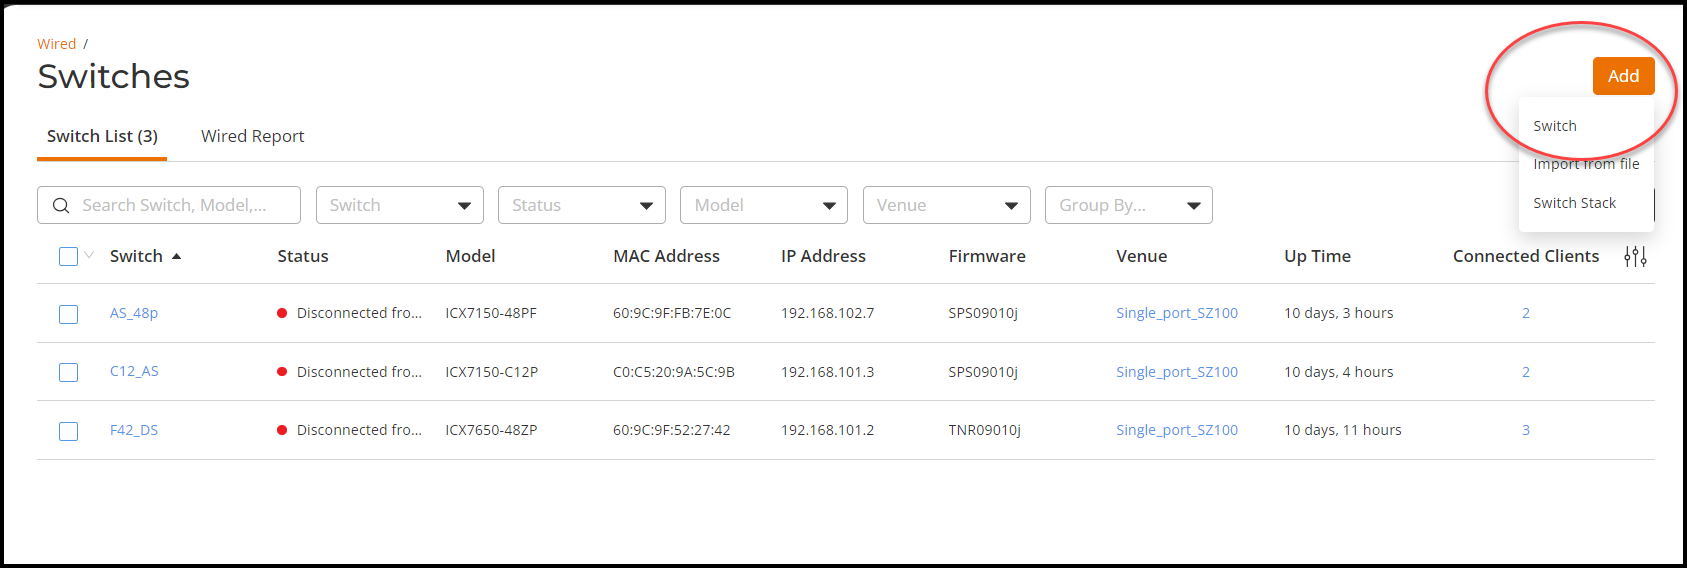
bar, hover on Wired and select Switch List.This displays the Switches page.
- In the
Switches page, click Add and
select Add Swtich.This displays the Add Switch page.
- In the Add
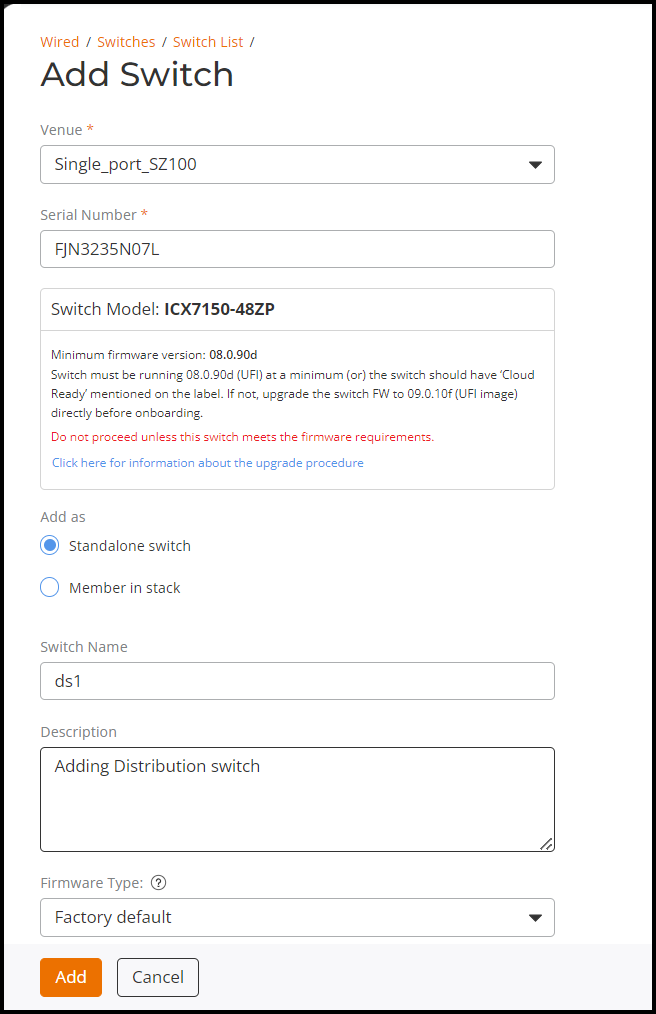
Switch page, enter the following details:
- Venue - Select the venue name from the drop-down list.
- Serial Number - Enter the serial number of the device.
- Add as - Select either Standalone Switch (standalone switches are managed and configured as a single entity) or Member in Stack. (a group of switches work togeather as a single entity).
- Switch Name - Enter the name of the switch.
- Description - Enter short description for the switch.
- Firmware Type - Select only if the switch is a factory default switch.
- DHCP Client - Select only if the switch is a factroy default switch.
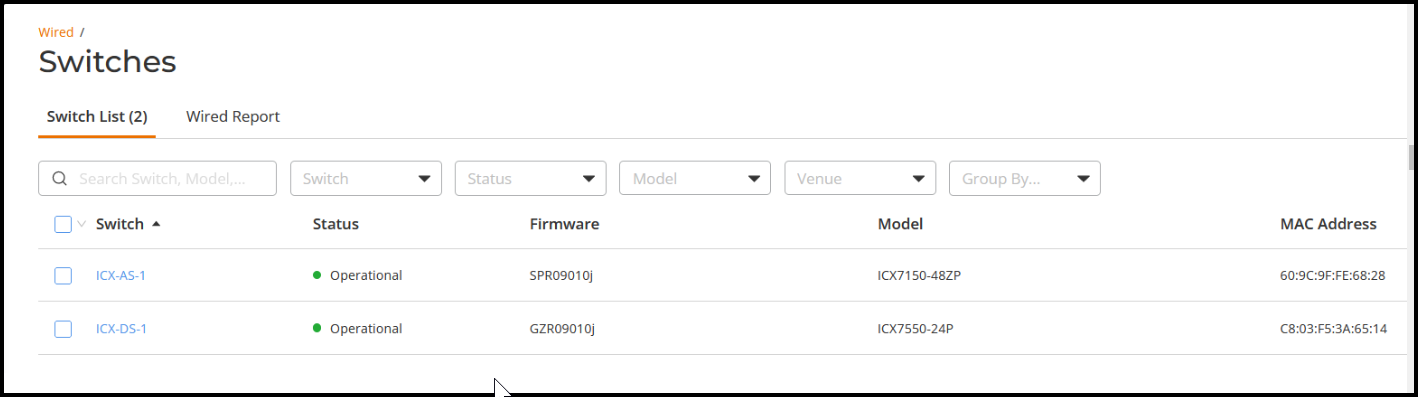
- After entering the above details, click Add.
- After the switches are onboarded, tag downlink/uplink ports through RUCKUS One to approriate values.