Creating a Tunneled WLAN
Create a Tunneled WLAN to route wireless
client traffic through a secure Generic Routing Encapsulation (GRE) tunnel to the
Data
Plane, enabling centralized traffic management and enhanced security. This configuration
is
required for WLANs that use RUCKUS GRE tunneling.
Note: You can create a Tunneled WLAN even if no Data Plane Group
is associated with the Zone. Access Points with Tunneled WLANs will not broadcast
those WLANs until the AP-to-Data Plane tunnel is established.
- In the controller web UI, select to open the Wireless LANs page and select the desired Zone where you want to create the WLAN.
- Click Create to open the Create WLAN Configuration window.
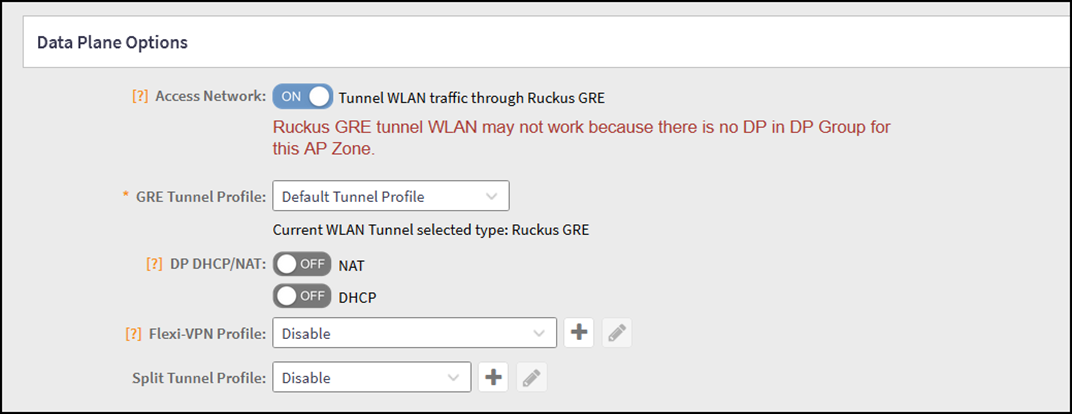
- In the Data Plane Options section, toggle on Tunnel WLAN traffic through RUCKUS GRE and complete the DP options as explained in WLAN Data Plane Options.
- Configure additional WLAN settings as required (SSID, authentication, VLAN, and so on). For instructions to configure a WLAN, refer to the RUCKUS SmartZone Network Management Guide.
- Click OK to save the changes.You have created a tunneled WLAN. As soon as the APs form a tunnel to the DP, tunneled WLANs will be available to the users to connect.