Activating and Editing the BLE Scan Plugin
Activate the plugin to manage Bluetooth
Low Energy (BLE) beacons. After activation, all scan data is securely routed to
the
configured endpoints.
To establish a connection to a partner infrastructure, the administrator must perform the following steps.
- From the main menu, select .
- Click Plugins.
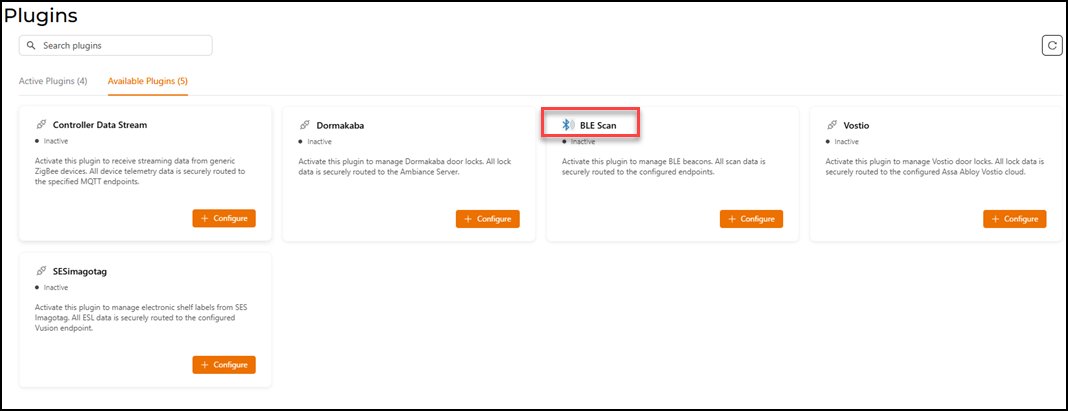
- Click the Available Plugins tab.
- In the BLE Scan tile, click + Configure to activate the plugin.
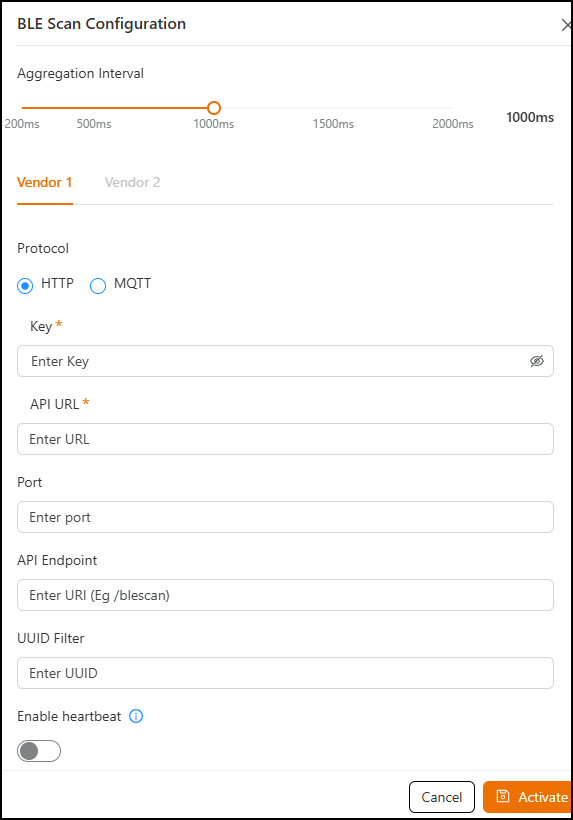
- Select either the HTTP or
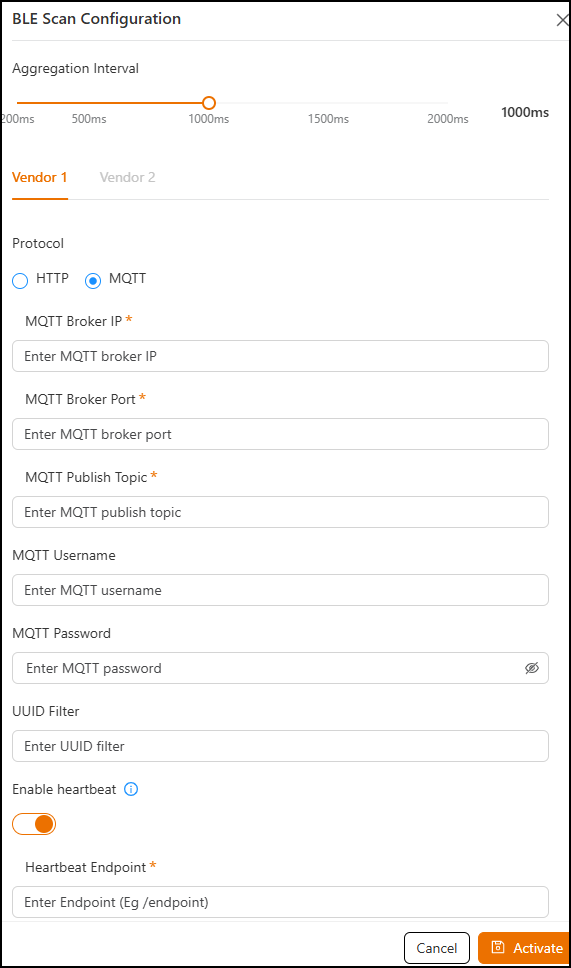
MQTT
protocol option.
- Aggregation Interval: Allows you to set the time interval between the two packets.
- Key: Enter the Key.
- API URL: Enter the API URL.
- Port: Enter the Port number.
- API Endpoint: Enter the API Endpoint.
- UUID
Filter: Enter the UUID Filter. The filter allows only the BLE ADV packets with the specified UUID to be passed on to the vendor application.
- Enable heartbeat: Click the toggle to enable periodic heartbeat messages, which is useful for monitoring connection health. This option is disabled by default.
- Aggregation Interval: Allows you to set the time interval between the two packets.
- MQTT Broker
IP: Enter the IP address or hostname of the
broker.This is a mandatory field.
- MQTT Broker
Port: Enter the port number.This is a mandatory field.
- MQTT Publish
Topic: Topic where messages from this device/system will
be published.This is a mandatory field.
- For MQTT Username: Enter the username for authenticating with the MQTT Broker.
- For MQTT Password: Enter the password for authenticating with the MQTT Broker.
- For UUID
Filter: Enter the required UUID filter.The filter allows only the BLE ADV packets with the specified UUID to be passed on to the vendor application.
- For Enable heartbeat: Click the toggle to enable periodic heartbeat messages, which is useful for monitoring connection health. This option is disabled by default.
- Click Activate to save the changes.
- (Optional) Click Configure to edit the existing configuration.
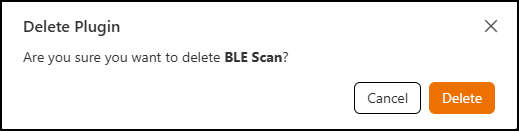
- (Optional) Click Delete to delete the plugin.