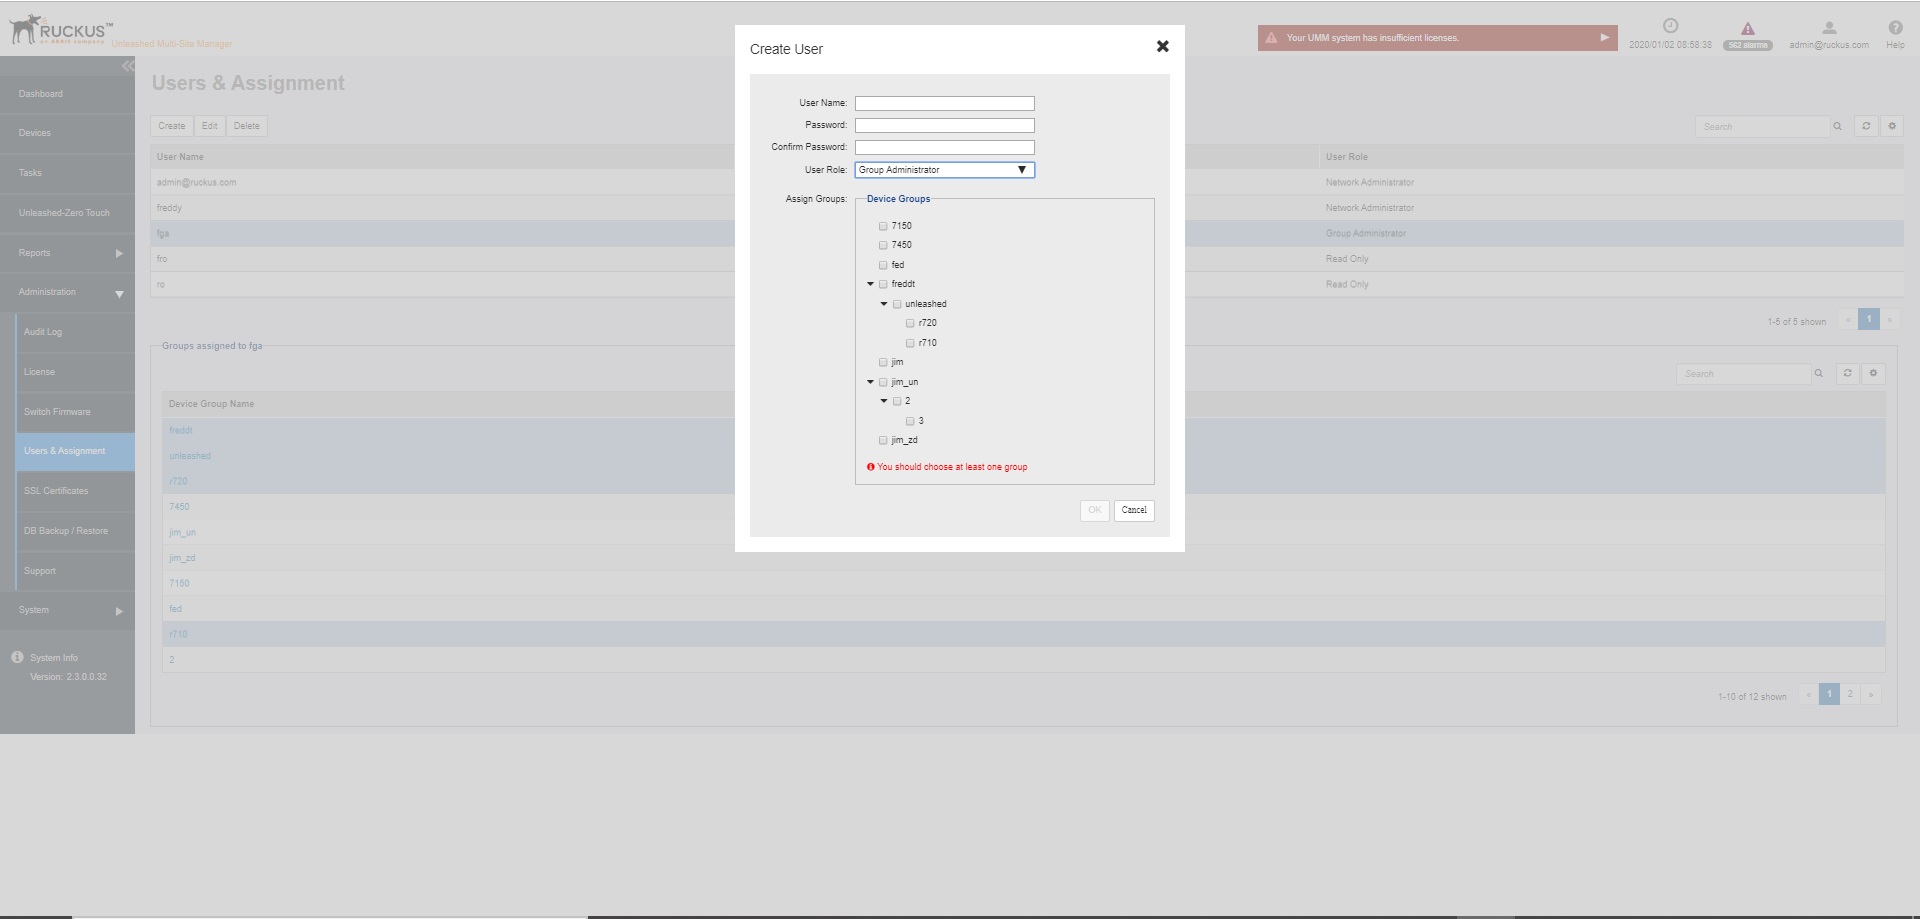
Creating a New User Account
- Go to .
- Click
Create.
The Create User page appears.
- In
User Name, type a name that you want to assign to this user account. For example, you can type
johnorjohn doe. The user name is not case-sensitive and can contain up to 50 alphanumeric characters and spaces. - In Password, type a password for the account. The password is case-sensitive and can contain up to 50 alphanumeric characters.
- Repeat the password in Confirm Password.
- In
User Role, select the role that you want to assign to this user.
The options that appear on the User Role menu depends on your own user role. If you are a Network Administrator, then the following user role appear on the menu: Group Administrator and Read Only.
For more information on user roles, refer to Understanding User Roles and Privileges.
- In Device Groups, select the desired device group to the user.
- Click OK to create the account.