Troubleshooting Using Remote Operations
You can use the
Remote Ping and
Remote Trace Route options to identify issues with individual switches.
Follow these steps to troubleshoot switch issues using remote ping and traceroute.
Note: When SmartZone is configured in 'IPv6 only' mode, it removes support for
Remote Ping and Remote Trace Route.
- On the menu, click to display the Switches window.
- From the system tree, select a or Switch Group and select the Switch.
- In the Details pane, click the Troubleshooting tab.
- In the Remote
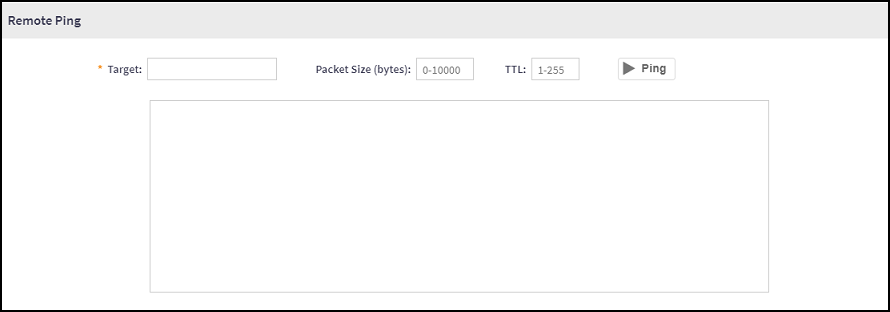
Ping section, click
 to
display the Remote Ping fields.
- Complete the folowing fields:
- Click
Ping. In the below display window you can view that a
packet is discarded from the network.The controller pings the switch at the destination IP address provided. As shown in the following example, the results displayed include the number of data packets transmitted, received, and lost and the time required for the controller to ping the switch to establish communication.
- In the Remote Trace
Route tab, click to
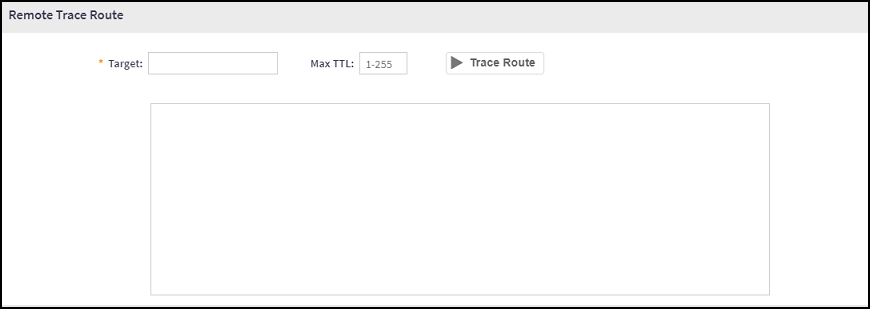
display the Remote Trace Route fields.
- Complete the folowing fields:
- Click Trace
Route. In the below display window you can view that a packet is
discarded from the network. As shown in the following example, the Remote Trace Route page displays the IP address of the hops the packet traverses through the network between the switch and the controller.
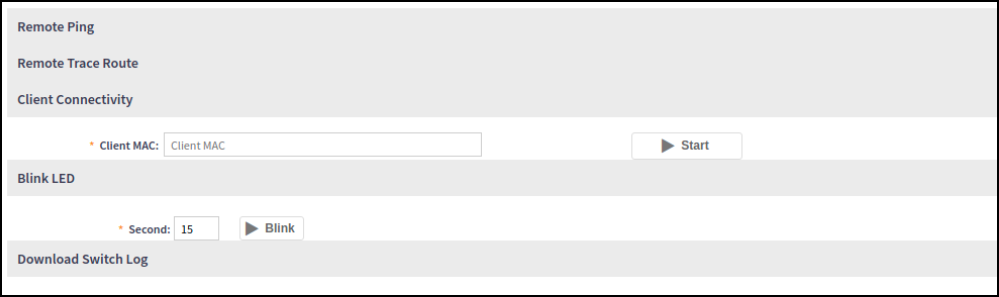
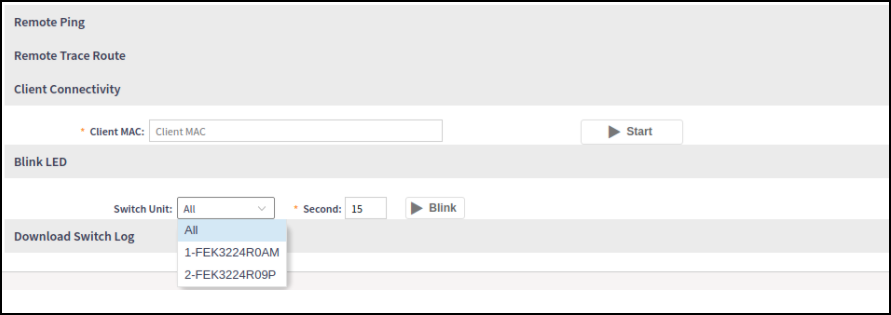
- In the Blink LED tab,
click to display the Blink LED
fields.