Creating a Monitoring AP Group
- From the main menu, click .
- Select System and click
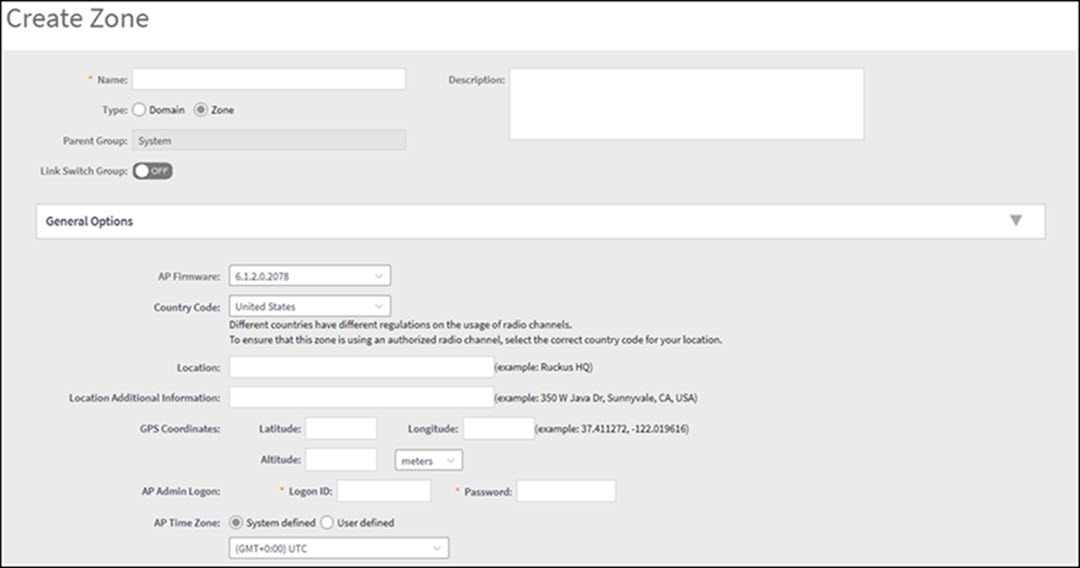
 to create a zone.
- For Type, select Zone.
- Select , enter the user name and password, and click OK.
- Under Advanced Options, enable Rogue AP Detection.
- For
Rogue Classification Policy, configure the following options:
- In the Report RSSI Threshold field, enter the threshold (the threshold ranges from 0 through 100).
- Enabling the option
Protect the network from malicious rogue access points has no
effect as an AP in monitoring mode is a passive listener.Note: An AP in a monitoring group cannot be used for prevention services. The monitoring AP will work only in passive mode.
- Enable Radio Jamming Session and enter the jamming threshold as a percentage.
- Click OK.
- On the Monitoring APs
page, select the AP Zone you just created and click
 to
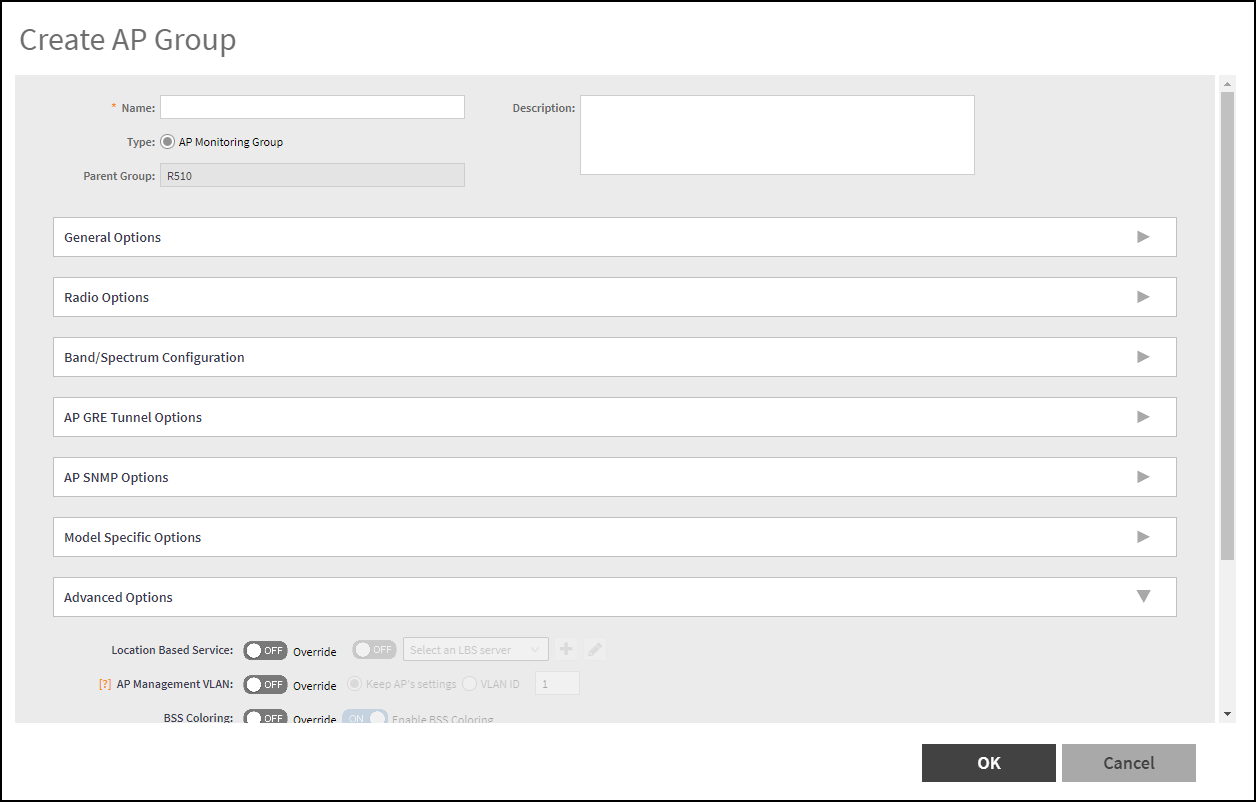
create the AP Monitoring Group.
- Enter the group name.
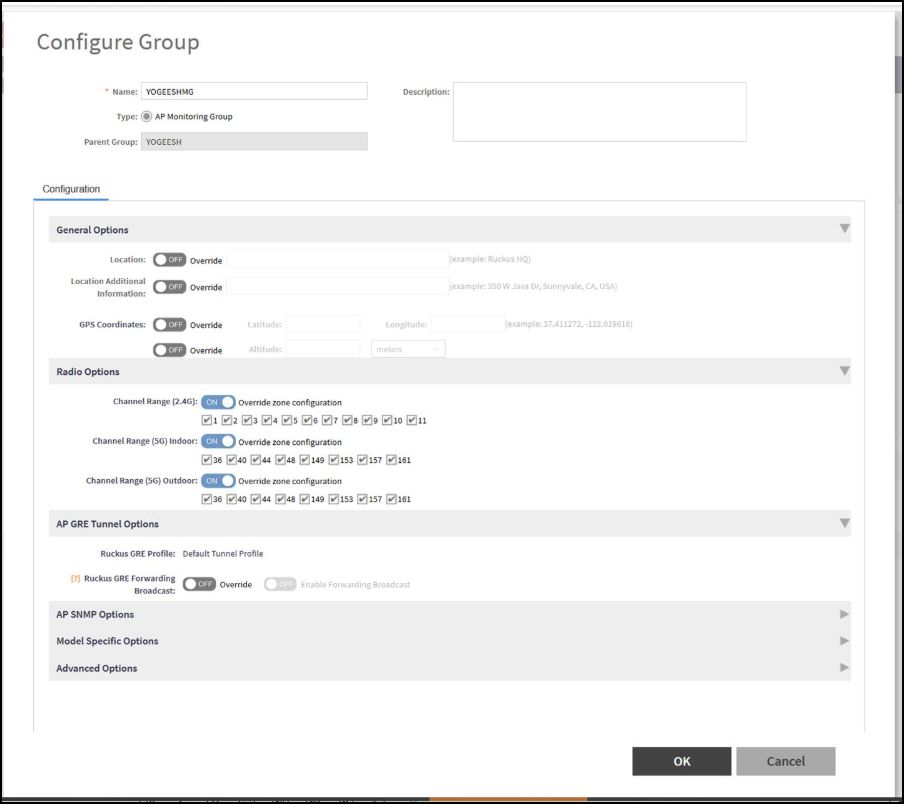
- Under Radio Options, you can select the bandwidth over the 2.4G, (5G) Indoor and (5G) Outdoor channel range.
- Under
Advanced Options, configure the following options:
- Enable
Rogue Classification Policy and select a rogue classification policy from the list.
Note: You can click Create to create a rogue classification policy. To create a rogue classification policy, refer to RUCKUS SmartZone Access and Security Services Guide.Note: Rogue detection AP in active-active mode cluster redundancy environment is restricted from storing its own BSSIDs to avoid considering its own APs as rougues attacking.
- In the Report RSSI Threshold field, enter the threshold (the threshold ranges from 0 through 100).
- Enable Radio Jamming Session and enter the jamming threshold as a percentage.
- Select the frequency for scanning to detect rogue devices:
- Enable
Rogue Classification Policy and select a rogue classification policy from the list.
- To move the AP group to the
Monitoring APs page, complete the following steps:
- In the Access Points page, select the AP from the Default Zone and click Move.
- In the Select Destination Management Domain page, select the AP monitoring group to where the selected AP must be moved and click OK.
Viewing Associated Events- From the left pane, select Monitoring APs.
- Select the zone and the corresponding monitoring AP group and AP, and click Event.
The event table lists the rogue APs that are detected by the monitoring AP. Likewise, the rogue APs that are detected by the monitoring AP are listed on the Rogue Devices page.