Viewing the Network Segmentation Landing Page

After you have configured the integrated system in the Cloudpath UI, and you have configured the Network Segmentation profile in SmartZone, a Network Segmentation group gets automatically created in Cloudpath.

To view the Network Segmentation group, go to Managed Access > Network Segmentation. The screen below shows the Network Segmentation group that is based on the Network Segmentation profile created in SmartZone. The VNI Range shown is the range that was configured in the Data Plane configuration in SmartZone for the Network Segmentation profile.
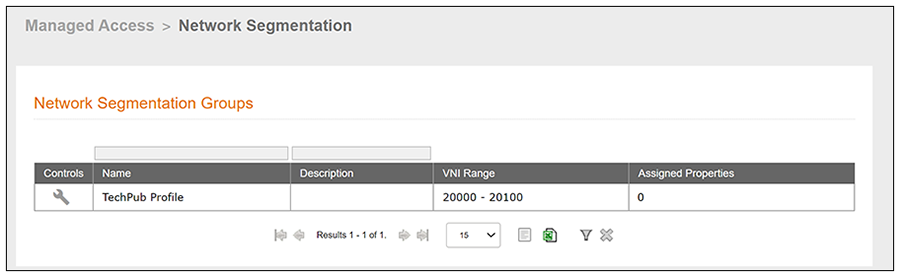
Network Segmentation Groups in Cloudpath UI

You can click on the wrench icon to invoke a three-tab view:
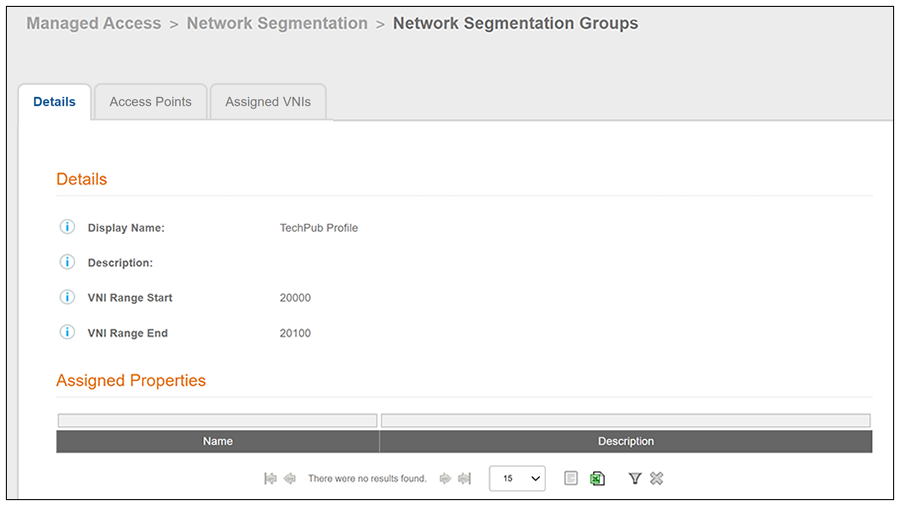
Details-Tab-View of the Network Segmentation Group

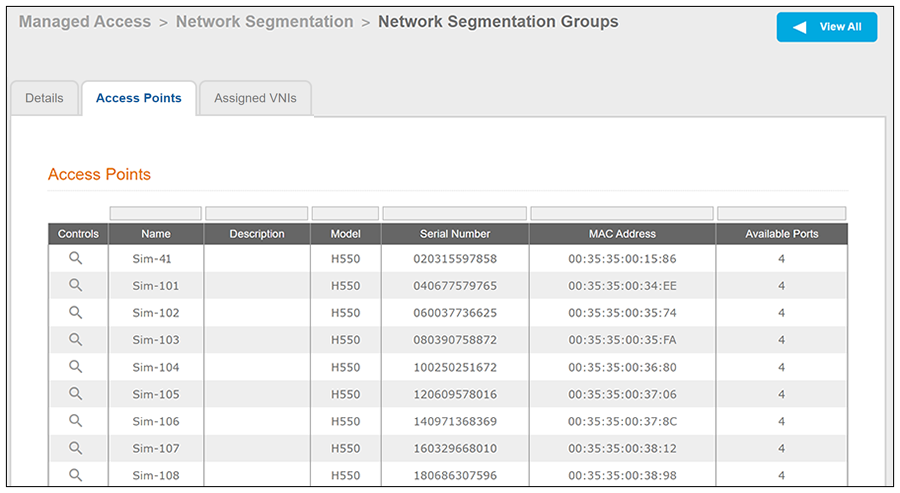
Access-Points-Tab View of the Network Segmentation Group

Note: For more information, see Using the Access Points Tab.

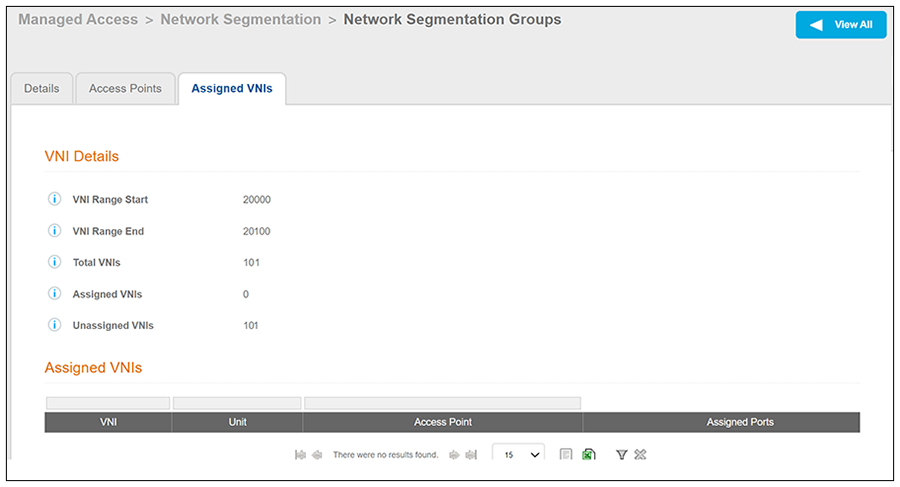
Assigned-VNIs-Tab View of the Network Segmentation Group

Note: For an example of the Assigned VNIs tab after VNIs have been assigned, refer to Assigned VNIs Tab Example After Two VNIs Have Been Assigned.

Next Steps:

Before you can create (and then assign) properties to a Network Segmentation group, you need to create an eDPSK pool for each property. Once you create one or more properties, you assign units to the properties. You can assign multiple properties to a network segmentation group. Therefore, the remaining sequence to complete the Cloudpath portion of the Network Segmentation configuration is:

  1. Creating an eDPSK Pool for a Property
  2. Creating a Property for a Network Segmentation Group
  3. Adding Units to a Property of a Network Segmentation Group
  4. Creating a Policy to Assign to eDPSK Pools (Optional)