OAuth Setup Procedure for Google+ Social Media Login
Google+ social media WLANs require a
client ID and password, which can be automatically generated or manually entered.
You can
manually generate an OAuth 2.0 client ID for Google+ social media WLANs using the
following
procedure.
Complete the following steps to create a project ID in the Google Developers Console.
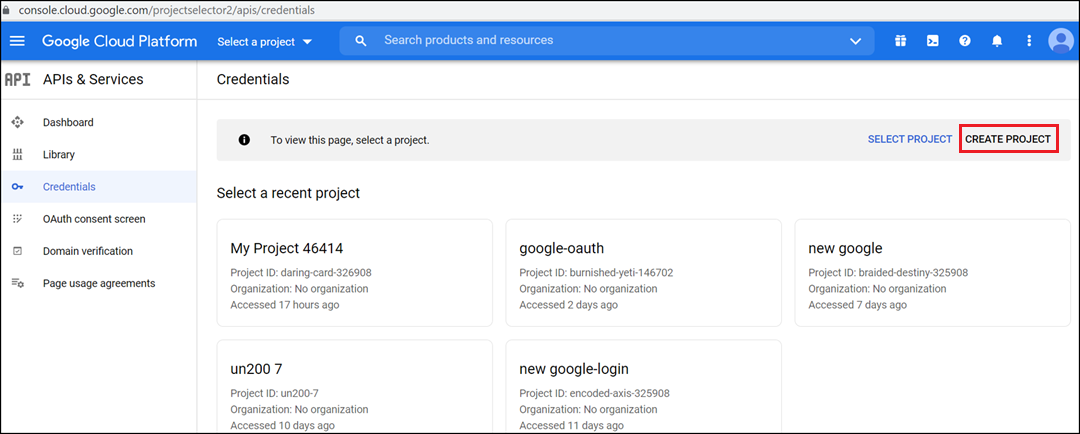
- Go to the Google OAuth Console
(https://console.developers.google.com/projectselector2/apis/credentials),
and click CREATE
PROJECT. Note: Alternatively, click the Click here link to create a new application or project link from within the RUCKUS Unleashed guest access settings (refer to Google/Google+)
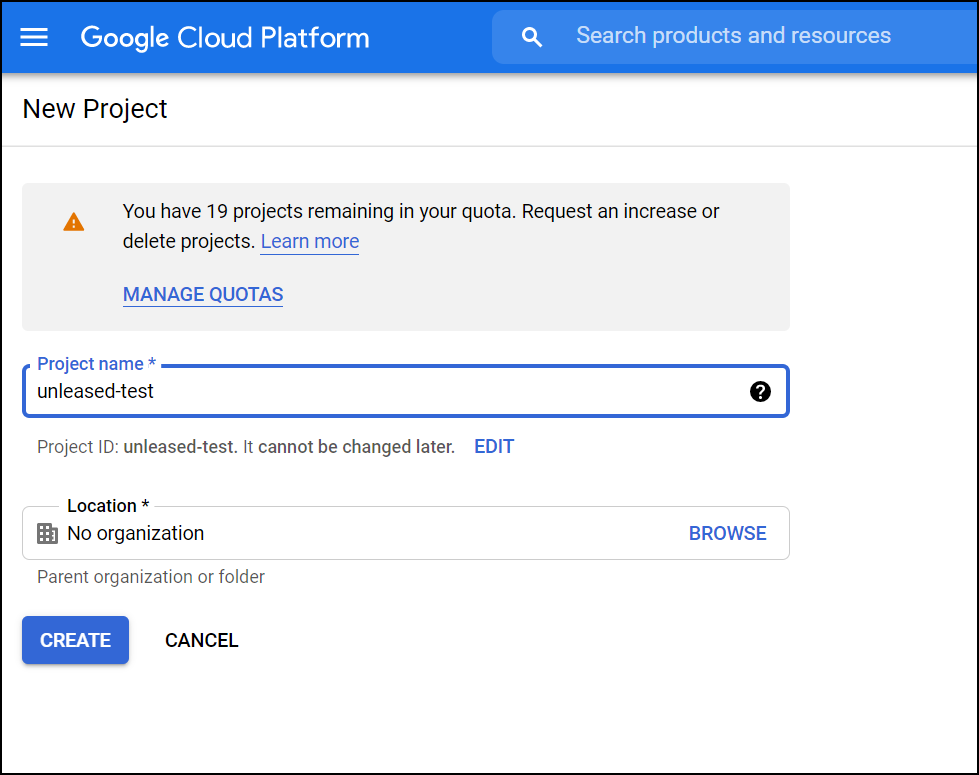
- Enter Project Name and Location, and click Create.
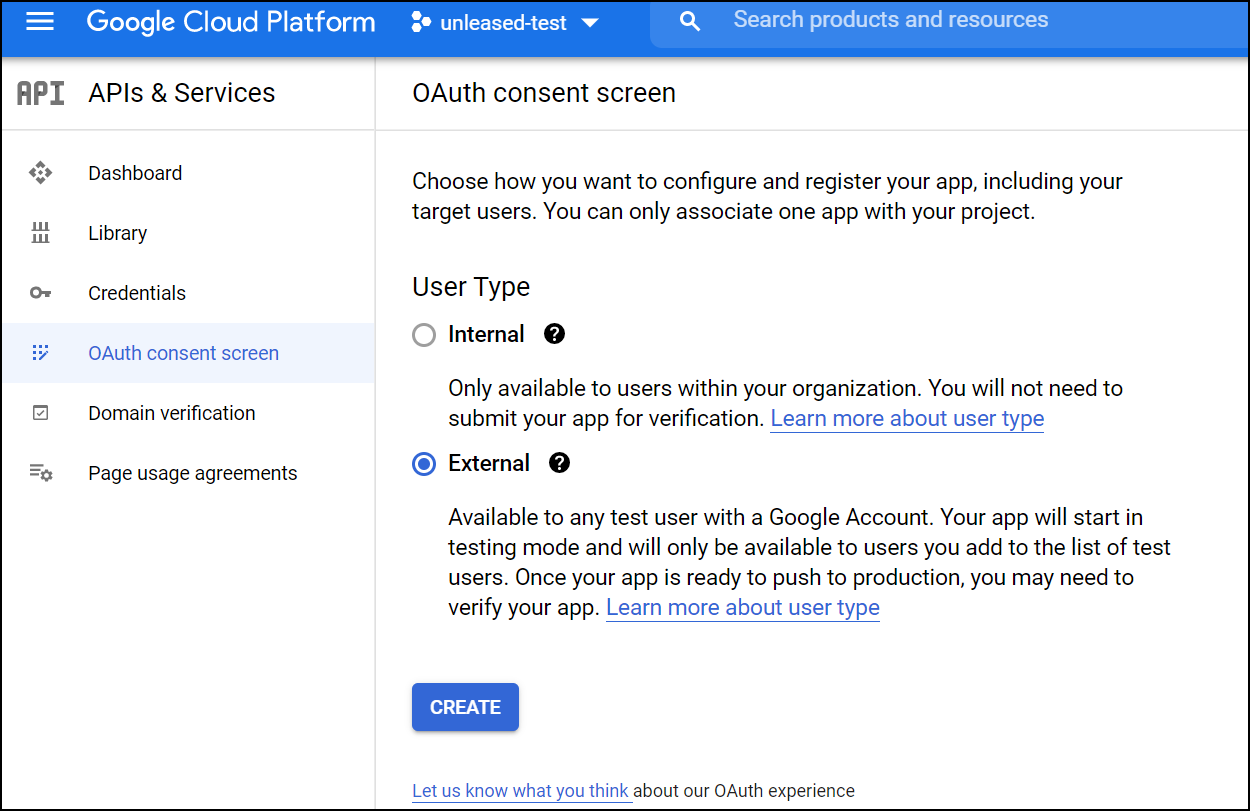
- Once the project has been created, go to the OAuth consent screen, and select External and click Create.
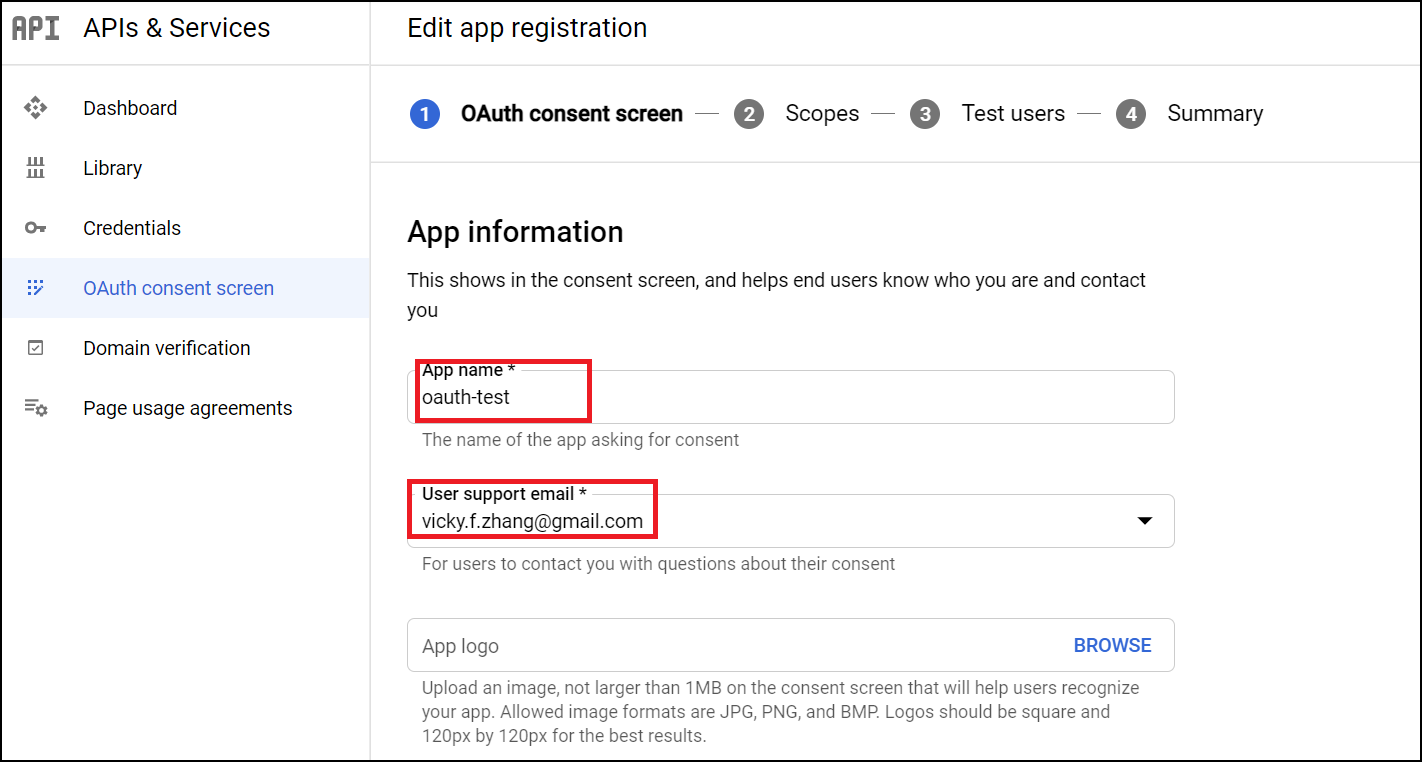
- Under App information, complete the following steps:
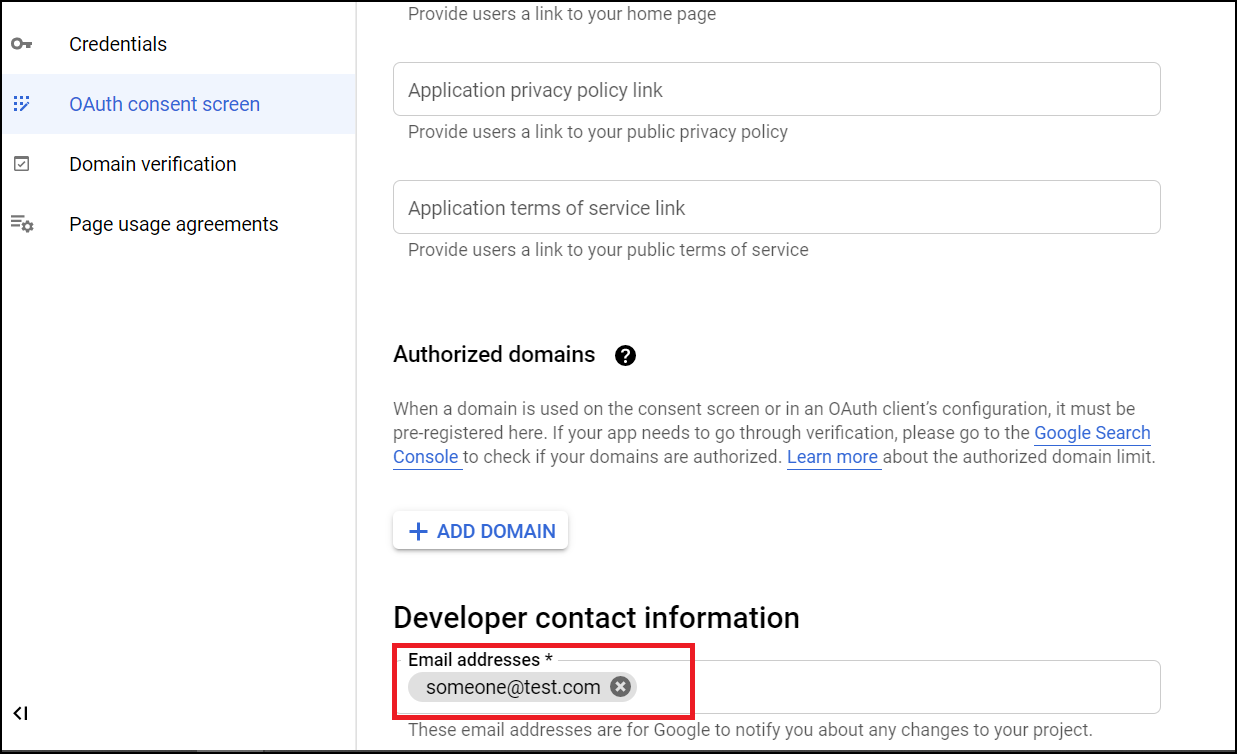
- For Developer contact information, enter valid email addresses and click SAVE AND CONTINUE.
- In the page, click SAVE AND CONTINUE.
- In the page, click SAVE AND CONTINUE.
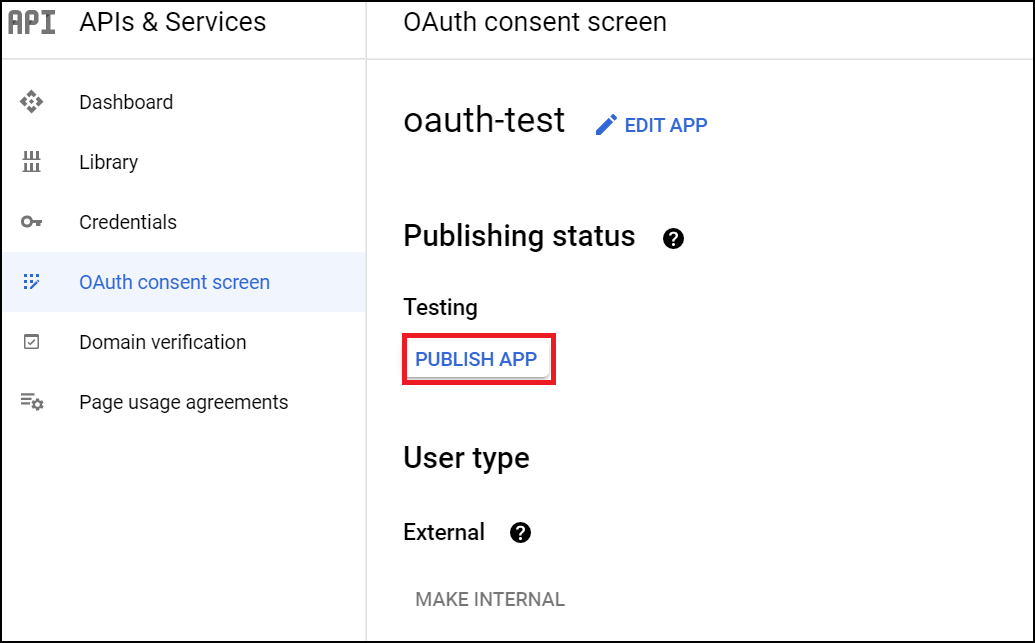
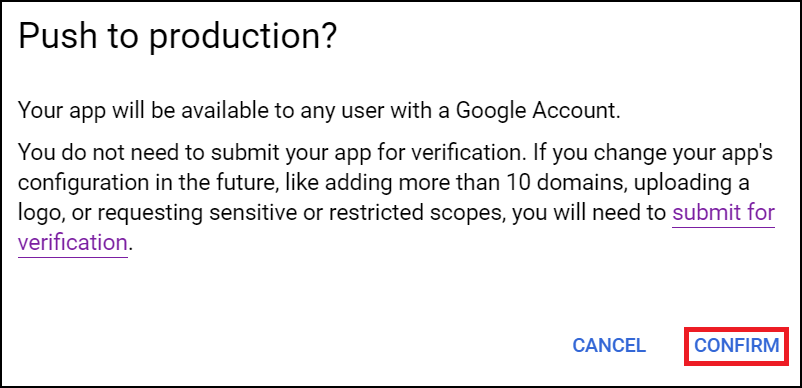
- On the OAuth consent screen, click PUBLISH APP.
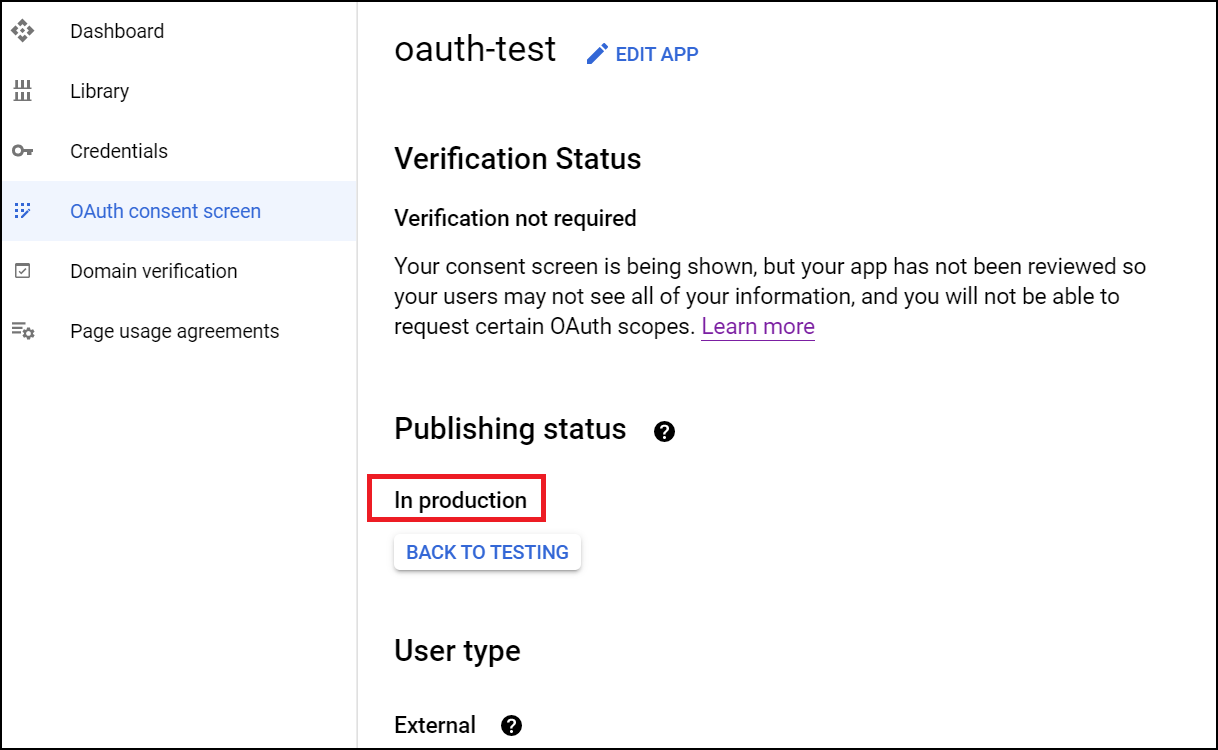
- Under Publishing status, change the status to In production.
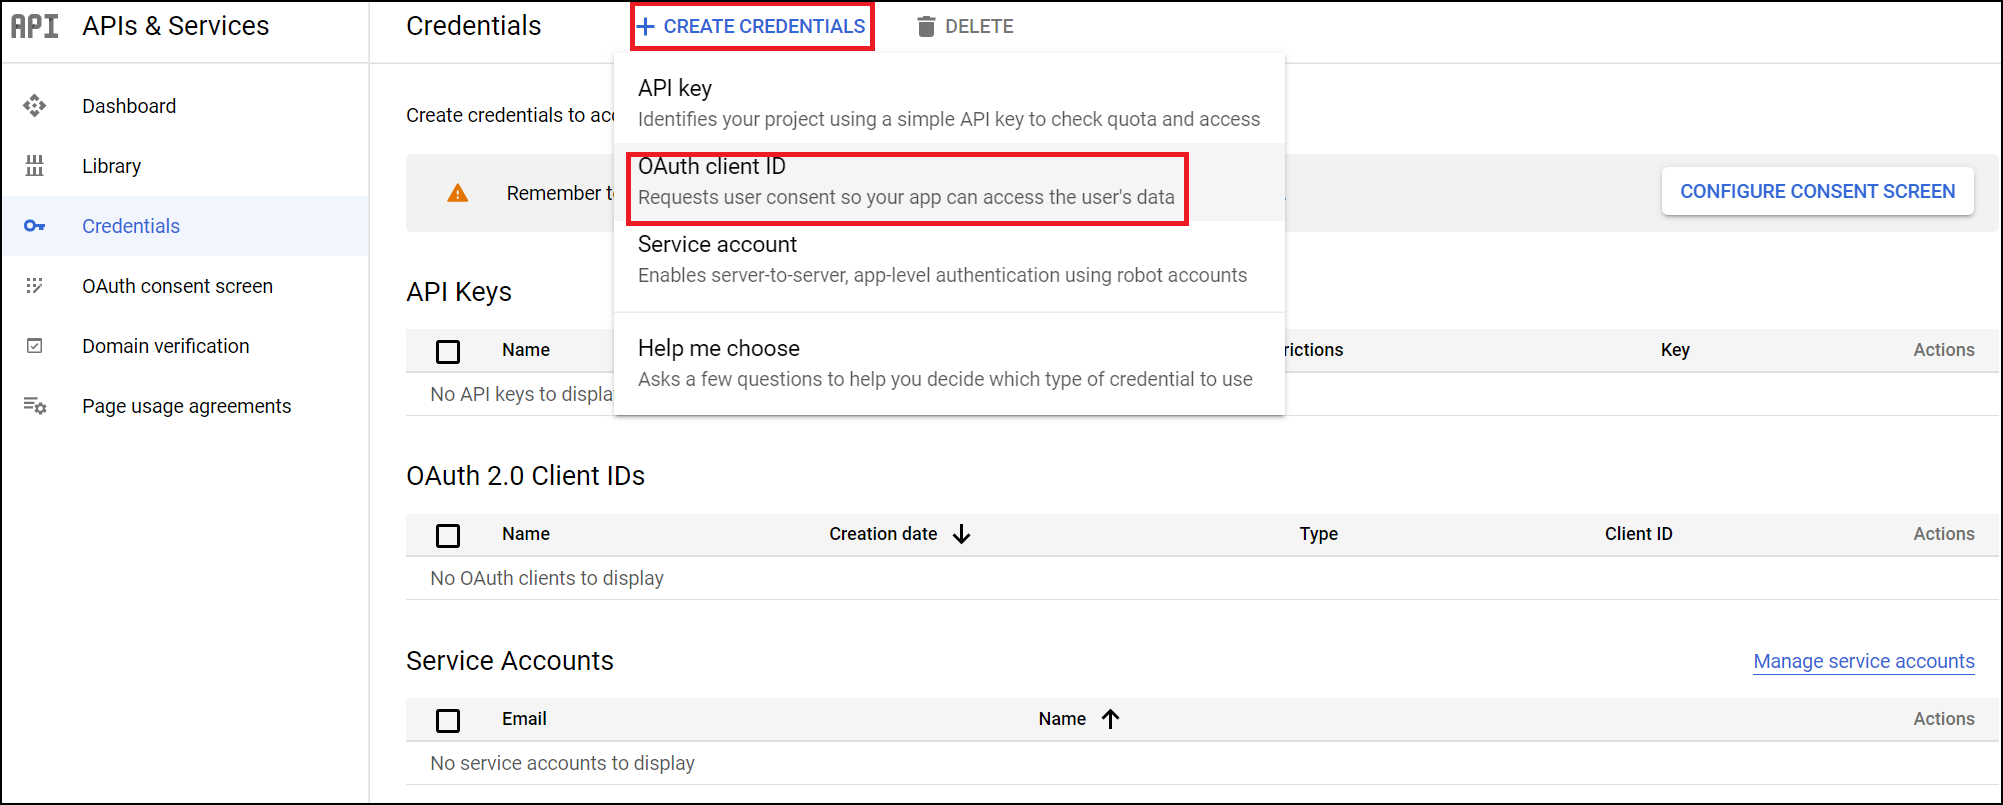
- Go to the Credentials page and click CREATE CREDENTIALS and select OAuth client ID.
-
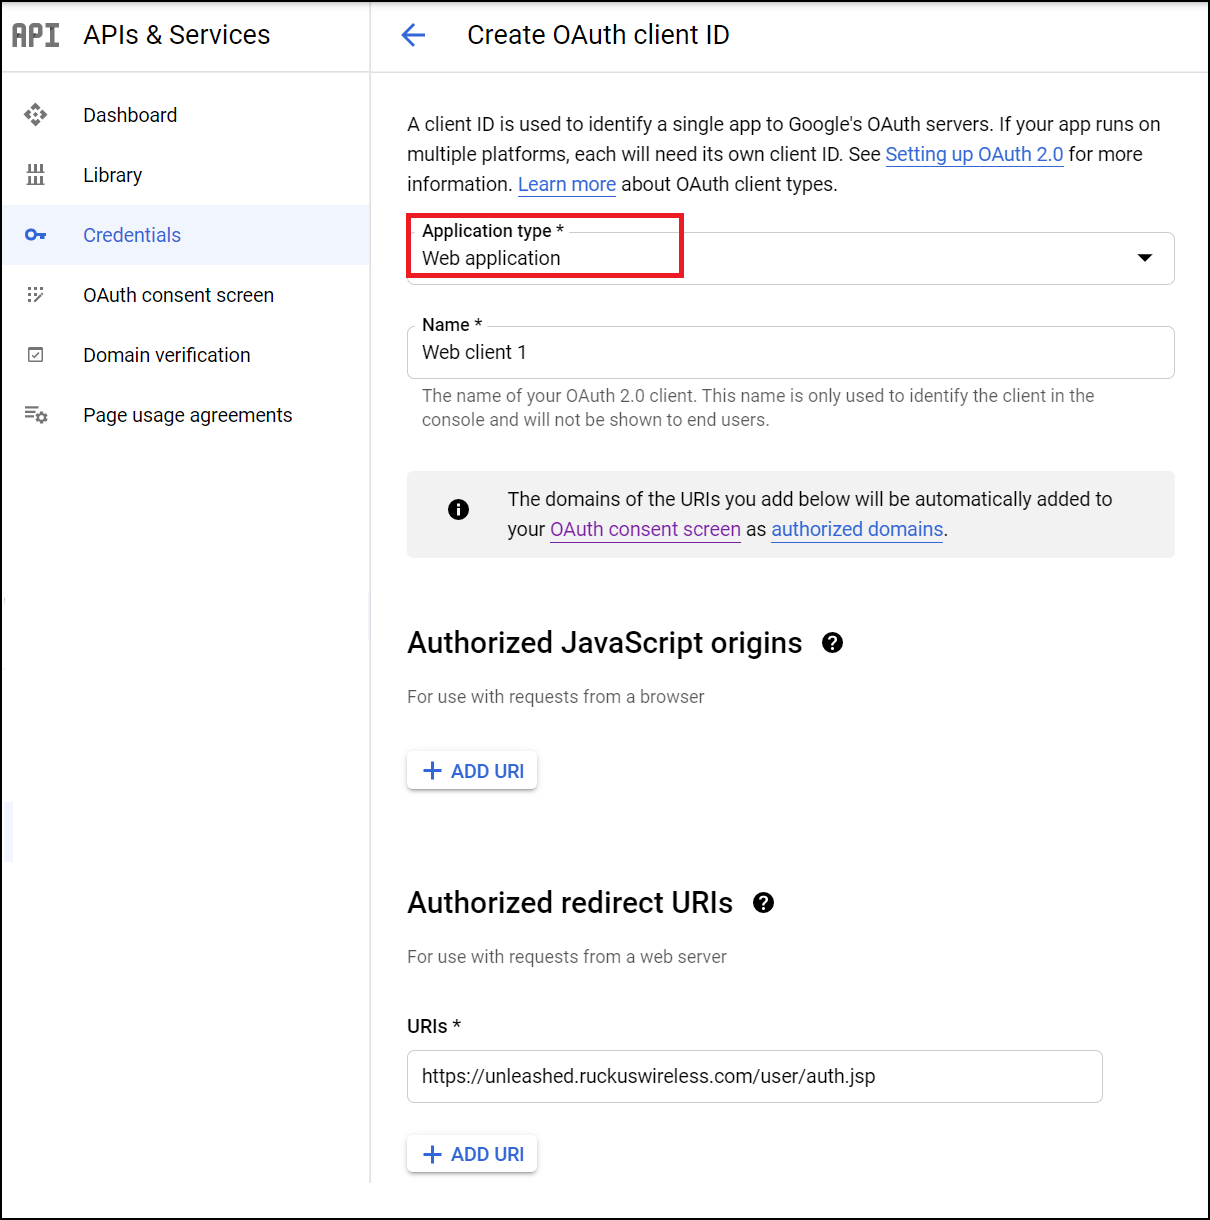
UnleashedFor Application type, select Web application and for Authorized redirect URIs, enter https://unleashed.ruckuswireless.com/user/auth.jsp.Note: If you have imported a certificate with a fully qualified domain name (FQDN) to RUCKUS Unleashed, you must use the FQDN. For example, if the FQDN is “mydomain.com”, the Authorized redirect URIs will be “https://mydomain.com/user/auth.jsp”.
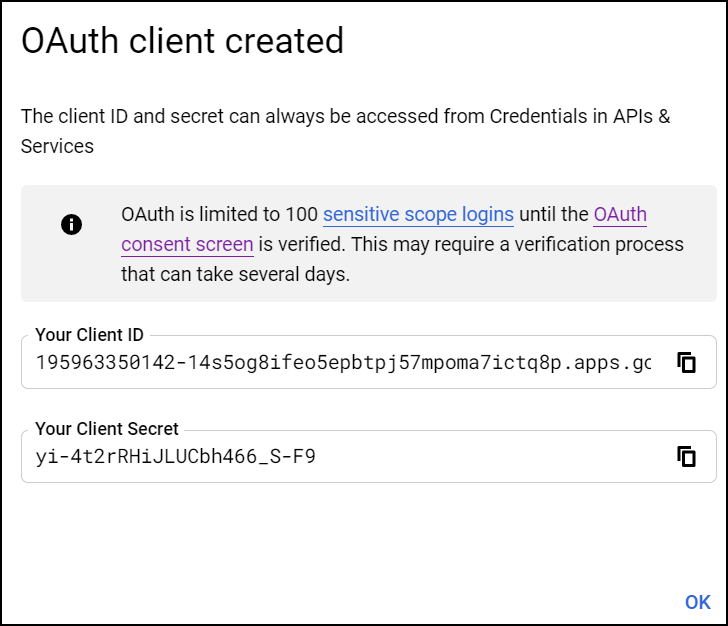
- Click Create. If successful, Google displays the Client ID and Client Secret, as shown in the following figure.