Generating and Delivering a Single Guest Pass
A single Guest Pass can be used for one-time login, time-limited multiple logins for a single guest user, or configured so that a single Guest Pass can be shared by multiple users.
Note: The user
generating the Guest Pass must have Guest Pass generation privileges, as described
in Controlling Guest Pass Generation Privileges.
Note: For instructions on how
to generate multiple Guest Passes, refer to Generating and Printing Multiple Guest Passes at Once.
Note: If printing the Guest Pass, make sure
that your computer is connected to a local or network printer before starting.
Complete the following steps to generate a single Guest Pass.
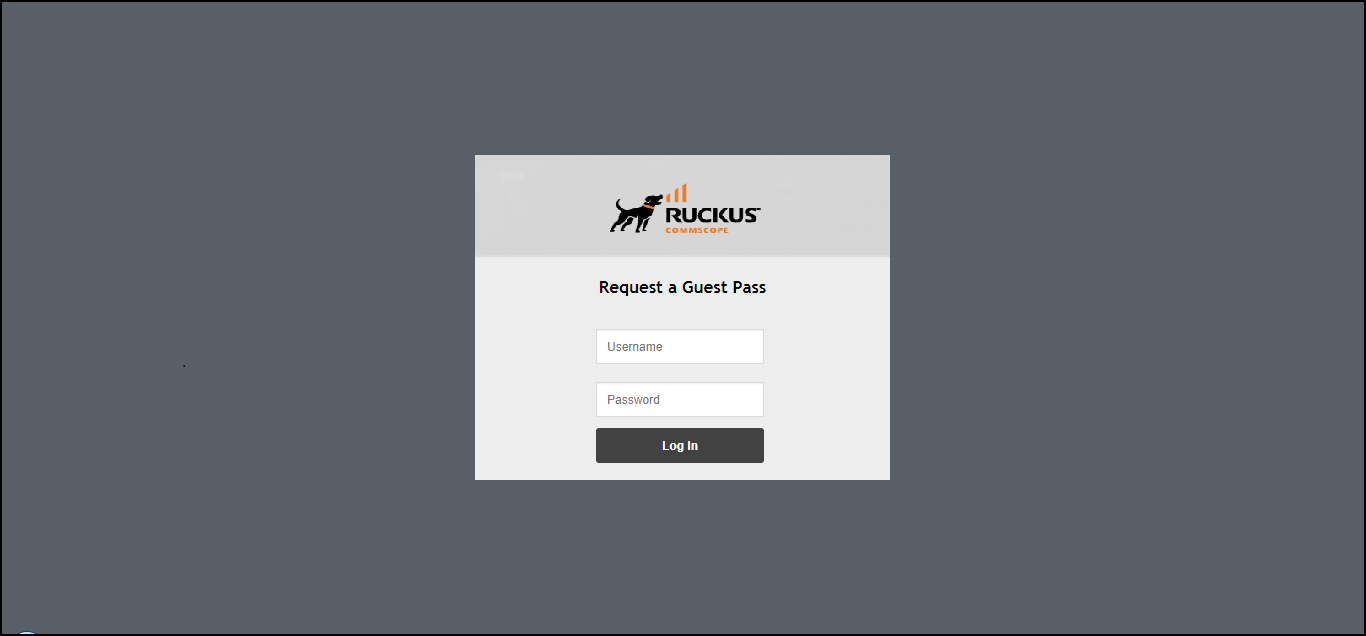
- Enter the URL of the Guest Pass request page in your web browser.
- Enter your username and password and click Log in.
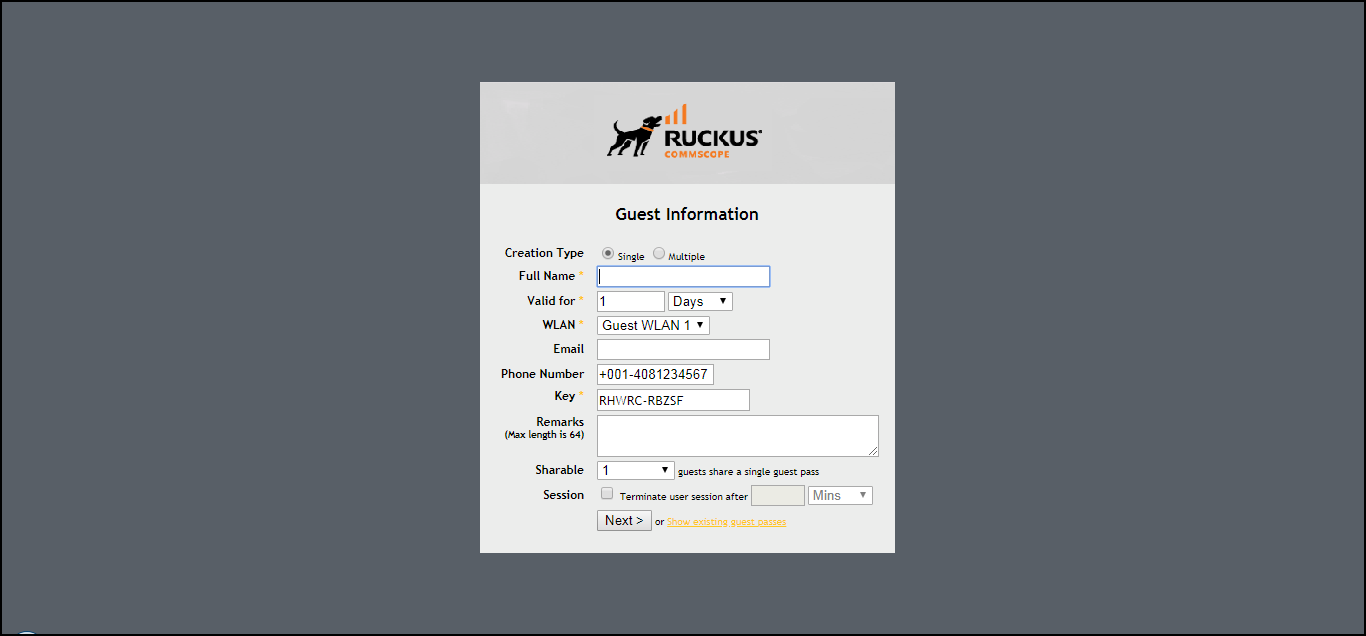
- On the
Guest Information page, fill in the following options:
- Creation Type: Click Single to generate a single Guest Pass. To generate multiple Guest Passes in a batch, refer to Generating and Printing Multiple Guest Passes at Once.
- Full Name: Enter the name of the guest user for whom you are generating the Guest Pass.
- Valid for: Enter a number in the Valid for field and select a time unit (Hours, Days, or Weeks) to specify the time period when the Guest Pass will be valid.
- WLAN: Select the WLAN for this guest (typically, a guest WLAN).
- Email: (Optional) Enter the email address for this user.
- Phone Number: (Optional) Enter a phone number for this user.
- Key: Leave as
is if you want to use the random key that RUCKUS Unleashed
generates. If you want to use a key that is easy to remember, delete the
random key, and enter a custom key. For example, if RUCKUS Unleashed generated the random key OVEGS-RZKKF, you can
change it to "joe-guest-key". Customized keys must be from 2 through 16
ASCII characters in length.
Note: Each Guest Pass key must be unique and is distributed on all guest WLANs. Therefore, you cannot create the same Guest Pass for use on multiple WLANs.
- Remarks: (Optional) Enter any notes or comments. For example, if the guest user is a visitor from a partner organization, you can enter the name of the organization.
- Sharable: Use this option to allow multiple users to share a single Guest Pass.
- Session: Select the check box and enter an increment of time after which guests must log in again. If the Session check box is not selected, connected users will not be required to log in again until the Guest Pass expires.
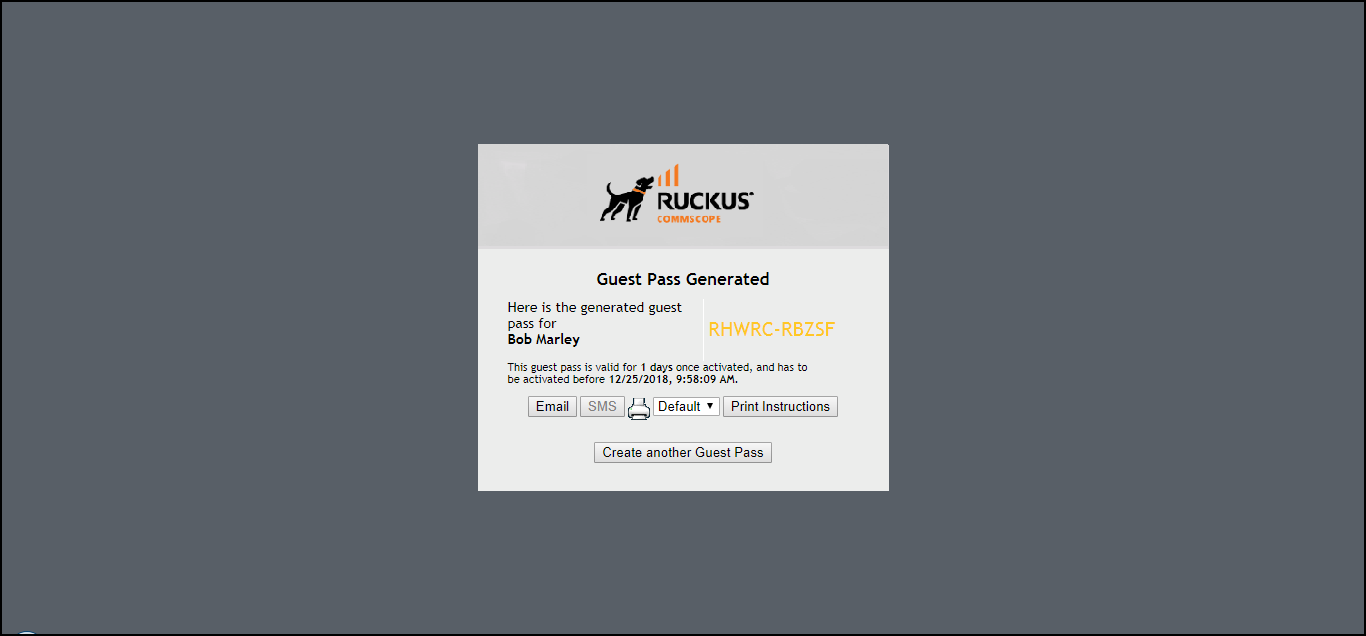
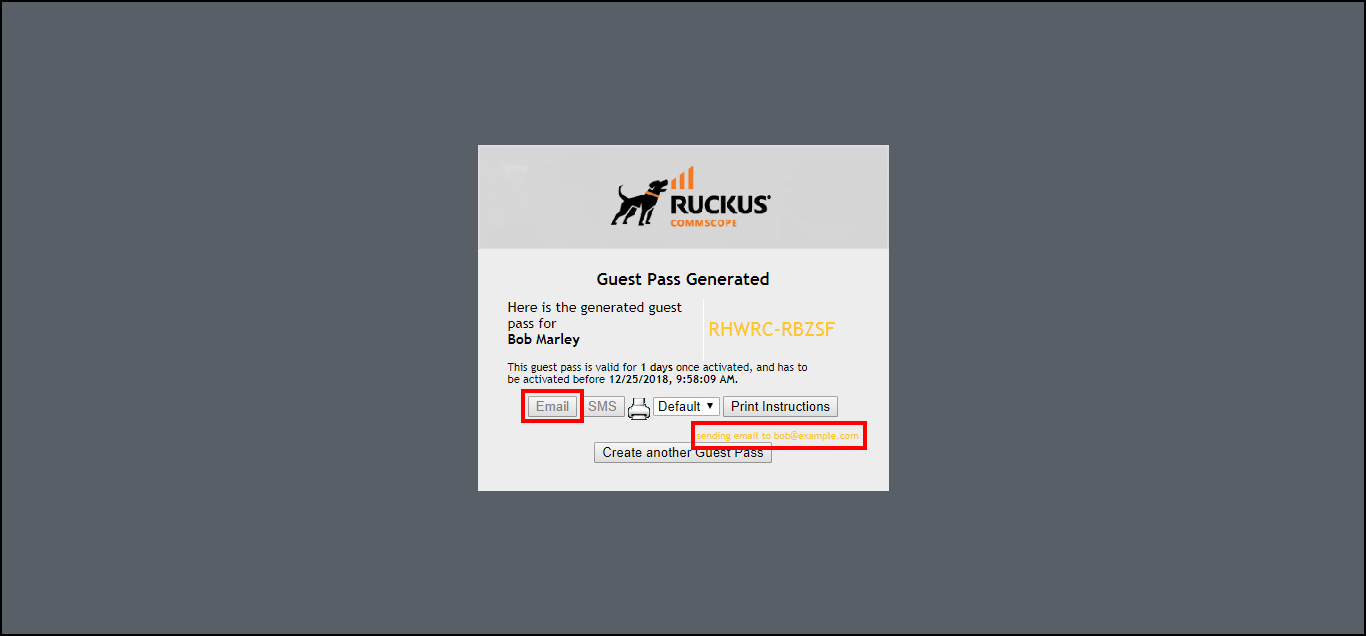
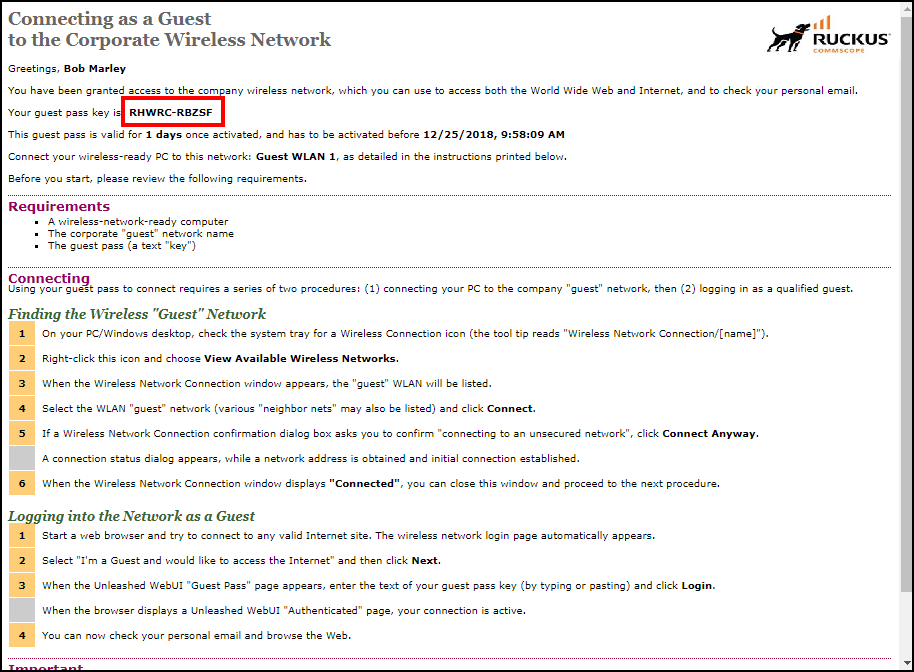
- Click Next. The Guest Pass Generated page is displayed and presents the Guest Pass key and options for delivering this key to your guests. Delivery options include Email (if you entered an email address for the guest), SMS (if you configured a phone number for the guest), and Print Instructions.
- If you want to print the guest access instructions, select the Guest Pass instructions that you want to print from the menu. If you did not create custom Guest Pass printouts, select Default.
- Click Print Instructions. A new page displays the Guest Pass instructions and the Print dialog box is displayed.
- Select the printer that you want to use, and click Print to print the Guest Pass instructions.
If you want to create additional Guest Passes one by one, click Create Another Guest Pass. Alternatively, you can generate multiple Guest Passes in batch, as described in Generating and Printing Multiple Guest Passes at Once.