Creating a New Identity Group

Identity group stores user related data.
To create a new Identity group, perform the following steps.
  1. On the RUCKUS One navigation bar, hover on Clients and click Identity Groups.
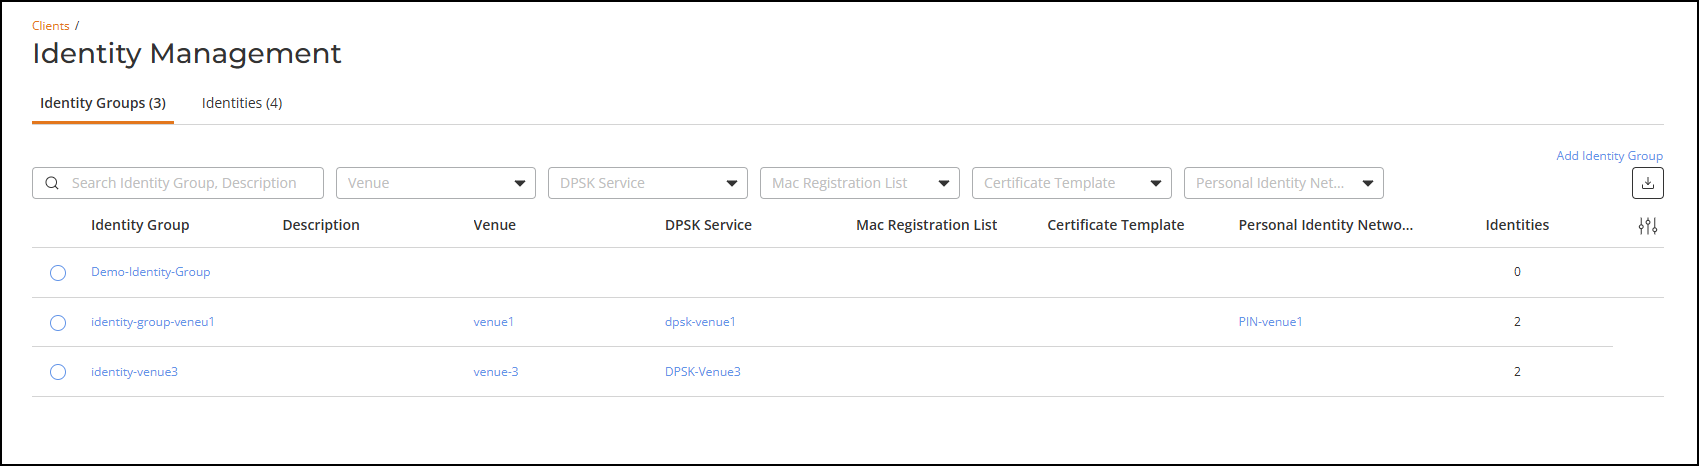
    This displays Identity Management page.
  2. In the Identity Management page, click Add Identity Group link.
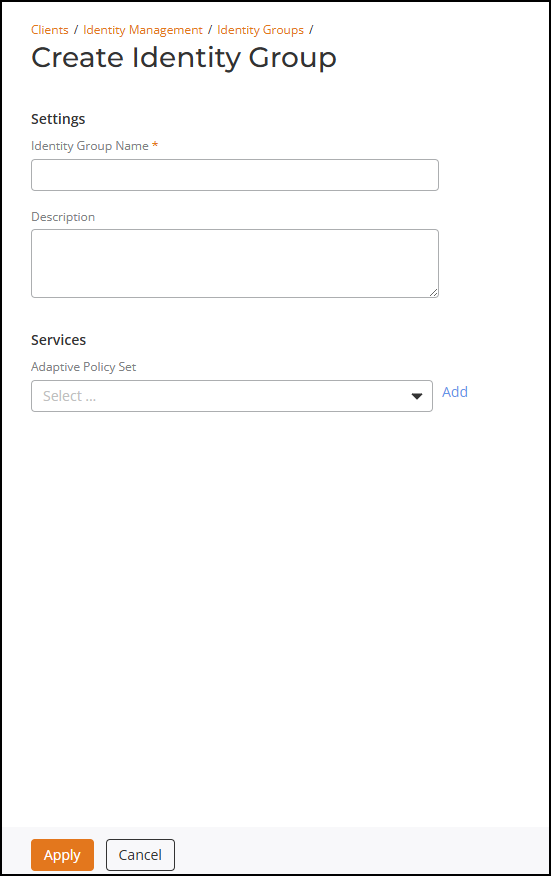
    This displays Create Identity Group window.
  3. In the Create Identity Group, enter the following details
    • Identity Group Name - Select identity group name from the drop-down list.
    • Description - Enter a meaningful description for the identity group.

      Under Services,

    • Adaptive Policy Set - Select the service from the drop-down.

    Creating a new Identity Group

  4. After entering all the details, click Apply.
    The newly added identity group is displayed in the Identity Management page.

    Newly created Identity Group in the Identity Management List

Enabling Property Management

Enable property management in the venue. To enable property management, perform the following steps.
  1. On the RUCKUS One navigation bar, click Venue.
    This displays Venues page with the list of venues.
  2. Select and click on the Venue in the list.
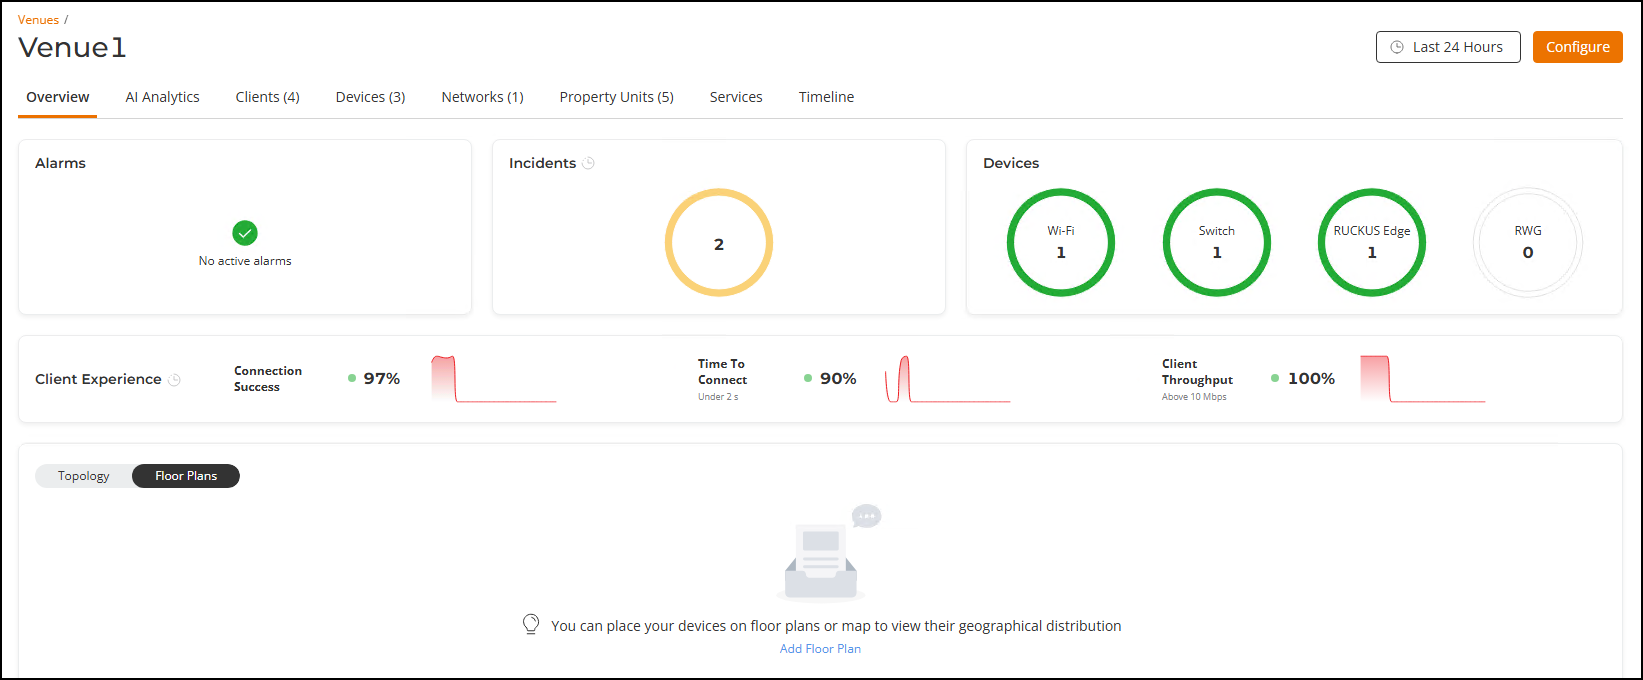
    This displays the venue details.

    Venue Details

  3. In the Venue page, click Configure.
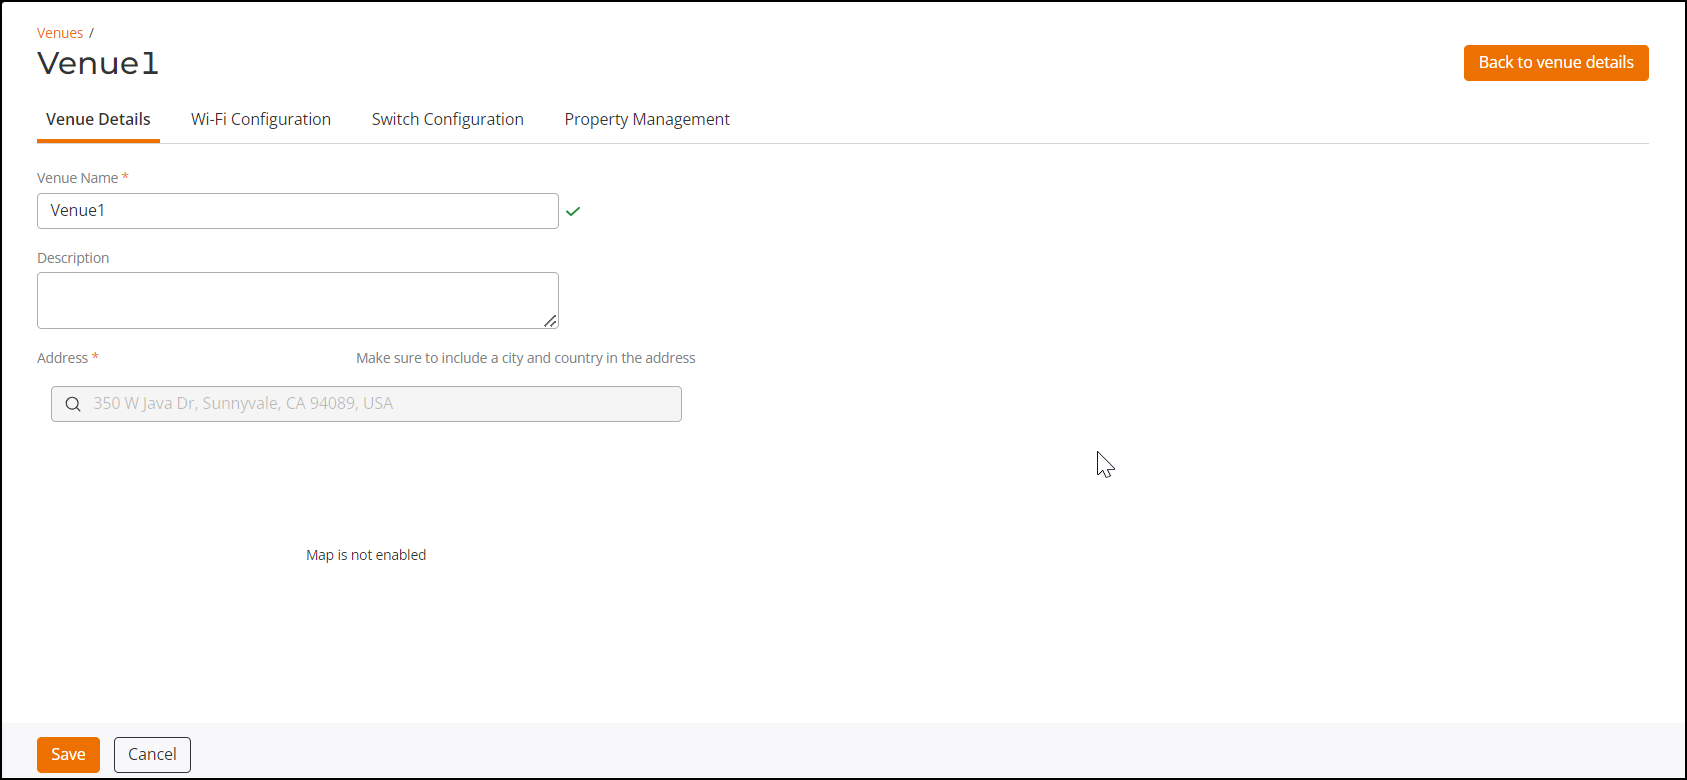
    This displays the selected venue configuration details.

    Venue Details

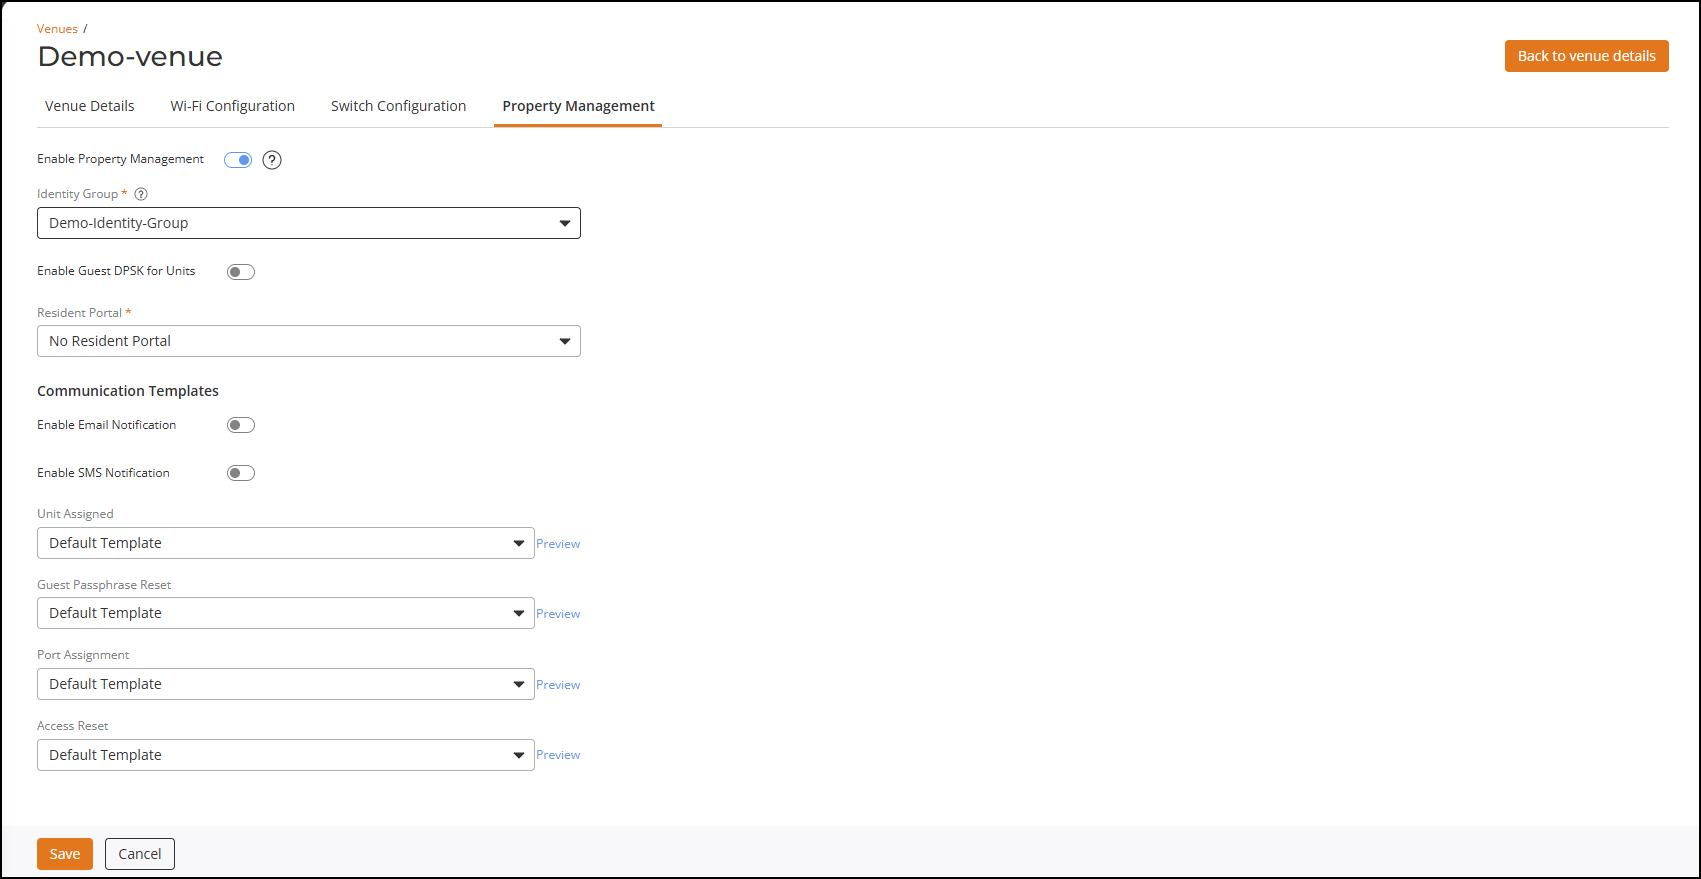
  4. In the Venue details page, click Property Management tab.
    This displays the Property Management switch.
    Note: By default, the Property Management switch is disabled, if the property management is swtiched off, all the related configuration is deleted and the network service is lost.

    Enable Property Management