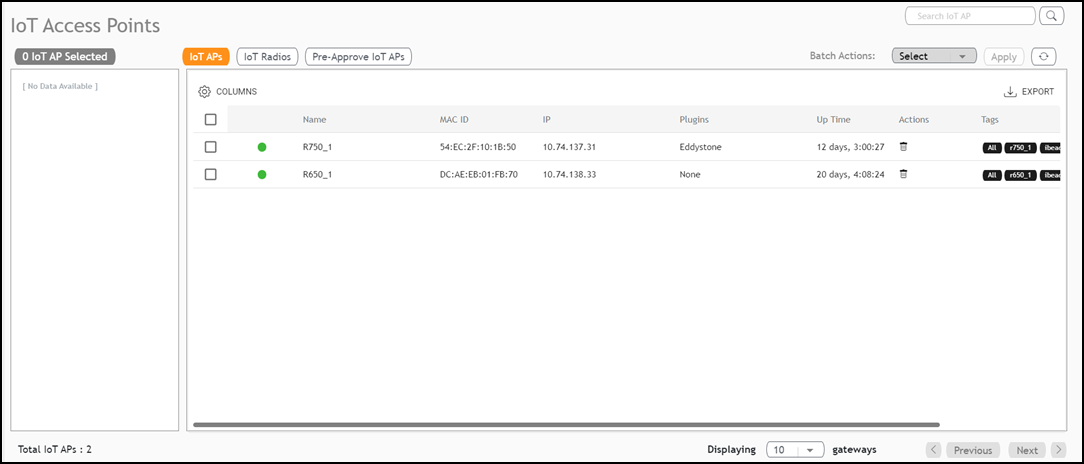
IoT APs
The IoT APs page
allows you to view, manage and configure IoT Access Points.
Complete the following steps to view and edit IoT AP configurations.
- From the main menu, click IoT APs.
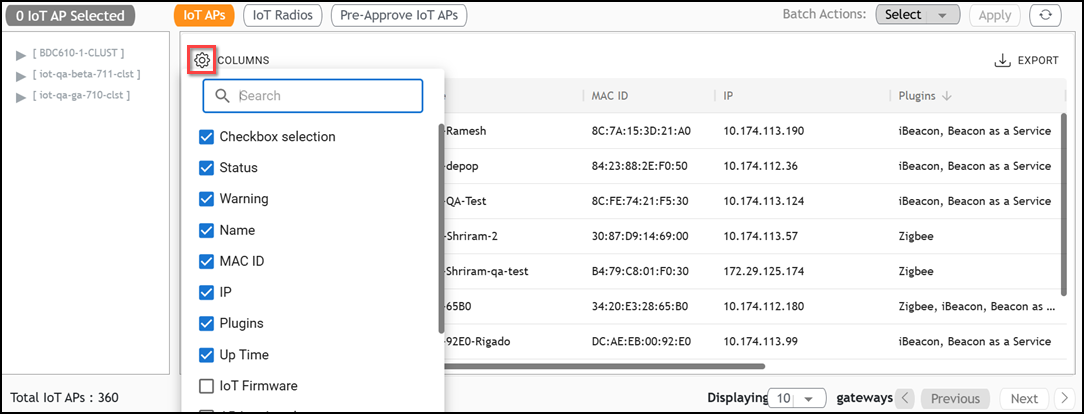
- Click the
 icon to choose which columns to display in the IoT
APs table. By checking or unchecking boxes, you can tailor the view based on
what information is relevant to you.
- (Optional) Configure or modify a specific IoT AP. Click on a specific IoT AP in the table list; the sidebar appears, displaying IoT AP Settings, Radio Info and Other Info.
- (Optional) Search for specific
IoT APs within the table. Enter the search criteria and click the
 icon; the page refreshes displaying only the IoT APs matching the search
criteria.
- (Optional) Click Export to download the details of the listed IoT APs into a CSV file.
- (Optional) Perform a Batch Action,
which runs on selected action on multiple IoT APs simultaneously.
- Click the checkboxes for all the IoT APs for which you want to perform the action.
- Click Select in the Batch Actions drop-down list.
- Select an option from the drop-down list and click Apply. The batch operation is applied to the selected group of radios. For example, refer to Adding Tags to an AP.